Here’s a little story of how repainting an old dresser completely transformed it again.
Years ago, I gave my little JJ a room makeover on a tight budget of $100. I challenged myself to update his room with a lot of creativity, some touches of DIY, and just a little bit of cash. There was an old dresser that I painted for JJ’s room. I painted it bright blue to coordinate with the nautical theme in this room. Well, it was time to give it another color since we moved it out of his room to make way for a new dresser. Repainting an old dresser is totally possible and a fun way to transform it again.

I’ve been working on giving JJ’s room a completely new transformation which will be revealed sometime next month. It’s his 11th birthday gift and we can’t wait to share it with you. He is already loving it so much.
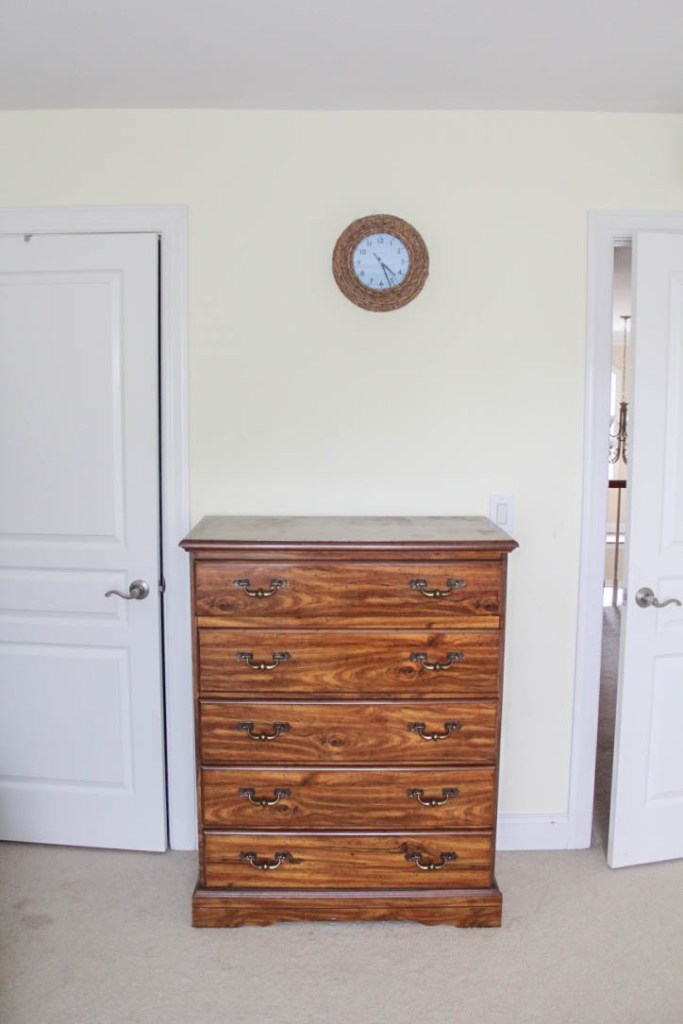
Here’s what the original dresser looked like. This was an old dresser that Jimmy grew up with so it’s over 40 years old! It’s made of solid wood so the quality is still pretty good. That’s what I love about old furniture. The construction is usually pretty solid and can last forever.

When I painted it blue for JJ’s room, I took out the new handles and used fabric as pulls. I’m laughing at it now but hey, I only had $100 to use for that challenge. It’s a little cheesy but it was cute and it lasted a long while. I used blue chalk paint so I didn’t do any sanding then.

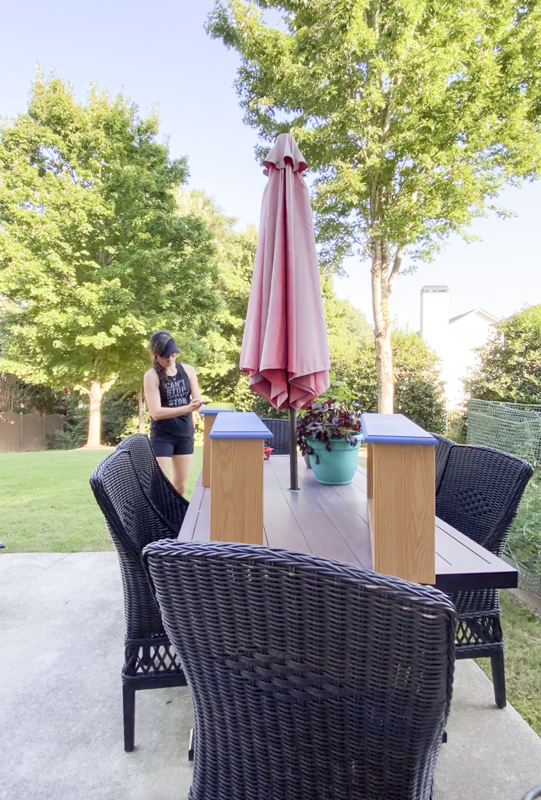
Okay, let’s get to how I gave it a completely new look just using two products. First, I put down a large cloth to protect the rug and carpet. Aren’t you proud of me for doing that?! Ha! I also removed all the drawers and decided to paint those on the patio.
I didn’t sand this time around either because the dresser still had the blue chalk paint on it. When you’re painting a glossy piece of furniture, it’s always a good idea to sand if you’re using latex paint. Sanding isn’t necessary for chalk paint or even Velvet Finishes paint.
I also cleaned all the drawers and base and removed all the cloth pieces I had used previously as the pulls. Make sure you clean all the dust and debris so you have a clean surface.
I kept the original hardware and planned on spray painting those too.

Remember this dresser is over 40 years old! The hardware had a good bit of tarnish on it but it’s nothing a little paint can’t fix.

I screwed them in this box to keep them upright. This is my preferred way of spray painting hardware.
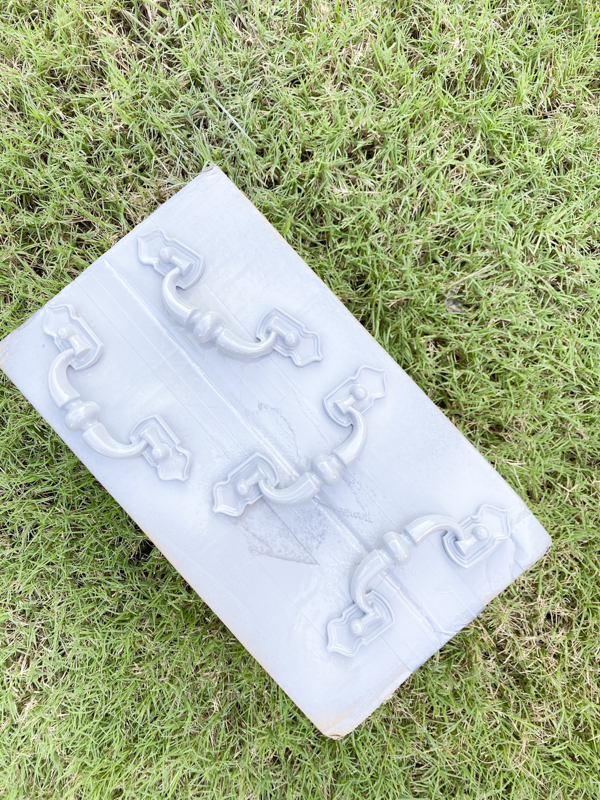
I gave it two coats of glossy gray spray paint called “Rainy Day” from Colorshot. I am so impressed with this brand and have been spray painting everything with it the last couple of months. I just placed an order from Home Depot for a few more colors. It dries within 10 minutes and the finish is flawless. I’m OBSESSED. #notsponsored

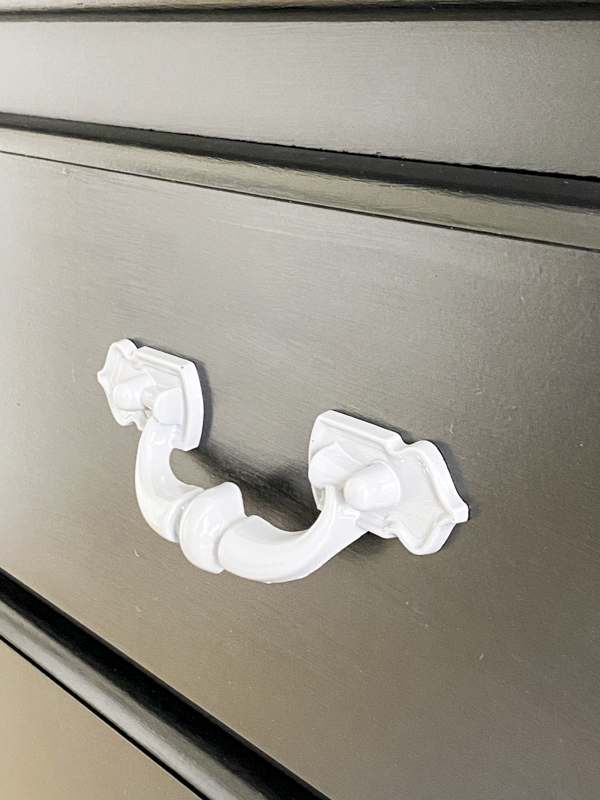
After two coats of “Colonial Black” paint from Curb Appeal, she looked good as new! The glossy finish looked so clean and chic. I would also recommend applying a few coats of Poly Acrylic for extra protection. I will probably do this if I end up keeping the dresser. I’m thinking about selling it since I don’t really have any place to put it.

See how clean the finish is? I have used this paint on my backsplash and garage door and one of our tables. Aside from the banister which I will share later, this paint has held up everywhere and it’s super versatile.
Pretty right?

It looks so modern now compared to its original design. Here are some photos of it styled because that’s really why I do these DIY projects. That’s always my favorite part of any project.

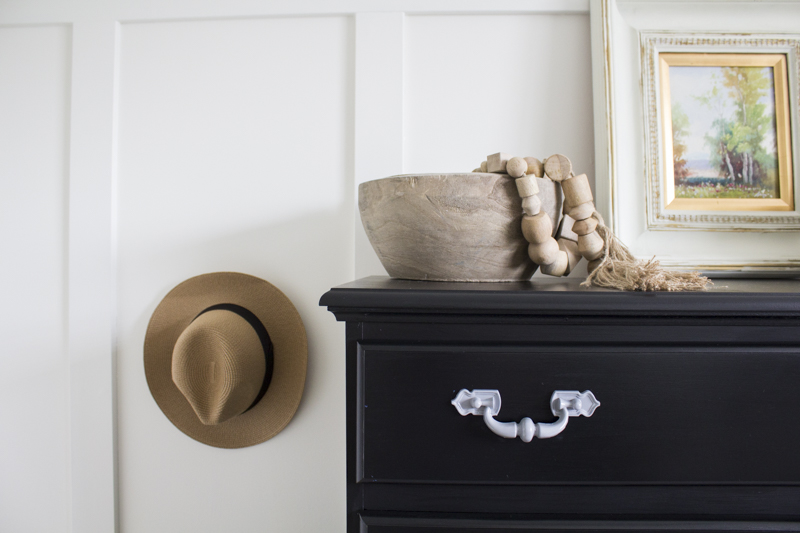


I mean…. I’m kinda in love. I wish I had someplace to put it! It’s gorrrrrgeous.

Hmmm to keep it or not?! That is the question.
I hope this shows you just how easy it is to paint furniture and completely transform it to fit your own aesthetic. Lmk what you think and if you have any questions.
xoxo,

Let all that you do be done in Love. 1 Corinthians 16:14
This post contains affiliate links for your convenience.
Beautiful transformation!
Thank you so so much!
Looking real handsome!!
Thanks so much, Angela!!
So how do you know when to sand and repaint vs not? Reading this post, it seems like you just painted only. I’m curious how to decipher the two?
Hi Mary! It really depends on the piece I’m painting. This dresser already had chalk paint underneath it so I was fine just painting over it. If it’s glossy sheen, I usually will sand it first especially if it will be used heavily. Hope that helps!