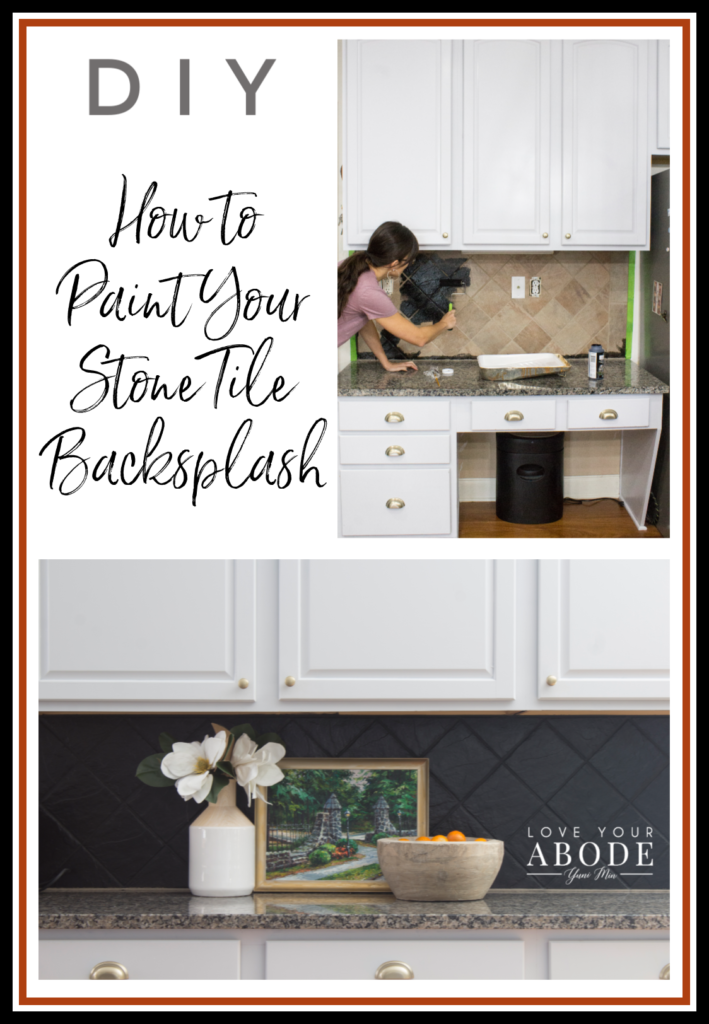
A simple weekend project included our DIY painted stone backsplash.
Over the course of 7 years in our home, we have done a countless number of DIY projects. This is the home where my love and passion for interior design was born. One of the main areas we have done a good number of projects is our kitchen. Well, I’m happy to report that I added one more to the list and it’s our DIY painted stone backsplash!
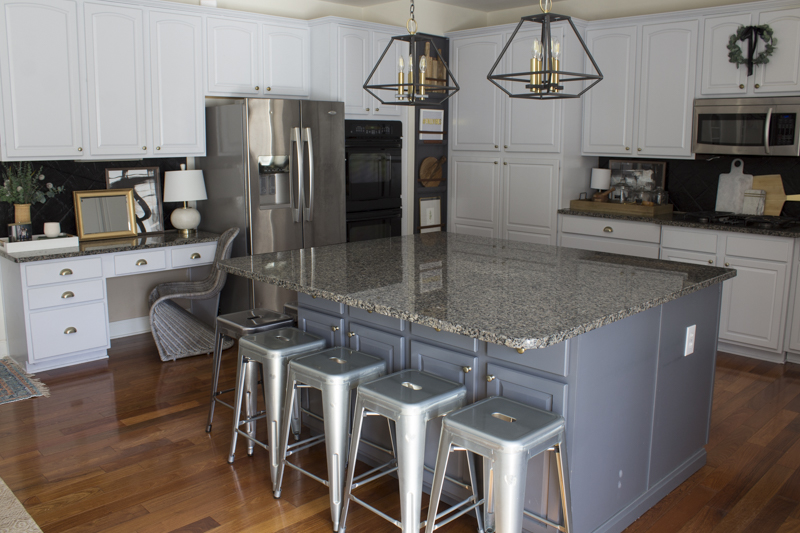
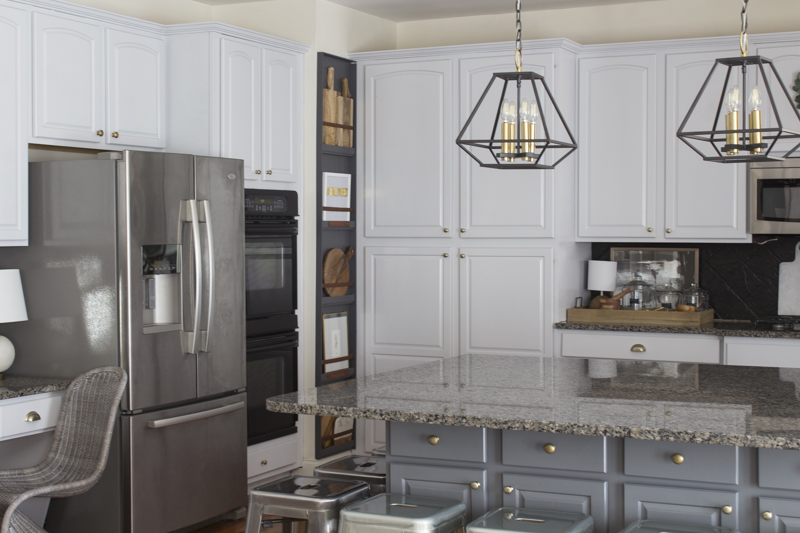
Here’s a good look at our kitchen before we moved in. I fell in love with this kitchen when we first looked at it. We moved from a much smaller townhome so you can imagine how much I loved this kitchen when we laid our eyes on it.
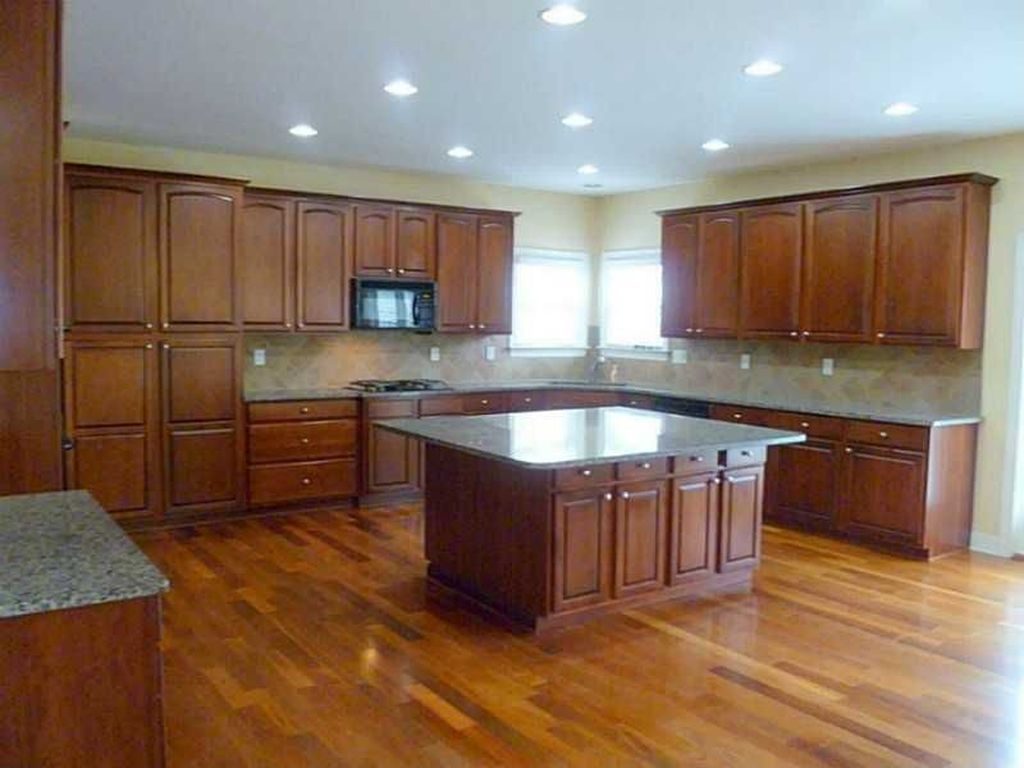
The huge island alone was enough to have me buy this home. People say all the time that the kitchen is the heart of the home and I could not agree more with this statement. It truly is the center of our home because aside from our beds, we spend more time in here more than any other room.

One of my first big projects was painting our cabinets. That job alone took over 2 weeks and I was still learning what it meant to do DIY projects. It was a huge project and one that really made the biggest difference in our kitchen. It brightens our space so much especially with the dark hardwood floors and granite counter tops.
One of the projects I’m looking forward to doing is replacing our kitchen backsplash in the future. I was planning on doing it this next spring but I decided to focus on my parent’s home first. They currently live in our previous townhome and there is a list of projects that need to be checked off that list. Since I decided to focus more of our resources there for the next year, I decided to at least do a simple and very inexpensive cosmetic change to our backsplash.
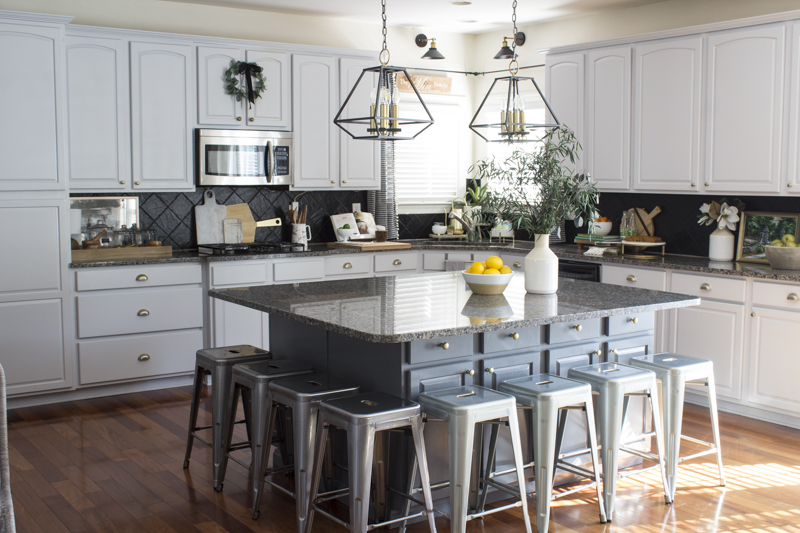
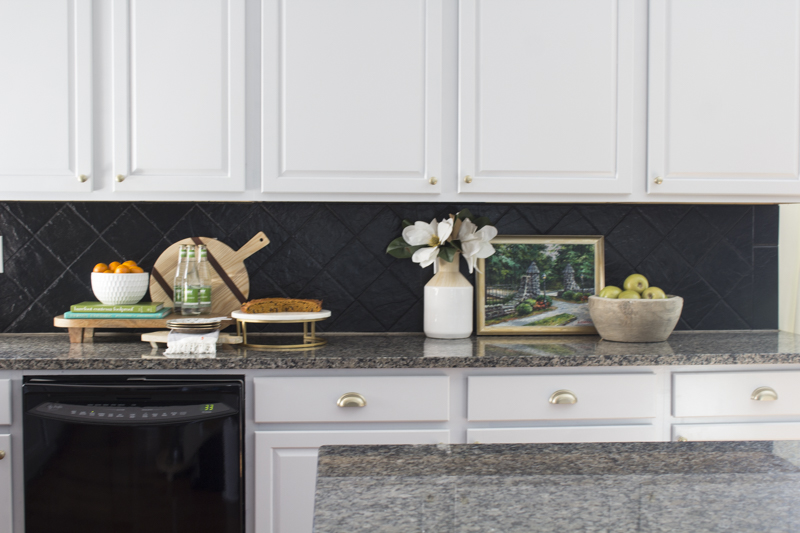
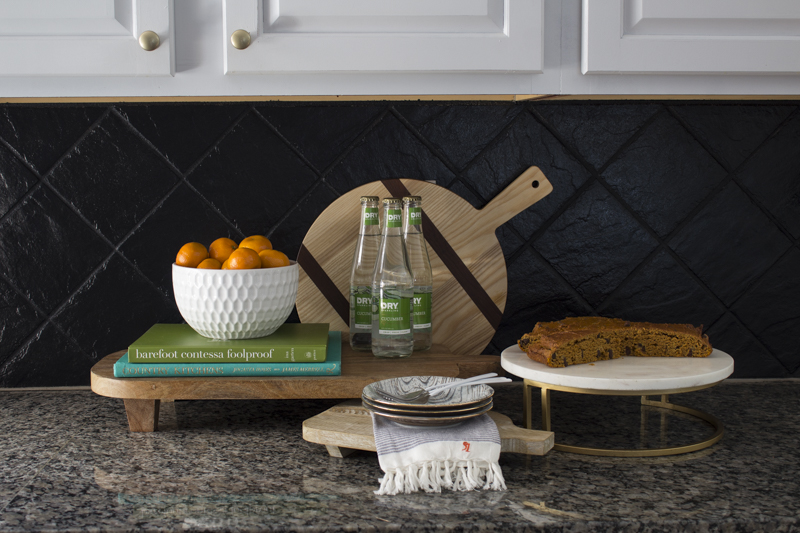
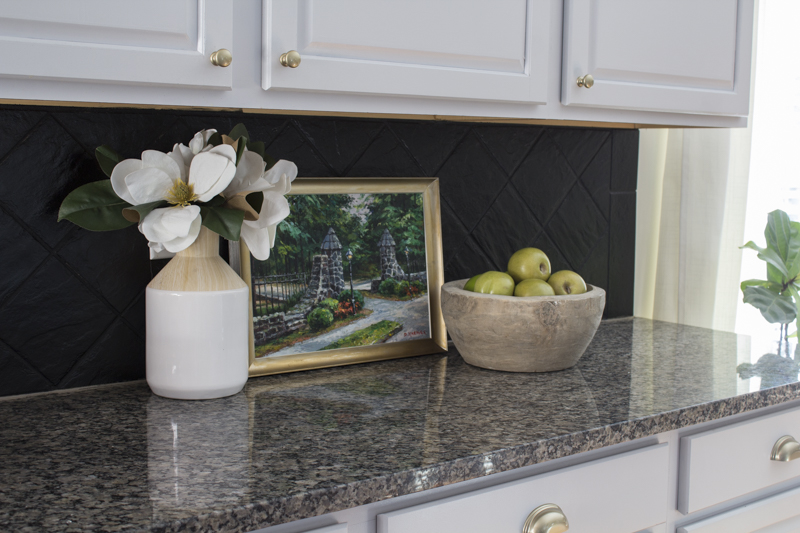
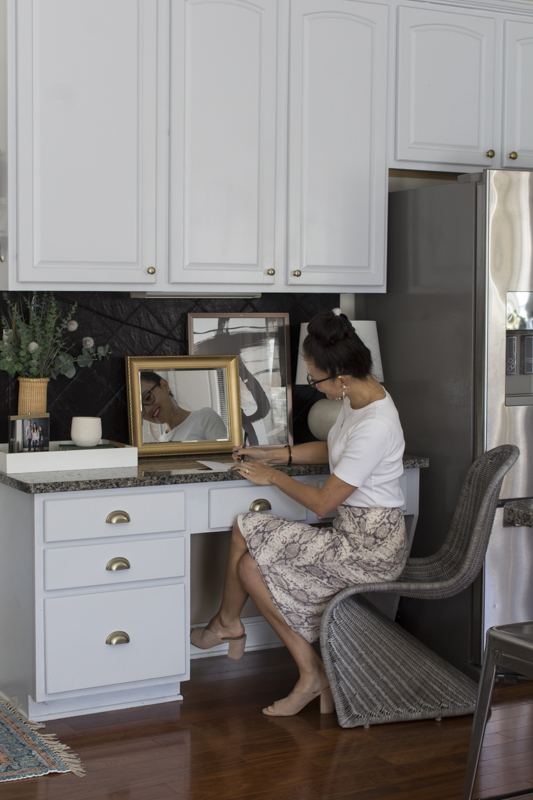
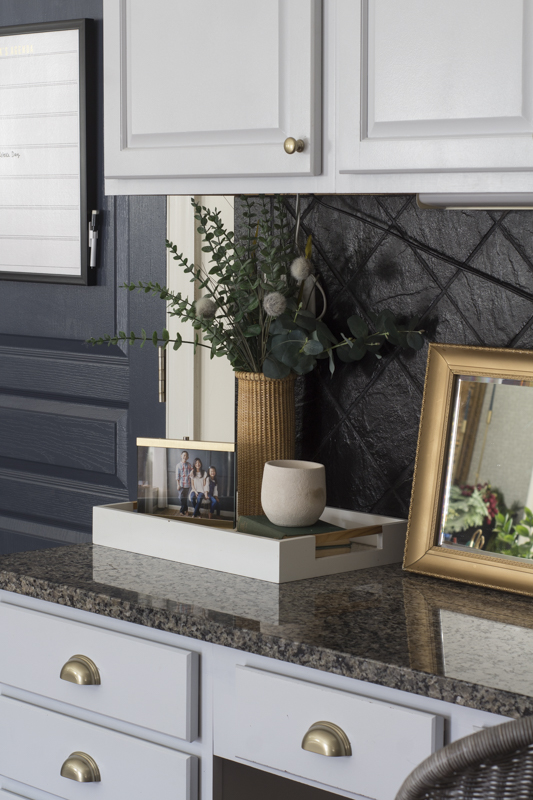
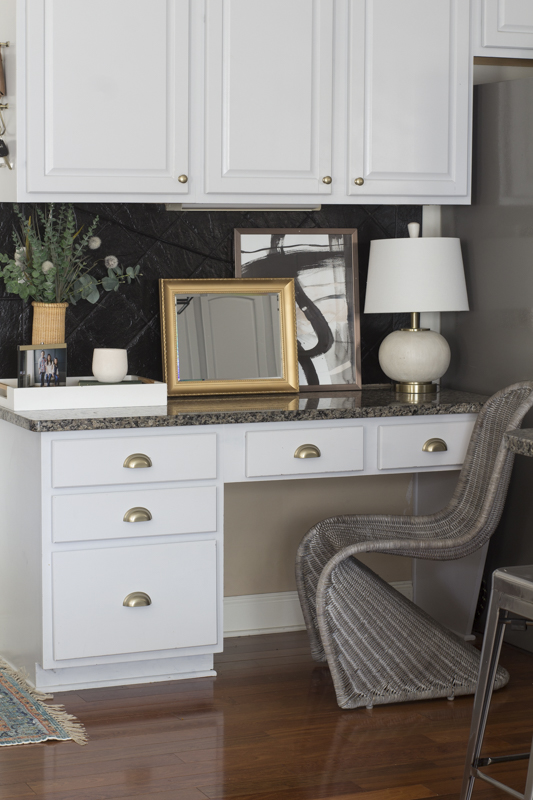
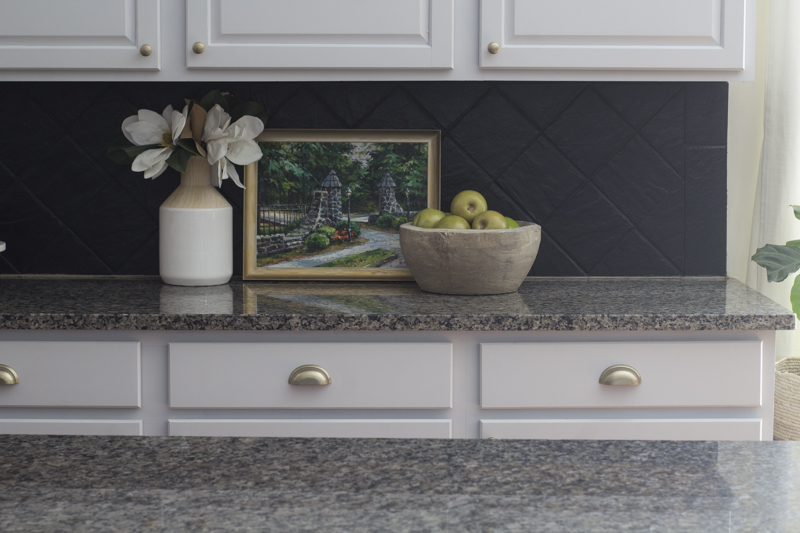
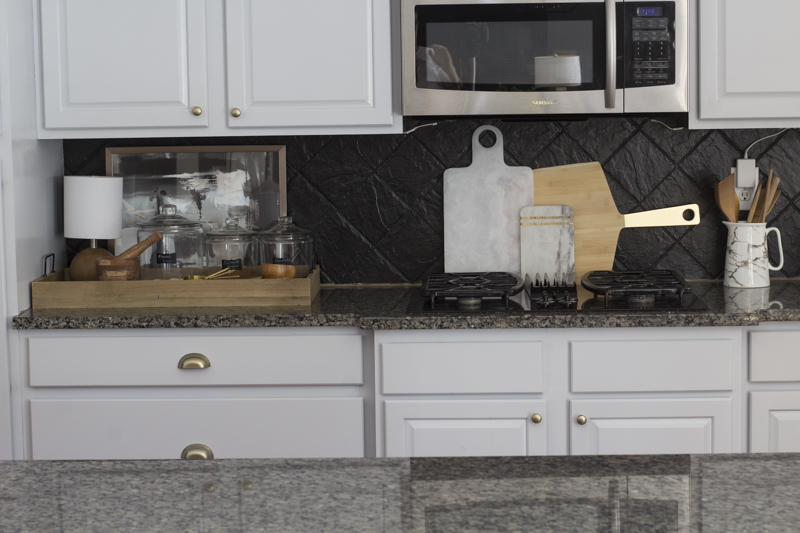
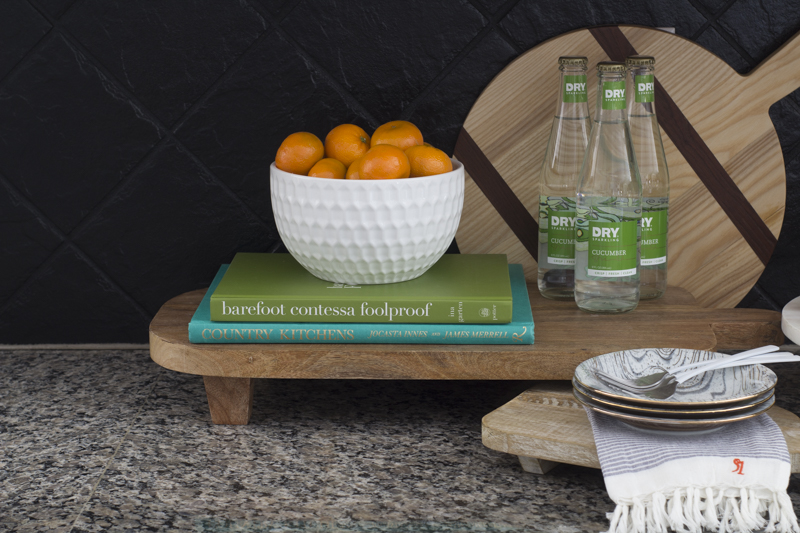
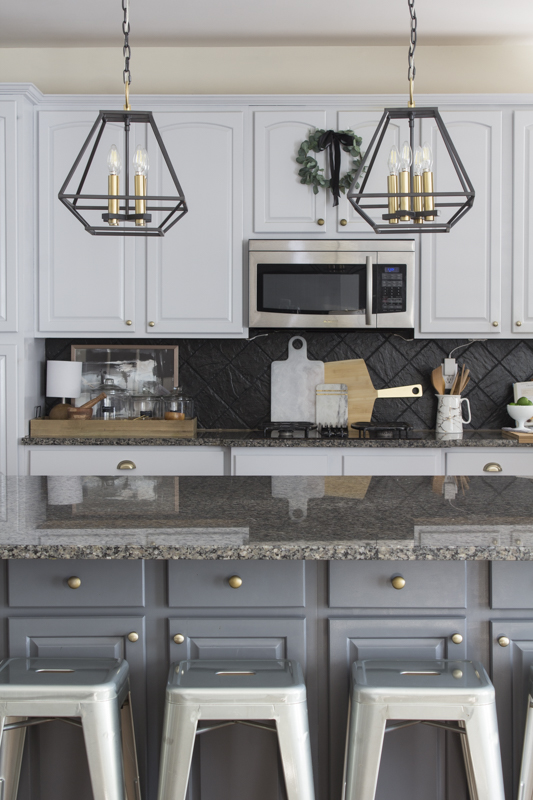
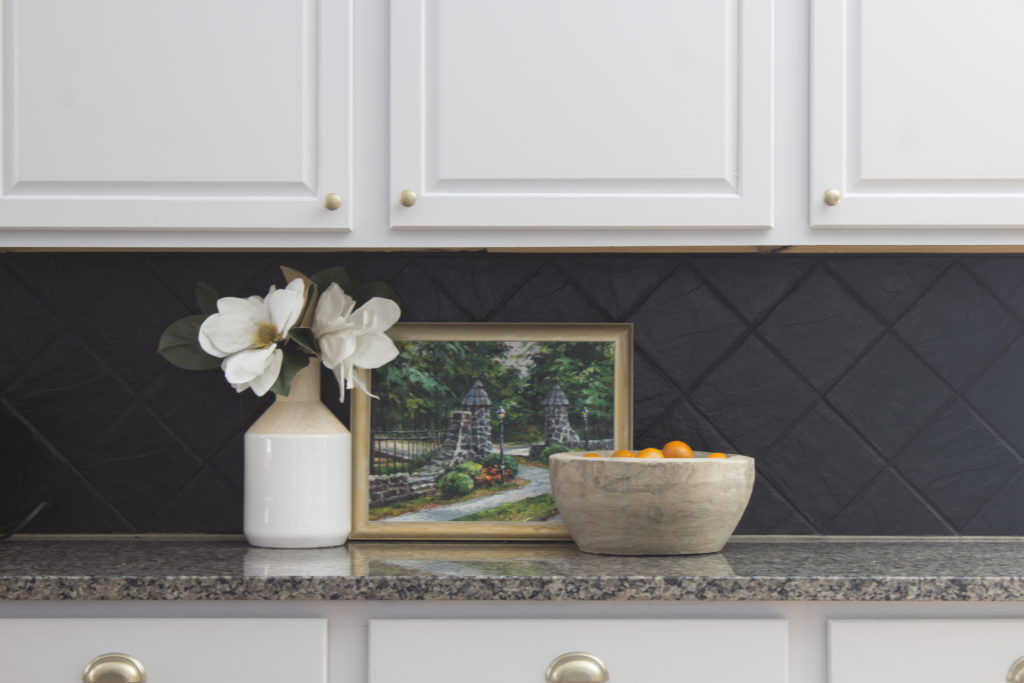
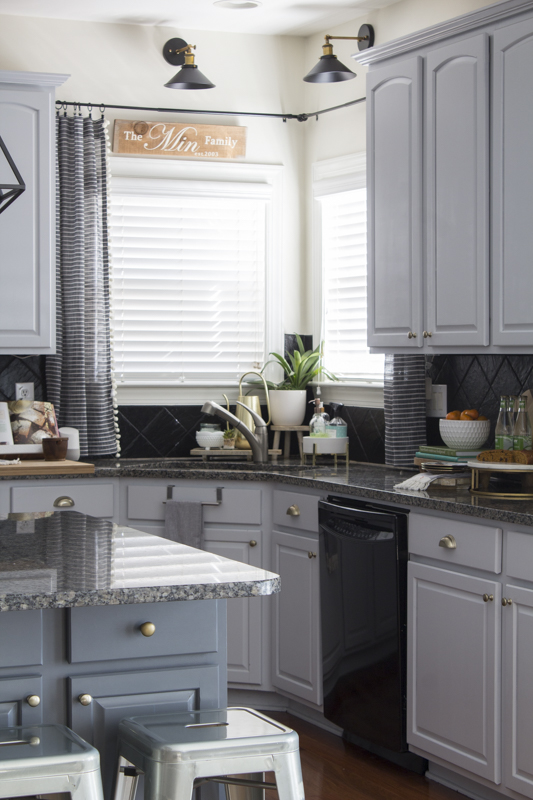
Ready for the AFTER?
Last week while catching up and sharing my heart with my neighbor Adrienne, I shared how I had been struggling a little bit with being in a creative rut. There were some factors that led me to feeling that way and during our conversation, I started to feel encouraged and inspired. This is typically what happens when talking with Adrienne by the way. Then we started talking about our kitchens because we have the exact same layout and that’s when my idea to paint the backsplash was born!! So thank you my dear friend!
After our fun and inspiring meeting, I reached out to DecoArt to see if the same paint that I used on my garage door could be done on our stone tiles. I learned that since it could literally be painted on metal, wood and other various materials, I figured that it could easily be applied to stone. They got back to me and said yes, it most definitely could! They were even so kind enough to send me the paint for my backsplash!
I figured the worst thing that could happen is that it looked awful and then I could paint it again. Or that it would be so terrible that I would have to demo and just replace the whole thing. Since I already planned on replacing this someday, I was ready to accept those two scenarios. Well, I’m happy to report I actually love it so I don’t need to worry about those doing demo or repainting!
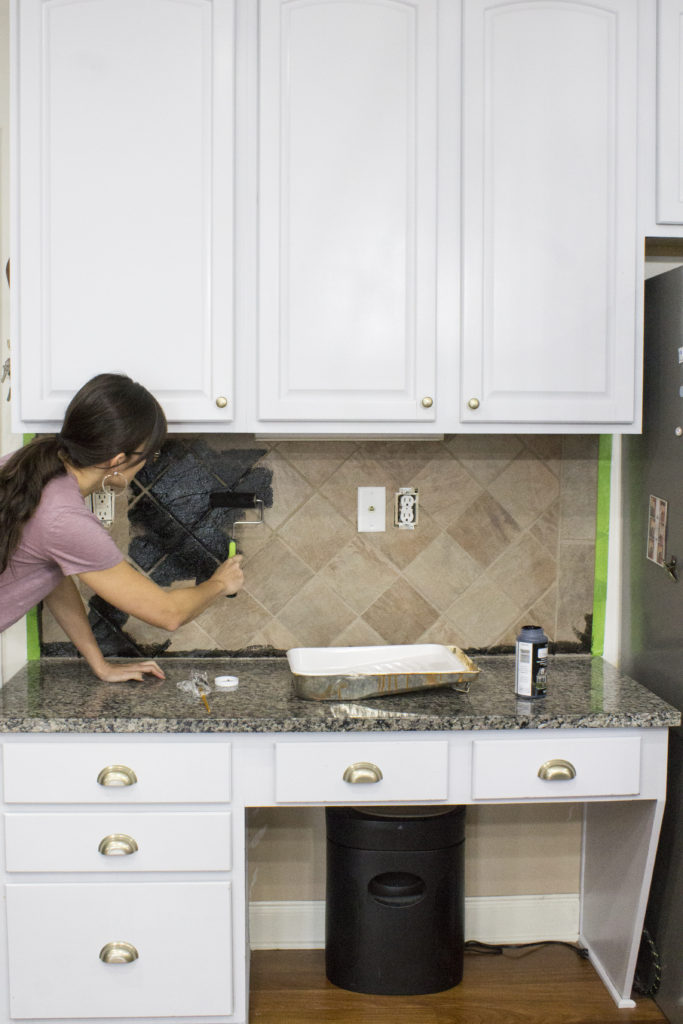
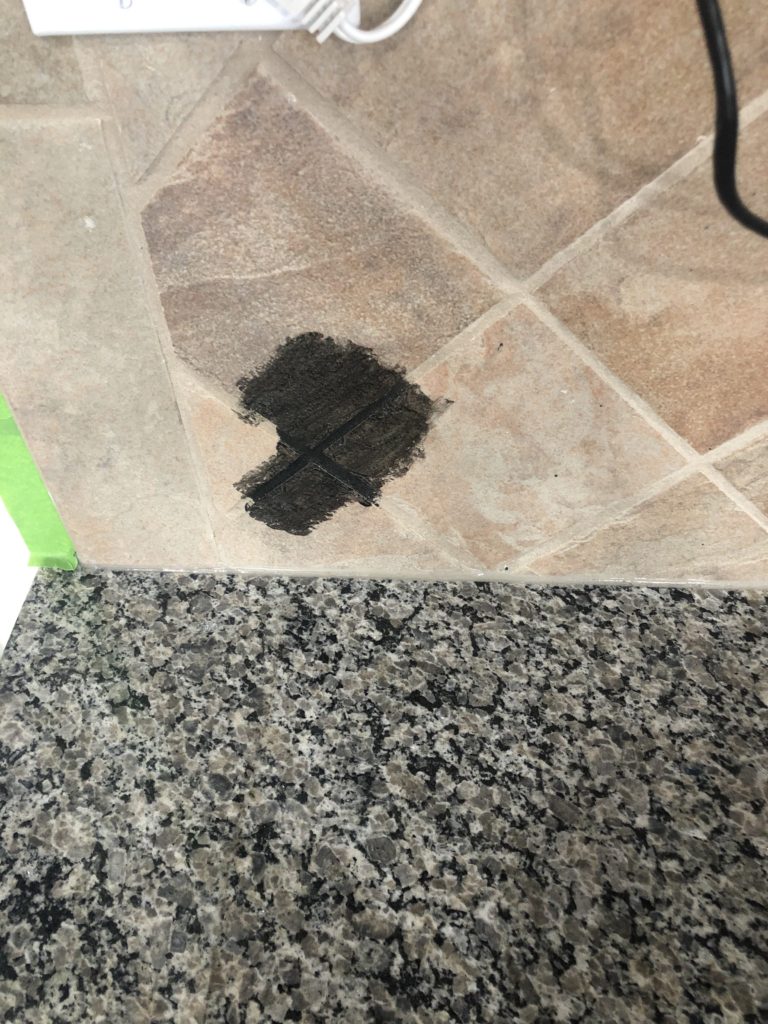
I went with Colonial Black paint in their Curb Appeal line and I went right to work. This project literally only took a few hours from prep to finish. One thing I suggest doing first is to sample the paint on one small area of your stone tile. I did this on my office desk tile where we always keep it covered with our file box holder.
After I realized the paint was sticking to the tile and grout really well, I then proceeded. Can you believe I didn’t even use one bottle for all of my backsplash? The paint is also only around $14-17/bottle depending on the color and there are around 19 colors.
Step 1: Prepare your backsplash surface
I used TSP which is a heavy duty cleaner to make sure I removed all the grease and grime from the backsplash tiles. You want to ensure your tiles are clean or it could interfere with your paint adhering to the tiles. I just used a dish sponge and rubbed it down multiple times especially behind my stove. Make sure it’s completely dried before painting. Stone tiles are porous so it will stay wet for a while unless it has a sealer over it.
Step 2: Tape off any necessary areas
Typically when I paint light colors, I don’t tape. But since I was using black paint, I made sure to tape off some of the walls and under cabinets. I used my trusty Frog Tape.

Step 3: Use a roller and a good quality angled brush
My favorite angled brush is the Wooster shortcut. I use it for so many of my projects because it’s easy to control with the short handle and the angle is perfect for so many different uses. Since my tiles are on the rougher side, I purchased small rollers that worked on semi-smooth surfaces.
*edited Step 4: Add a top protective coat
I didn’t add a protective coat but after living with it for over a year, I would recommend this step. I haven’t had any scratches except behind my stove where there is a lot of grease build-up from cooking. I used my normal counter spray and wiped behind the stove and some of the paint peeled off. Otherwise, it’s held up great everywhere else. I could still use a matte polyurethane if I wanted to add it now.


If you’re interested in some of the other projects we did in our kitchen, here are some other blog posts that may be helpful.
- Modern Farmhouse Plate Rack
- Patio Door Curtains
- DIY easy no sew curtains in kitchen corner
- Painted Garage Door (this is the same paint I used for the backsplash)
- DIY painted kitchen cabinets

I’ll also continue to add some FAQs to this post. If you have any questions, please ask at the bottom of this post and I’ll answer them the best to my knowledge. I’ll also add them to this post.
FAQs
What type of finish is this paint?
It’s semi-glossy. If you’re looking for a matte finish, this probably isn’t for you. It was originally made for exterior doors. You can read more about this paint here.
Is it waterproof?
Yes. It’s made for exterior doors so it’s waterproof and weatherproof. If you’re looking to paint your doors, this is super easy to use since it dries so quickly. You only need 2 coats.
Can you paint over ceramic tile?
I would do a trial and test it on either one ceramic tile or I’d buy one that’s similar at the store and test it out. My guess is that it will work but the curing period may be longer. I would also maybe add a sealer to add extra protection over the paint. This paint doesn’t require a sealer but again, I’m not sure about ceramic.
Will it scuff off?
I tried scratching off the paint from my tiles and none of it has come off yet. It’s only been a couple of days so I will be able to see much more in the days and months ahead if it holds up. If my garage door paint can hold up, I’m pretty sure this backsplash will be just fine.
As always, thank you so much for reading all the love surrounding this project! My Instagram blew up yesterday because apparently, so many people have similar tiles they also want to paint! I was happy to be the guinea pig using this paint. ;D
xoxo,

Let all that you do be done in Love. 1 Corinthians 16:14
This post contains affiliate links for your convenience.
What a great idea! Greetings from California!
Thank you so much, Cathy! Come visit soon!
I absolutely love!!!😍😍
Thank you, seester!!
Love it!
Thank you so much!
I’m not sure if I missed it but did you do any pruning first? Or just go straight in with paint? Also I bought the Krudkutter brand to do mine. Do you think that will suffice or should I just buy TSP? I have a whole house that I need to “diy” Ha!!
Thanks, Ade!! I’m not sure what you mean by pruning?