Hi there! It’s been a while since I’ve shared something on the blog. Honestly, there is so much I want to share but not enough time in the day. BUT, it’s all good. Remember when I shared that I’ve freed myself from the pressure of striving? It’s made all the difference.
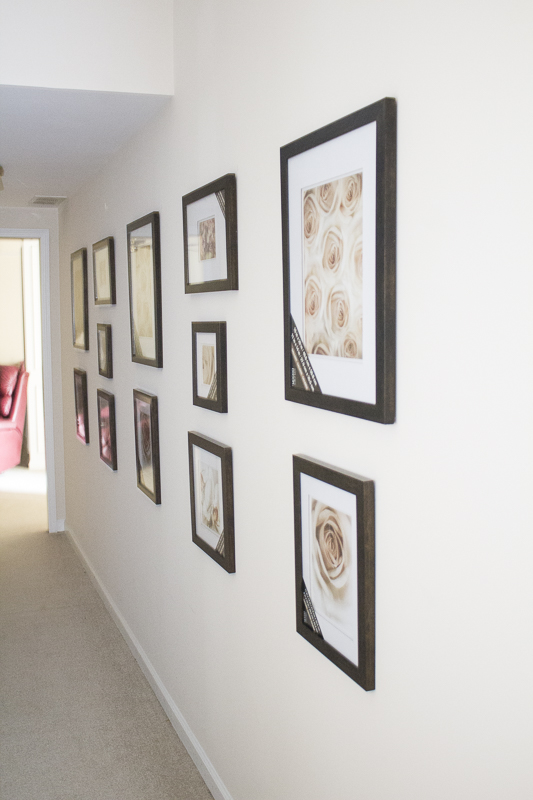
Well today, I’m finally sharing a client project with you all that I finished before Christmas. It’s not a glamorous before and after like some of the other transformations on the blog. However, I wanted to share this simple gallery wall in case you’ve been wanting to do something similar. I think gallery walls look great in a hallway as well as on a a large wall. They can pack a huge punch and you can easily showcase art, photos, trinkets or all of the above. I’ve added a few affiliate links for your convenience.
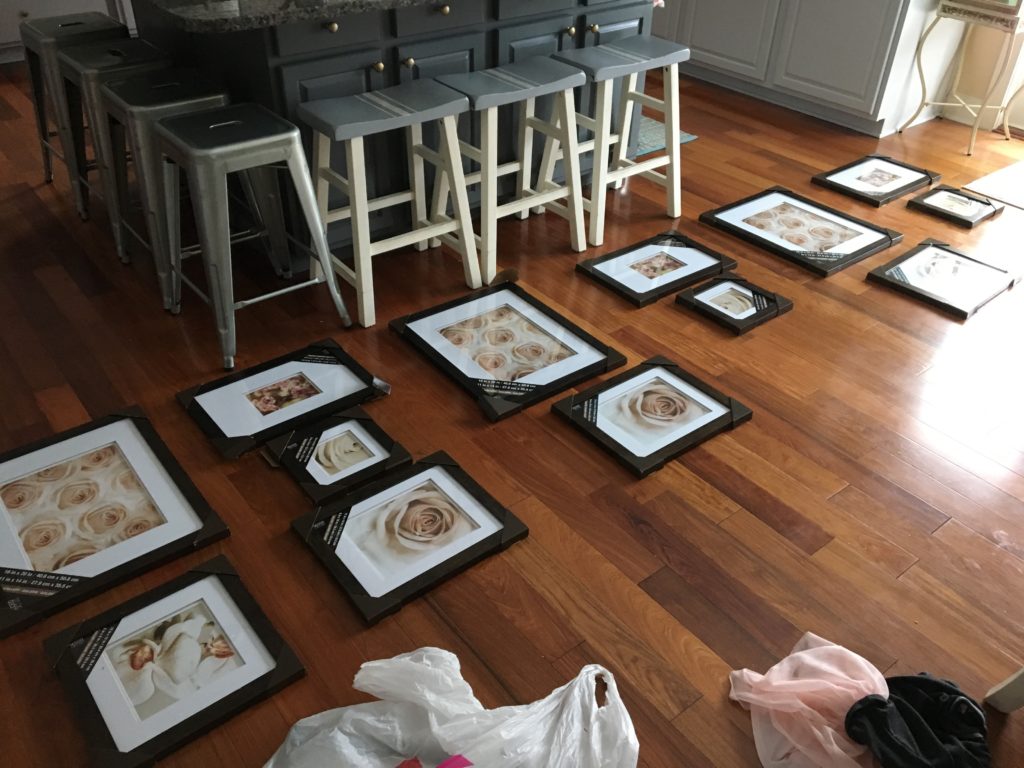
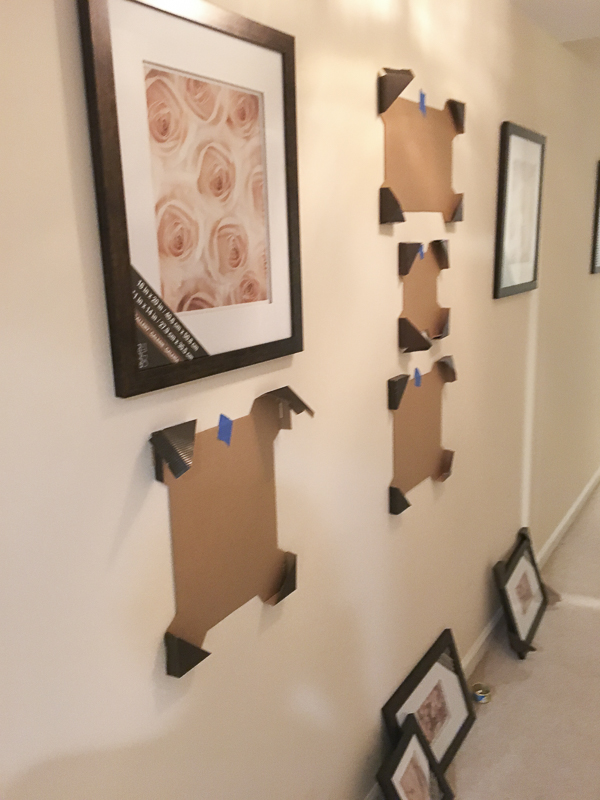
At home, I played with the frames and tried different layouts to see which one I liked the best. After I came up with the layout, I took a photo like the one I’m sharing below. You can find frames like this easily in many stores.
The hallway doesn’t get any natural light so apologies for the dark photos! I used the back part of the packaging to give me a general idea of the layout. Painters tape allows you to protect the walls.
People tell me all the time that they are scared to put nails on the walls because they’re afraid of making mistakes. If you’re one those people, I’m gonna tell you something. DON’T BE! If you saw my walls, you would probably hyperventilate because of the amount of holes I’ve put in them over the span of 4.5 years. The funny thing is it’s barely noticeable. If you’re wanting to put family photos or art up, all you need to do is prepare some careful measurements. Yes, you may still make mistakes but they’re just holes on the wall. Okay, so are you over your irrational fear now? I hope so.
If you’re hoping to put up a gallery wall for the first time, I recommend making it symmetrical. My client really likes symmetrical design so this is what I went with. The calculations took as long as the actual installation time because the frames were all different sizes. I used these picture hooks to hang all the frames up easily. You’ll also need a hammer, pencil, laser level, calculator and some paper.
Here’s the progress shot. So far so good!
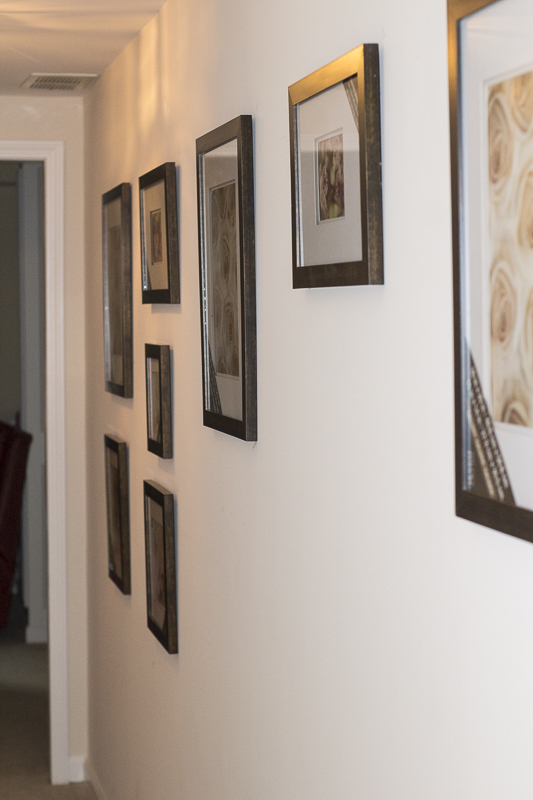
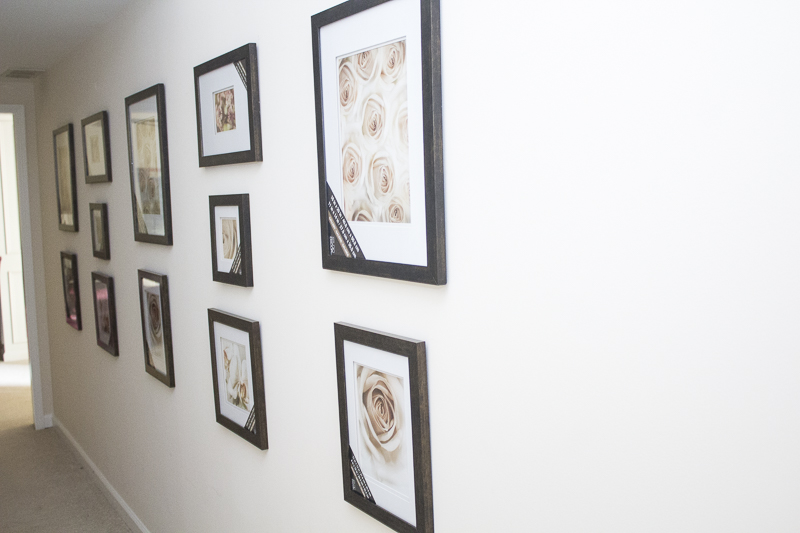
My client wanted to put up a bunch of travel photos that she had taken over the years. What a great place to showcase her photography!
All done!
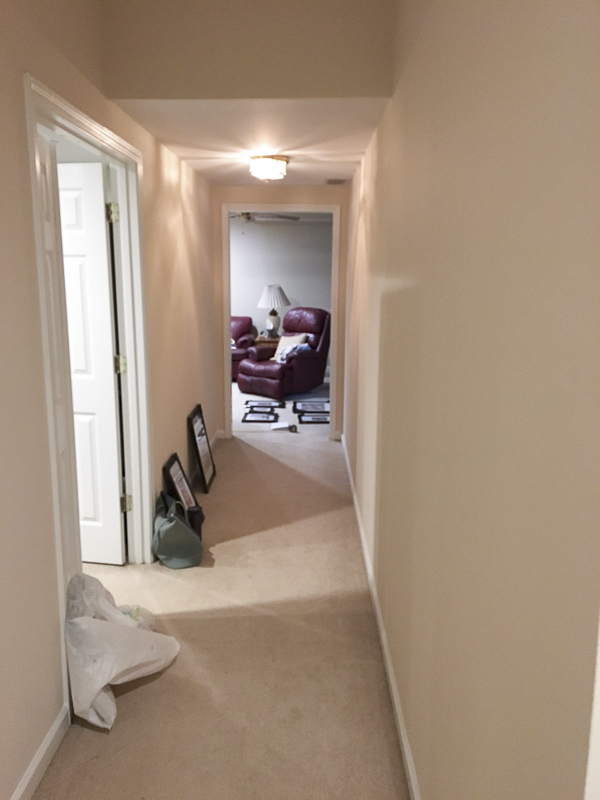
BEFORE
AFTER!
It was a fun project and I’m so glad my client was so happy with the results.
Here are a couple of gallery walls in my own home.
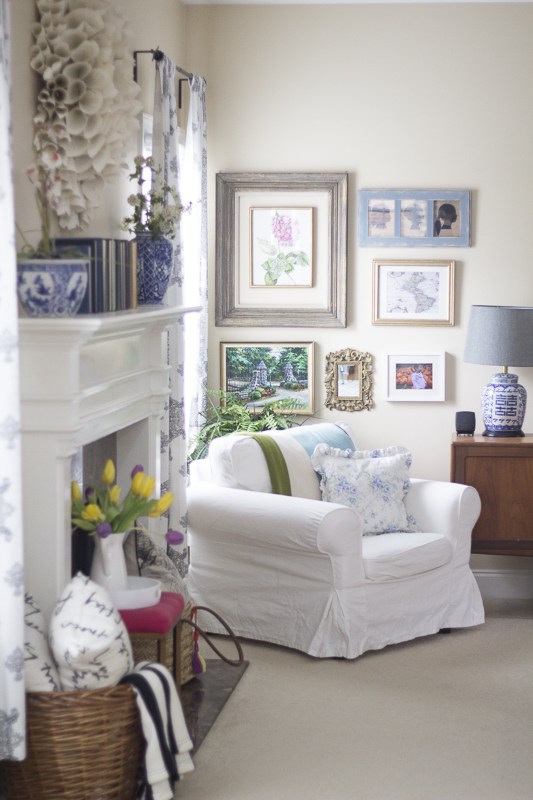
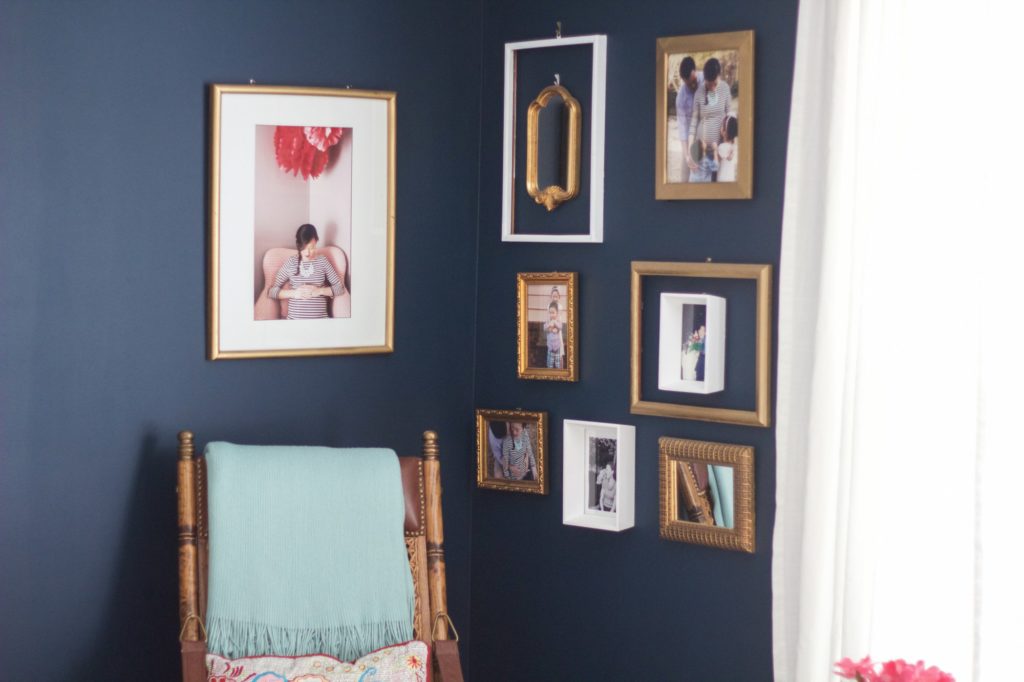
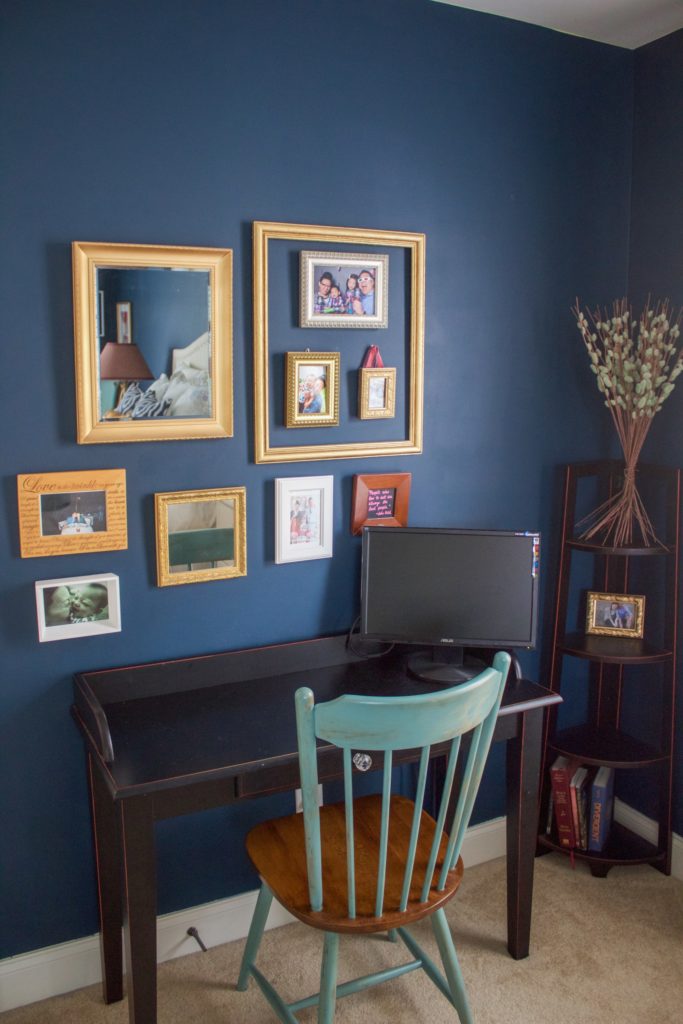
Are you inspired to tackle your own gallery wall? If you’re still scared and live in the Atlanta area, you can hire me to put it up for you. I’m currently taking design clients so I would love to assist you! Just email me at loveyourabode@gmail.com. Otherwise, just repeat after me. I AM NOT AFRAID OF MAKING HOLES IN THE WALL.
Have a wonderful weekend, friends!
yuni
Let all that you do be done in Love. 1 Corinthians 16:14
Brilliant use of the frame covers to space them on the wall!
Thank you so much, Lori! I appreciate that!
Yuni,
I love how your gallery project turned out! You are so clever leaving the back of the packaging up on the wall, brilliant idea! I need to do something with our hallways too, so I maybe trying this soon!
Thank you so much, sweet friend! It really helped when I did that!