Due to an oversight, I’m now sharing my painted staircase debacle. YAY!!
Back in January, I decided to paint my staircase black. I even shared a 3 month update after that. It was originally a dark almost cherry wood stain and I was over it. Like I always do, I got out my paintbrush and went to work. Because I had used this same Curb Appeals paint on my garage door, backsplash and table, I figured it would be just fine on the banister. Well, it wasn’t Here’s the very fun story of my painted staircase debacle.
BEFORE
This is what where we originally started

AFTER

Because this glossy paint is used for exterior doors, I thought it would be fine on our banister without any sort of protective coat like polyurethane or lacquer. I was wrong.

Over the course of the quarantine with multiple kids at home along with my nephews who live next door, these newel caps took a beating. They looked horrid! The kids love hanging off these posts and this particular side of our staircase receives all the traffic. We have a dual staircase that meets at a mid landing and the other side looked fine only because it’s not used nearly half as much. I think the natural oils from our hands rubbing on this paint is what kept stripping the paint over time. This paint is meant to be water-resistant but I think little greasy hands are another story.
After looking at it for months, I couldn’t stand it. Plus, I really needed to work on it when the kids weren’t in the house since it couldn’t be touched for at least a few hours. DIY is all about learning as you go. Behind a number of successful projects, I will experience some fails but that’s the only way I have learned how to do things correctly over time.
I also think it’s super important to be transparent here because I don’t want you to have to make the same mistakes. I’m technically treating my house like a guinea pig so that you don’t have to that with yours. 🙂
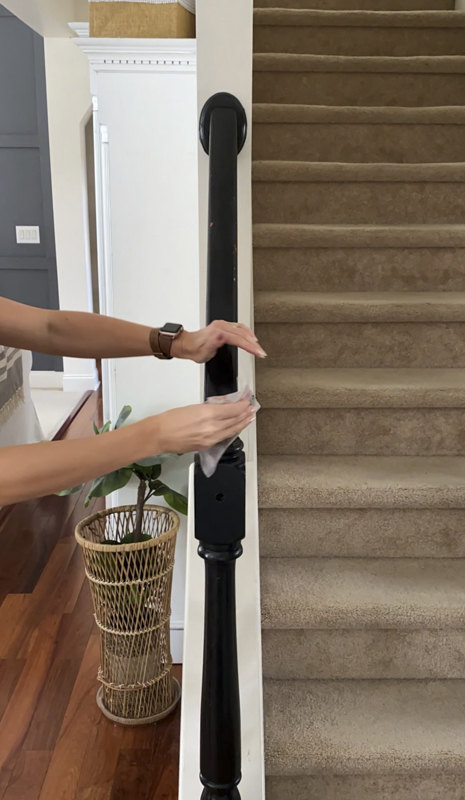
So here’s what I did to hopefully have rectified this painting blunder. I cleaned the banister really well and then sanding down just the newel caps so it removed all the paint.

Since the caps were the main issue, I wanted to have a smooth surface to paint. I applied two coats of paint from Curb Appeals Deco Art. I also gave the whole banister another coat of paint. I figured it wouldn’t hurt.
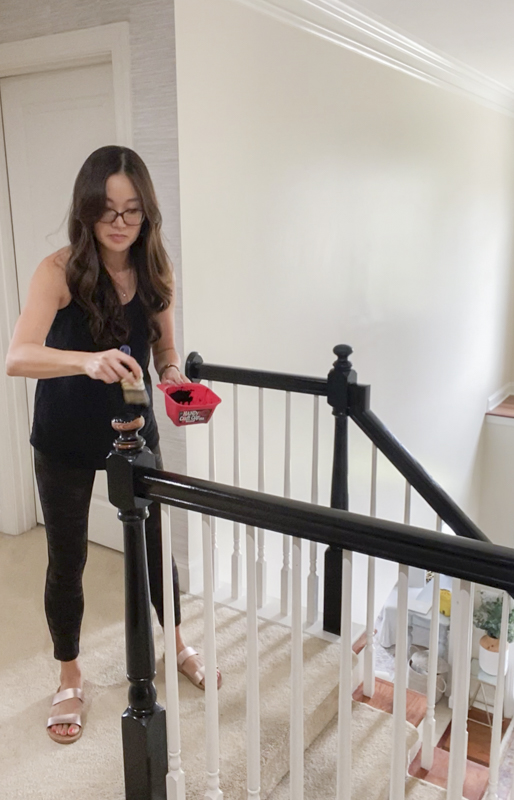
I then applied this polyurethane from Varathane. You want to do thin coats and do at least 3 or more. I did 4 coats on the newel caps and about 3 coats everywhere else. Read the instructions and wait in between the appropriate spacing in time for the new coat.

I chose this interior semi-gloss water based polyurethane. Polyurethane is supposed to protect any painted or stained surface. Plus, it makes it easier for you to wipe down the protected surface in the future.

Please note that when you apply this, it has a cloudy appearance but it dries completely clear. I could have also used a lacquer like I did for Jimmy’s desk but it is so toxic that those types of projects are best done outside with proper ventilation.

If you are painting it white, make sure to choose a protective finish that doesn’t yellow because Polyurethane tends to yellow. I would check out either a crystal clear drying lacquer or Poly Acrylic.

Here’s to hoping that the paint sticks! I hope that this encourages you that with DIY, sometimes we learn through mistakes. Or at least that you’ll learn through my mistakes! Ha!

So here are the steps I recommend. Again, I’m not an expert!
- Clean off the surface really well
- Use a liquid deglosser or sand if using latex paint
- Prime if using latex paint
- Paint 2-3 coats of your preferred color
- Add at least 3 thin coats of protective finish like polyurethane or lacquer
As always, thanks for reading. If you have any questions, please leave them in the comments section. I also shared video tutorials in my IG stories so you can watch those for more reference.
xoxo,

Let all that you do be done in Love. 1 Corinthians 16:14
This post contains affiliate links for your convenience.