Hi friends! This is the last update before the full bathroom reveal next week. If you are visiting me for the first time, welcome! Make sure to start from the beginning and start with Week 1 of my #oneroomchallenge.
Week 1, Week 2, Week 3, Week 4
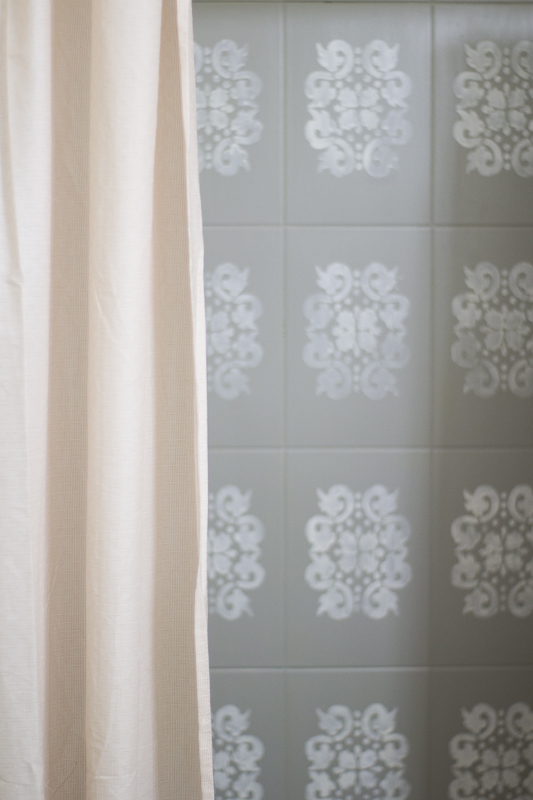
Last week, I shared how I started painting the bathtub tiles. This past week, I finished stenciling and painting the floor. It was definitely laborious but I’m really satisfied with the results. I love the imperfect look on the stenciling and they remind me of some of the European tiling I saw a lot of when I was studying abroad in college. In the future, I hope to share all the tips I learned while painting the tiles. I also want to give it some time to cure and see how the bathroom tiles hold up after a few weeks. I’m really hoping the tiles will hold up to all the traffic it receives being on the main level. If they don’t, I will finally have to learn how to remove and install new tiling in the near future. #pleaseGodno
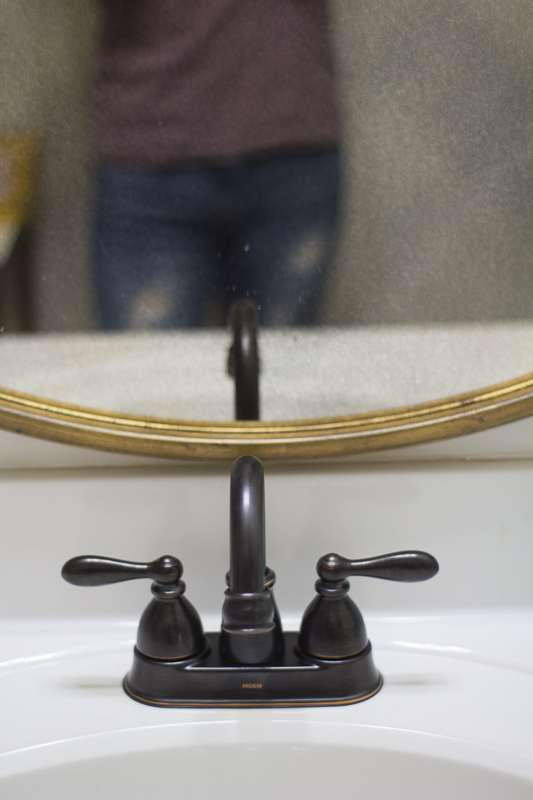
This past week, my husband helped install the gorgeous lighting, mirror and new towel holders. I hung up the art work and it really adds some punch to the space.
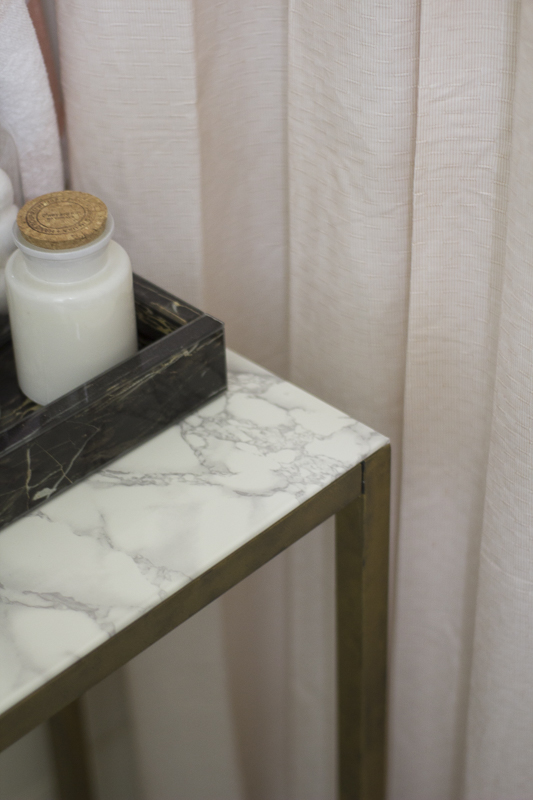
This console table used to be in our foyer but I decided to move it into out bathroom. I bought some marble contact paper to take the table up a notch and it looks like the real thing!
Before:
After: Sneak Peek
I love it!
I bought some shelves from Target and Jimmy helped install those as well. I loved the gold brackets and the modern design complements the rest of the space. I couldn’t help but to start styling the shelves with these pretties.
We have just a few more things to do in the space but I’m planning to photograph everything by this weekend. The bathroom is difficult to photograph due to no natural lighting and the shape of the room so I’m hoping to get some decent pictures.
Be sure to check out my final reveal next week. I’m so excited to share it all with you!
A huge thanks goes out to my following sponsors for assisting me with this bathroom makeover. Thank you so much for following along, friends!!
Yuni
Let all that you do be done in Love. 1 Corinthians 16:14


marble contact paper!! I so have to meet this new friend! Thanks for the tip!
Thank you, Tim! Yes, marble contact paper is the best! I love how it updated the console table.
this is awesome Yuni! Love everything and can’t wait to see the final reveal!
Thank you so much, Alma!
You are really creative! That table and the floor tiles turned out fantastic! I know how hard it is to get photos in a small space with little natural light, but I’m sure you’ll get it done. I can’t wait to see next week 🙂
Thank you so much, Julie! They turned out better than I thought. whew!
You know anything that involves gold is a major YES in my book… I watched your Insta stories when you were doing the tile, and I have to say: 1) What an amazing idea, and 2) You are so creative! I am loving all the peeks you’ve shared so far – I’m sure the end results will be fabulous!
Thanks so much, Oksana! So glad we did this together again!
the tile looks awesome! such a great idea!
Thank you so much, Cassie!
Everything looks so beautiful Yuni! Your stenciling is amazing!
Thank you so much, Marianne! You’re too sweet!
The marble contact paper looks so good! We used that on shelves in our master bathroom last spring and it’s held up great! Such a simple way to class things up on a budget! 🙂
Thank you so much, Angela! That marble paper is so cool!