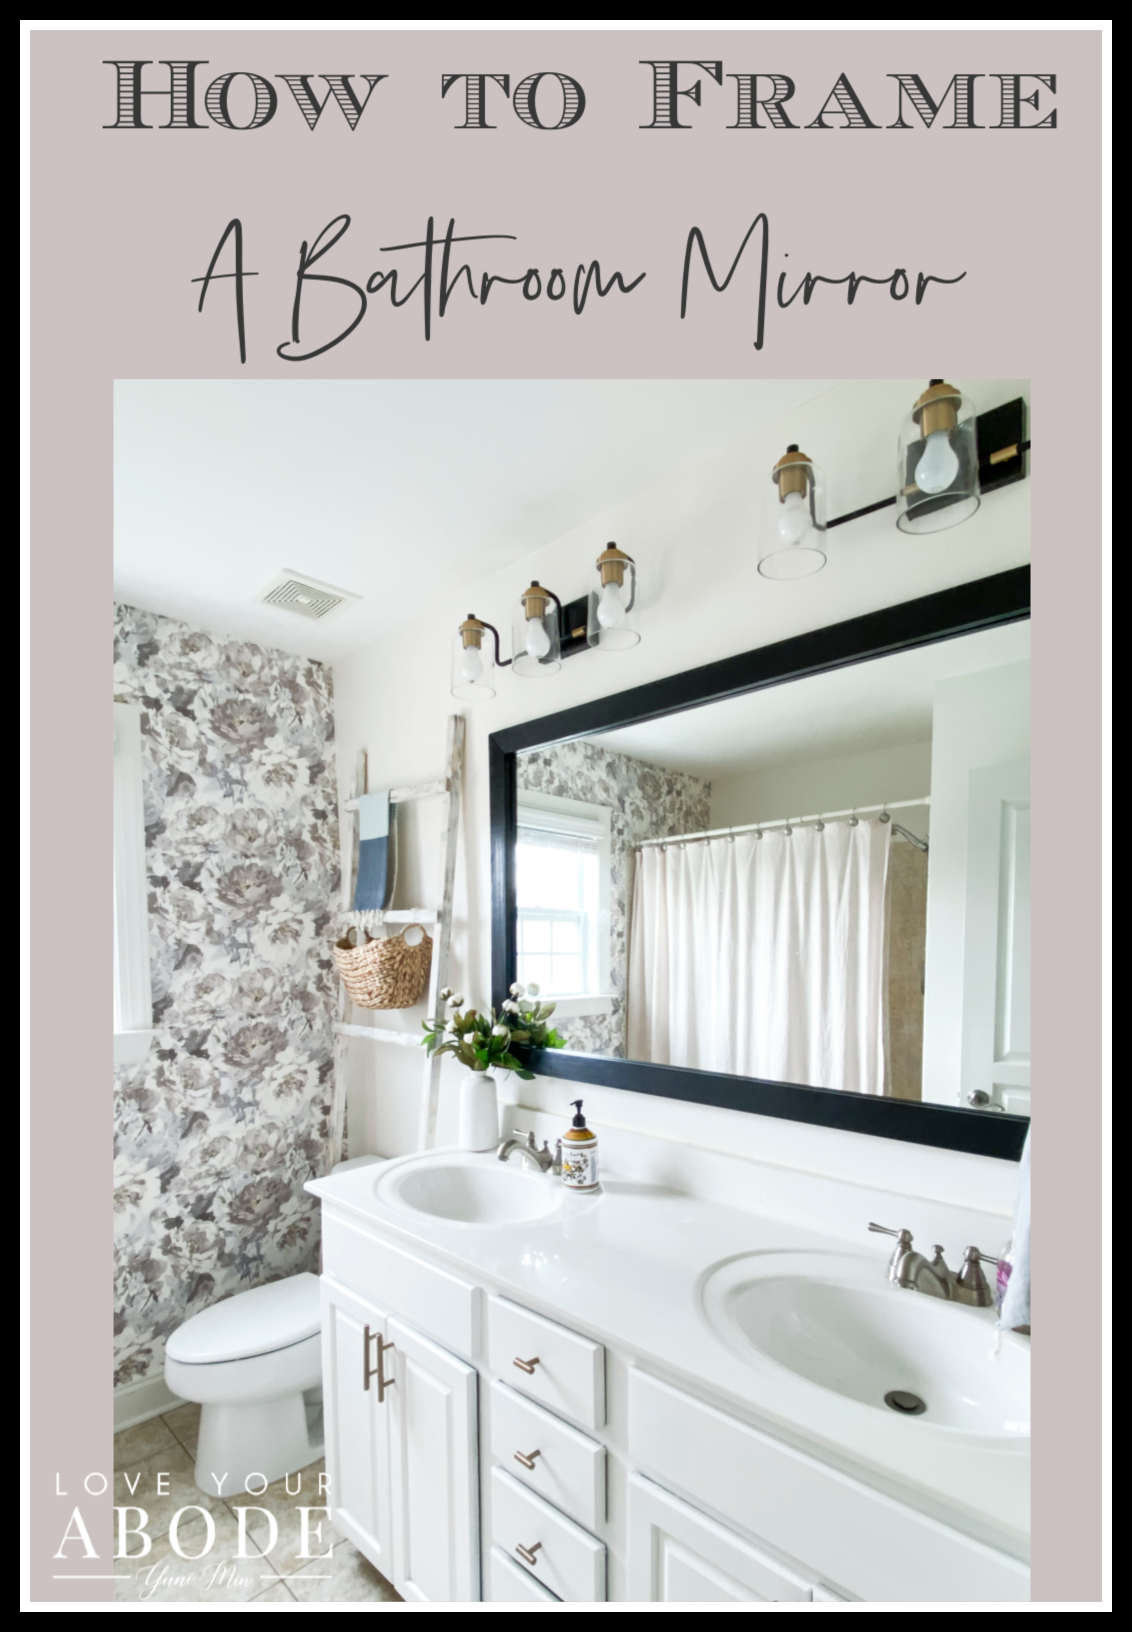
How to frame a bathroom mirror with simple DIY steps.
As you know, I’ve been sharing easy DIY updates to the kid’s bathroom. My purpose is to share how you can give a beautiful facelift to your bathroom while staying on budget and avoiding demo. Instead of changing out the mirror completely, I decided to add a wood frame around it. Here’s how to frame a bathroom mirror with these simple DIY steps.
Before I share the steps, you can also check out these posts where I shared the other cosmetic updates to this bathroom.
- Painting the Cabinets and Hardware
- Installing wallpaper and painting walls
- Building a towel ladder
- Replacing the vanity lights
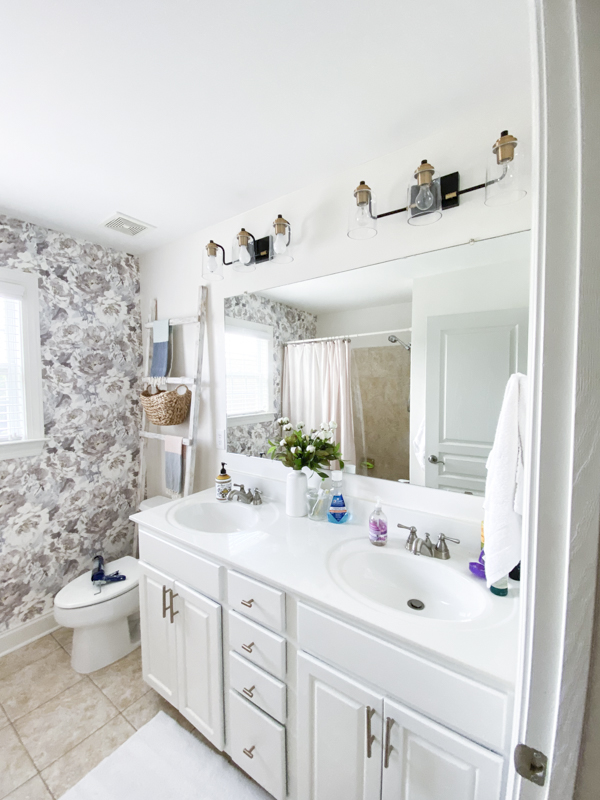
Here is where we previously left off after we replaced the sconces. Replacing the lights can dramatically upgrade any space in your home. You can check this post where I shared some great inexpensive vanity lights all under $100.
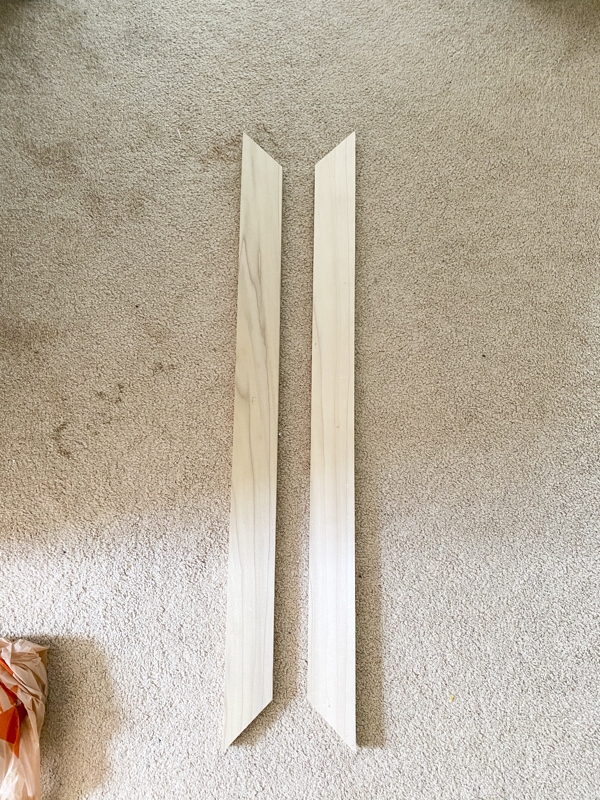
The first thing you want to do is measure the length and width of the mirror. I measured so that the wood pieces would glue right on top of the mirror. I ran to Home Depot and picked up some 1×3 poplar wood. I like poplar because it’s light, has no visible knots and easy to paint. Make sure to find the flattest pieces because it’s difficult to work with warped wood.
We cut the ends at a 45 degree mitered edge. I sanded down the edges to smooth out the wood finish before painting.

Make sure you put the wood pieces up on the mirror to make sure they meet at the appropriate corners. It’s always good to cut a bit longer than too short!
Since we had to work around the little clips at the top of the mirror, Jimmy used the dremel or rotary tool to create notches on the wood.
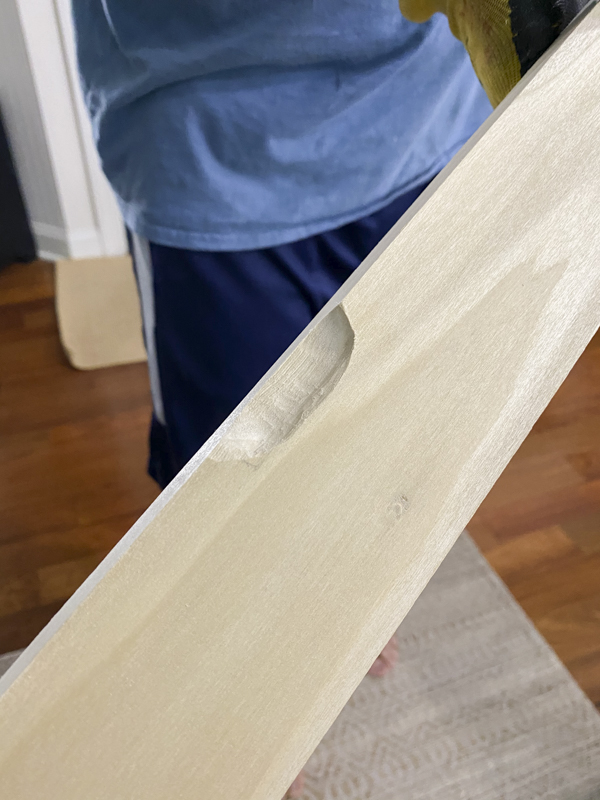
This step ensures that the wood will lay flat on the mirror.

I wanted to go black since the bathroom is fairly neutral. Every space needs a bit of black in my opinion. I used the Curb Appeal Colonial Black paint for the wood and only needed one coat! I have used this same paint for my garage door, front door, staircase banister, and stone backsplash.
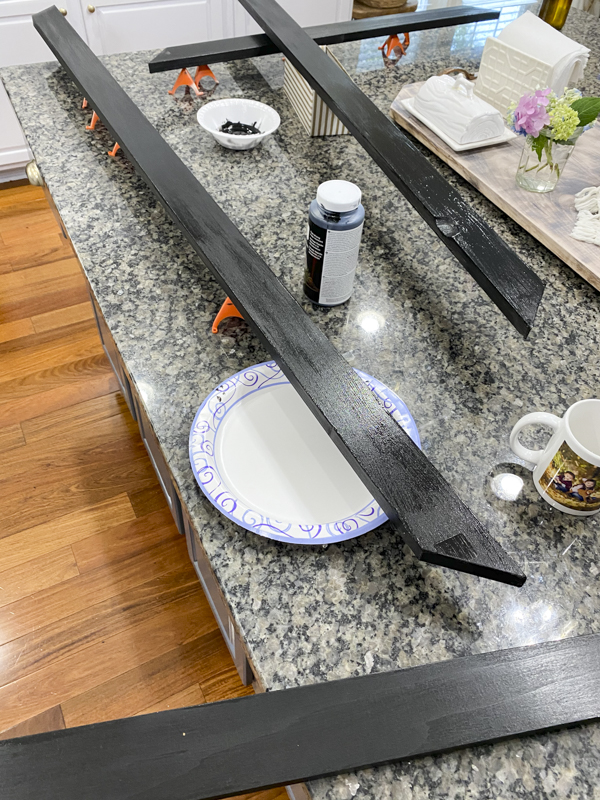
Allow all the pieces to dry completely before the next step.
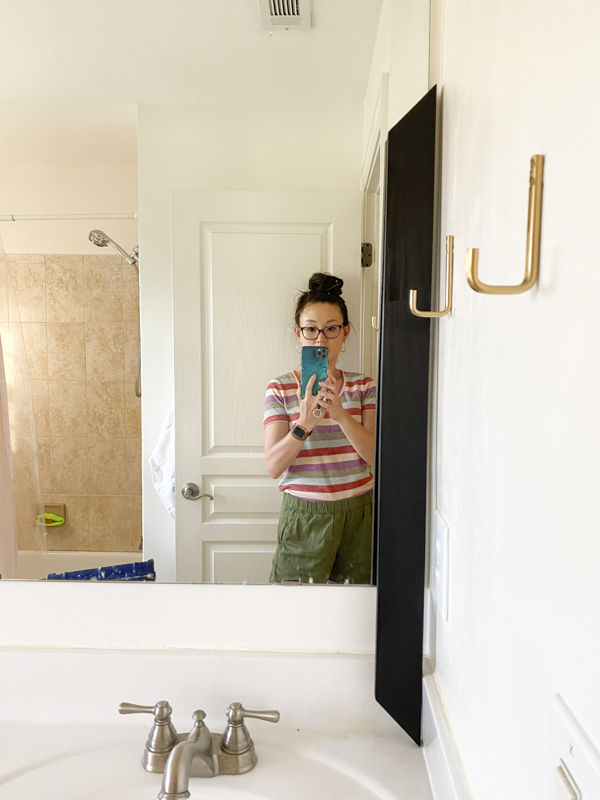
I took a photo to make sure I was happy with the black and I definitely was.

We used Gorilla Glue for the wood and worked with one piece at a time.
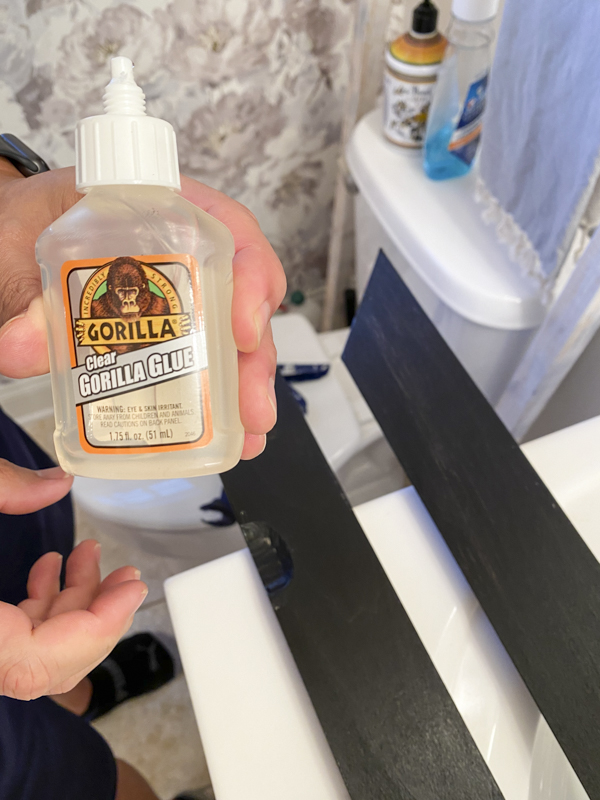
When you place the wood on top of the mirror, it will move around so you need to somehow keep it in place. This was the most annoying part of the whole project. We started with the right side and then the top.
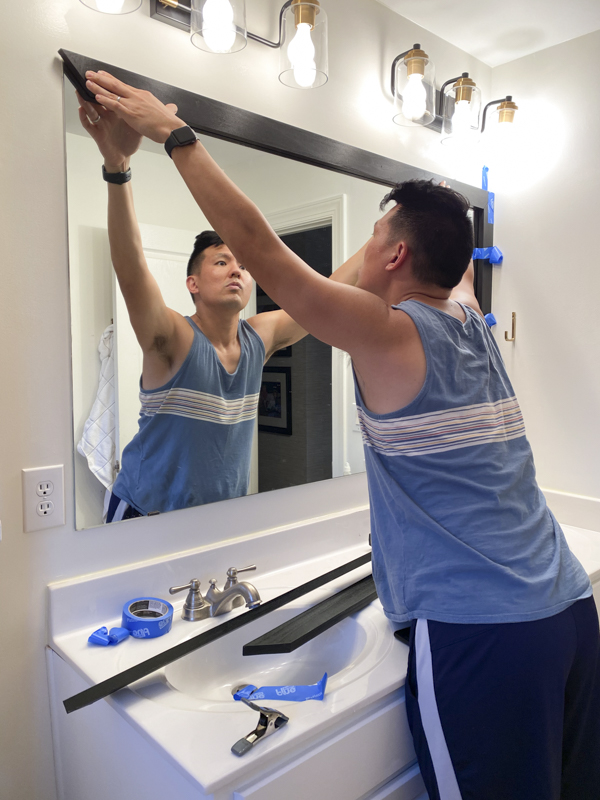
Since we couldn’t use clamps, Jimmy had to hold each piece for almost 10 minutes until the glue dried. You have to keep the pieces in place until the glue dries or else, it will just slide off. I also used blue tape to help hold up the pieces temporarily.

What a good sport!

Even Jules came to help. This was a family affair, to say the least. Jules and JJ have loved watching their bathroom come together.

You can use caulk to fill in spaces at the edges but I actually liked how it looked so I skipped that step.

We used a bunch of books to hold the bottom piece of wood overnight.
Not bad right?? I think the wood alone cost less than $15. That’s a whole lot cheaper than finding two new mirrors. Plus, I love how the black plays off the vanity lights.
Shall we take a look at where we started?
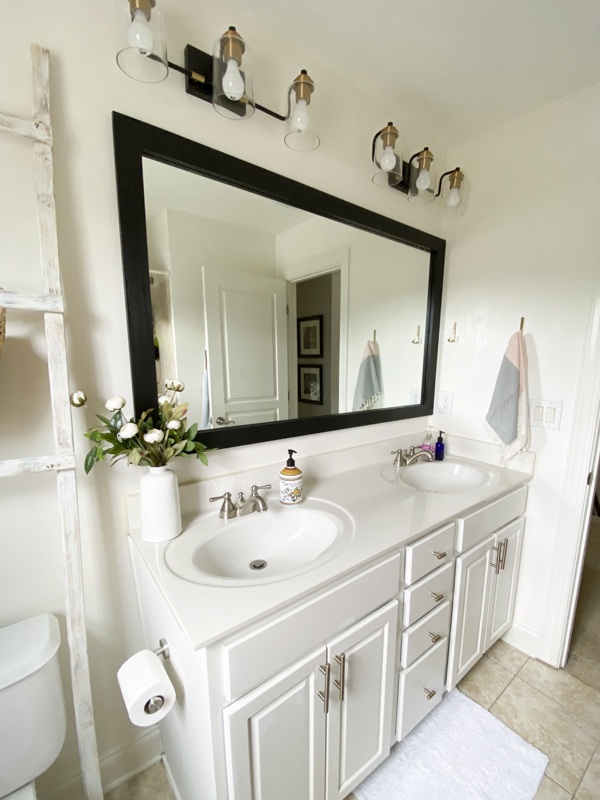
How to Frame a Bathroom Mirror Before and After
BEFORE

AFTER
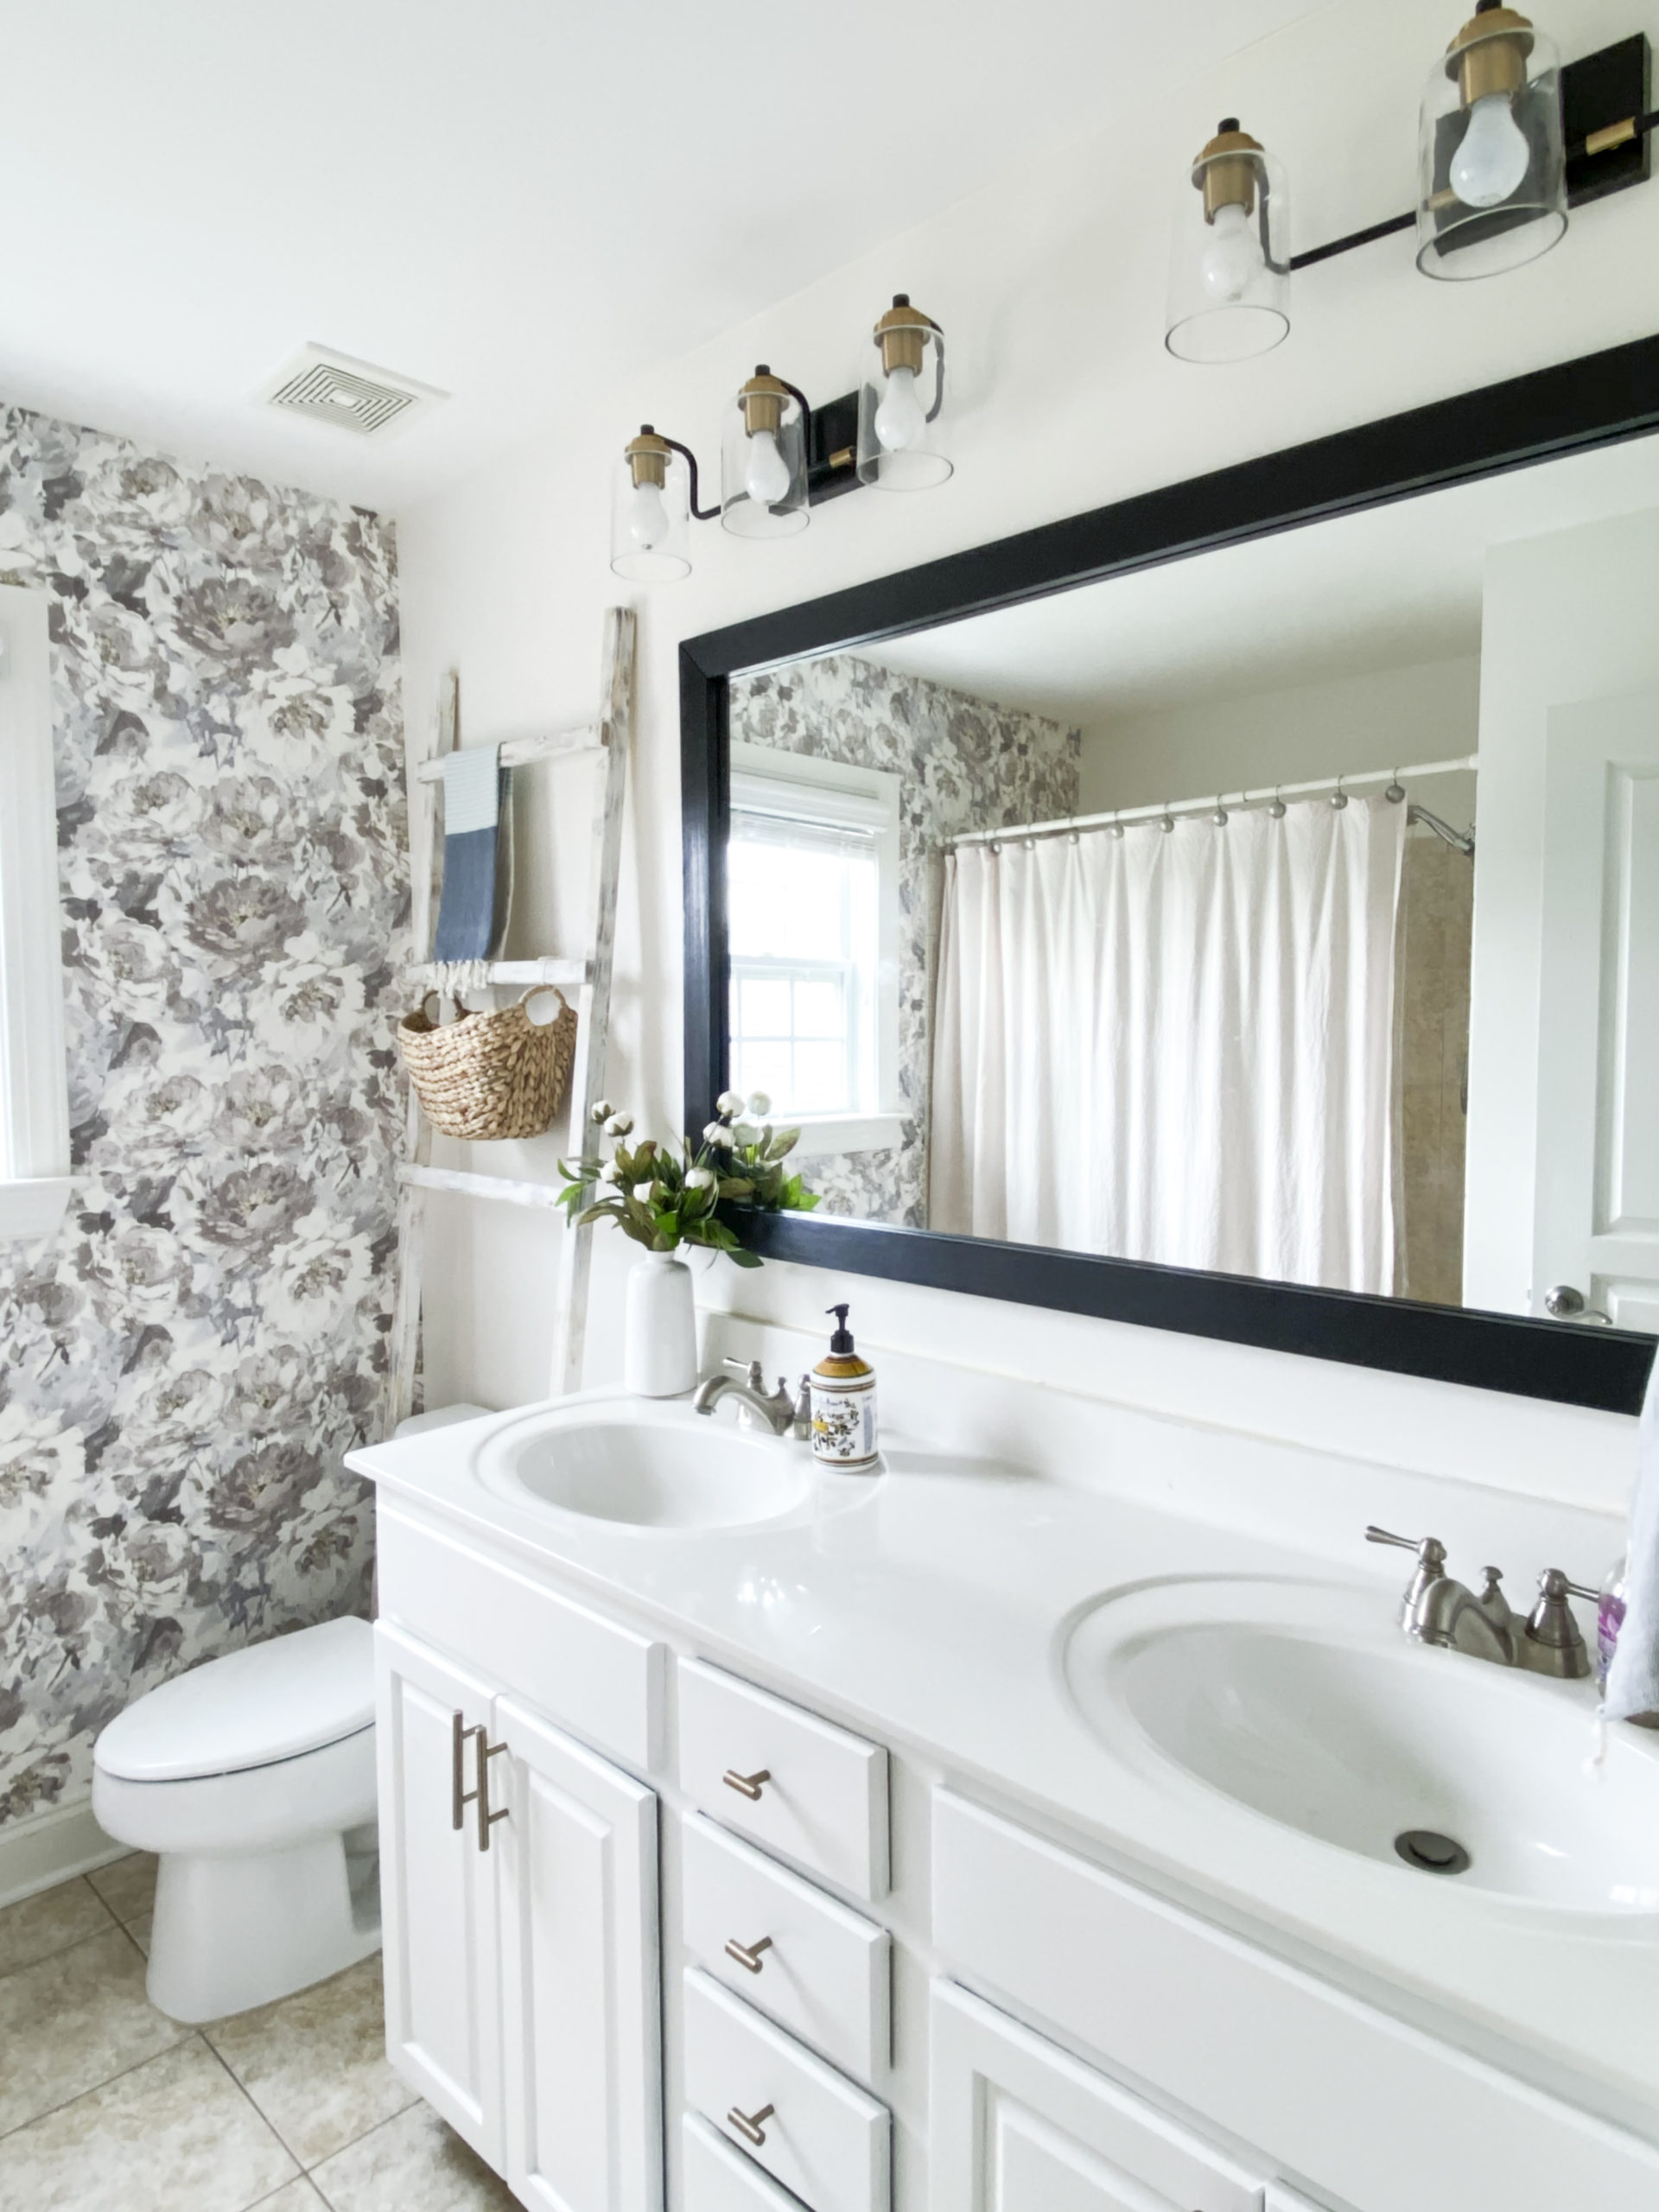
Can you believe the transformation? It’s amazing what cosmetic changes can do to a bathroom! Lmk what you think and if you have any questions.
xoxo,

Let all that you do be done in Love. 1 Corinthians 16:14
This post contains affiliate links for your convenience.
Looks so good!! 😍
Thank you so much, Jill!
Thank you for this post. We are about to do this to our master bathroom mirror and your tutorial is great! I love how you’re transforming your kids’ bathroom without the expensive renovation!
Thank you so much, Jenn. You’ll have to share it with me when you do the same project!