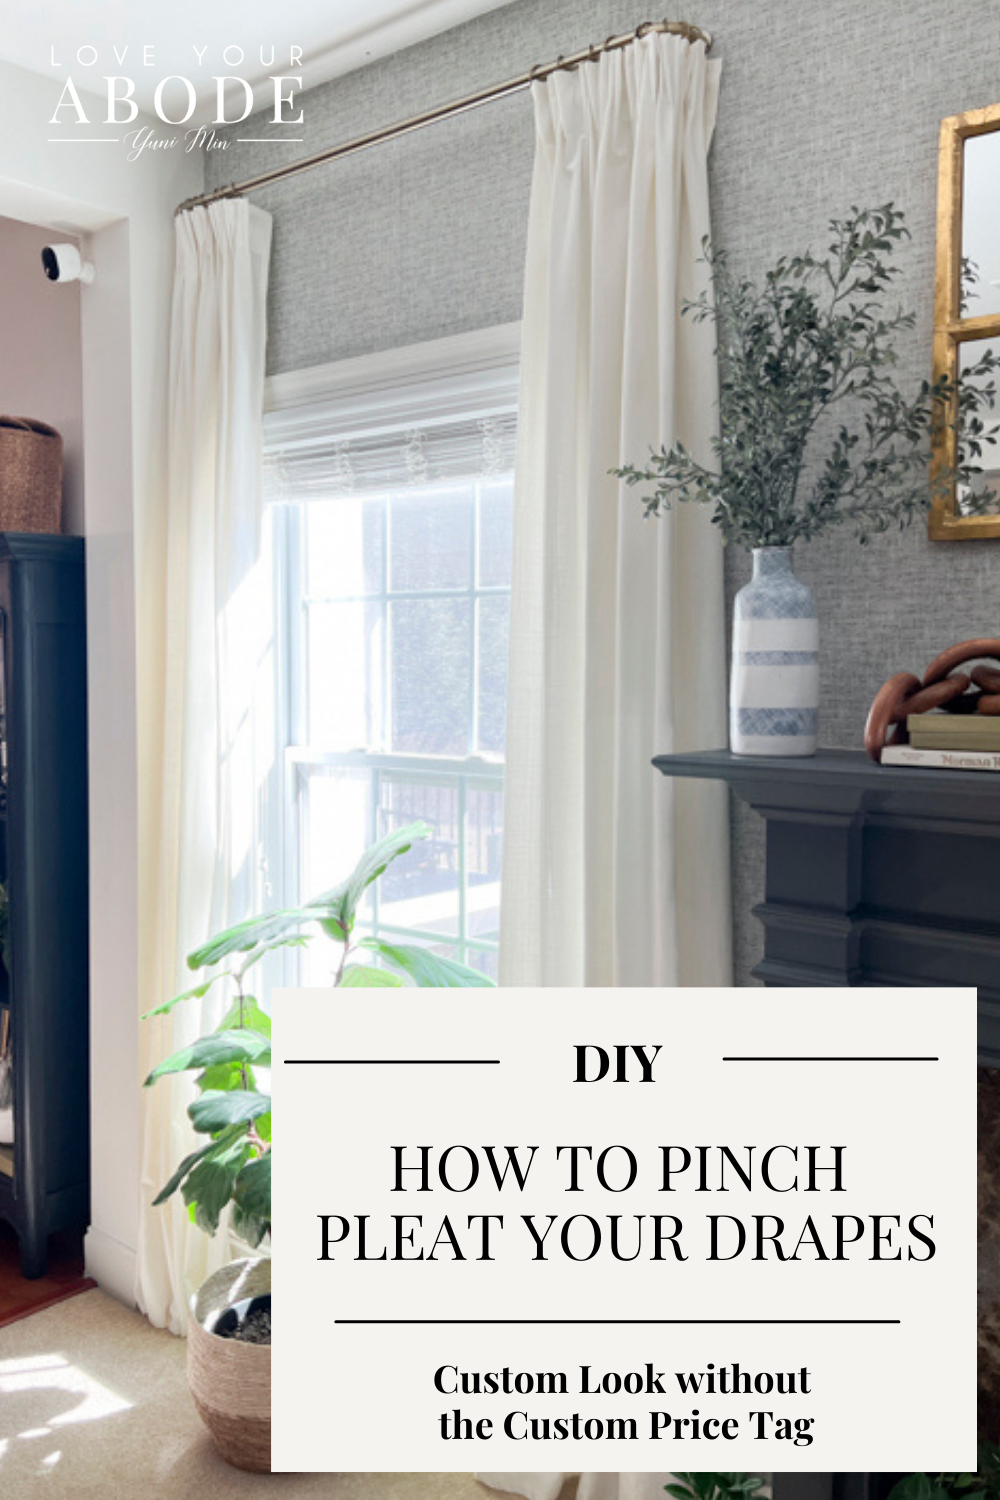
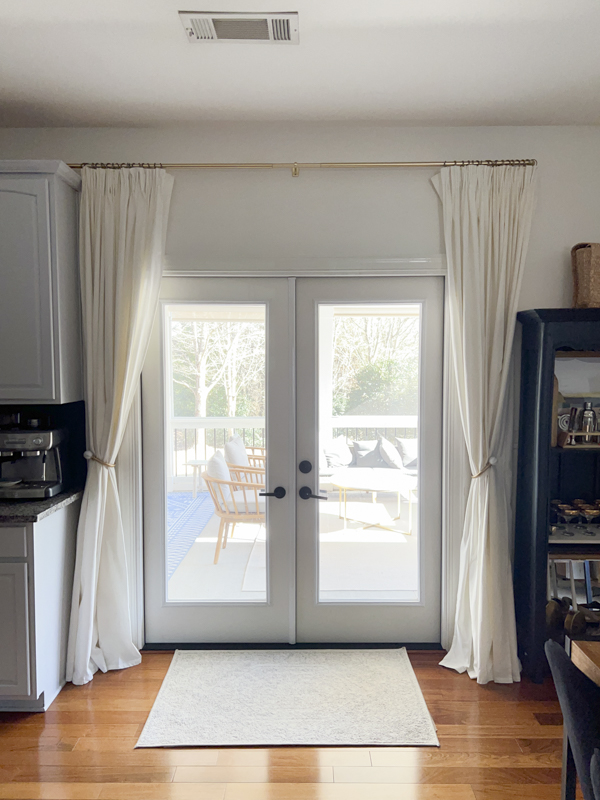
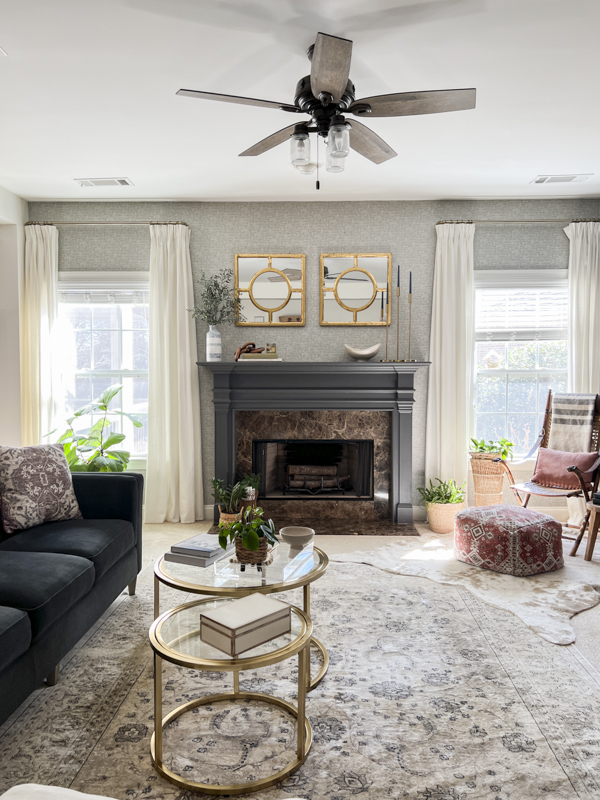
With some simple steps, here’s how to easily pinch pleat your curtains to create a custom look.
I’ve been blogging for a while and I finally did the popular trick to my curtains to give them an elevated more high-end look. Pleated curtains can be very pricey but you can easily recreate this look at home for less. Here’s how to easily pinch pleat your curtains and make them look custom-made without the high-end custom price tag.
Here are the supplies you’ll need to create this look.
- ivory drapes
- pleated curtain tape (If your drapes don’t have this on the back)
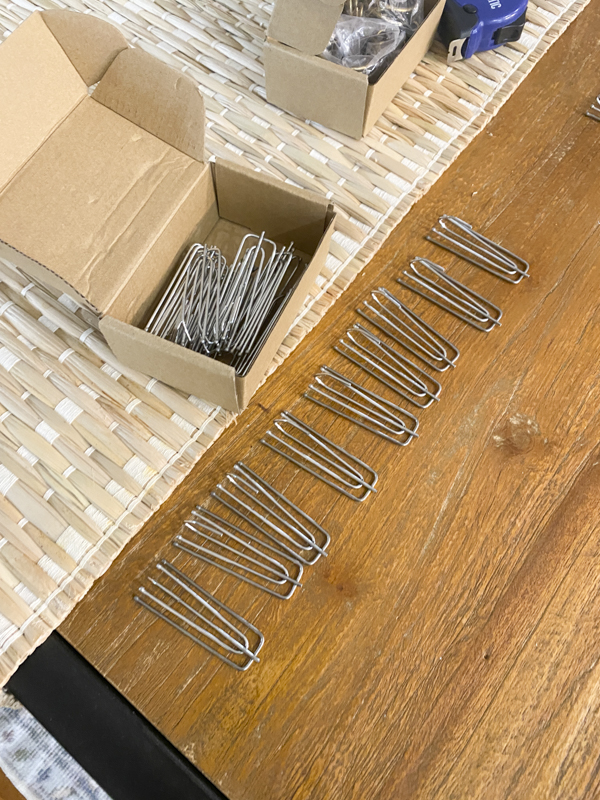
- curtain pleat hooks
- drapery curtain rings
- wrap around drapery rod
I used the 96 inch Ikea Ritva curtains for this tutorial. I love these curtains because for the price, you really can’t beat the look and quality. This particular curtain has the pleated curtain tape already attached to the back. If your curtains don’t have this, you will have to sew the pleated curtain tape on the back.
There are different ways you can do this depending on the way you want the pinch pleats to look. Grab all your supplies and do it while watching a show or listening to a podcast.
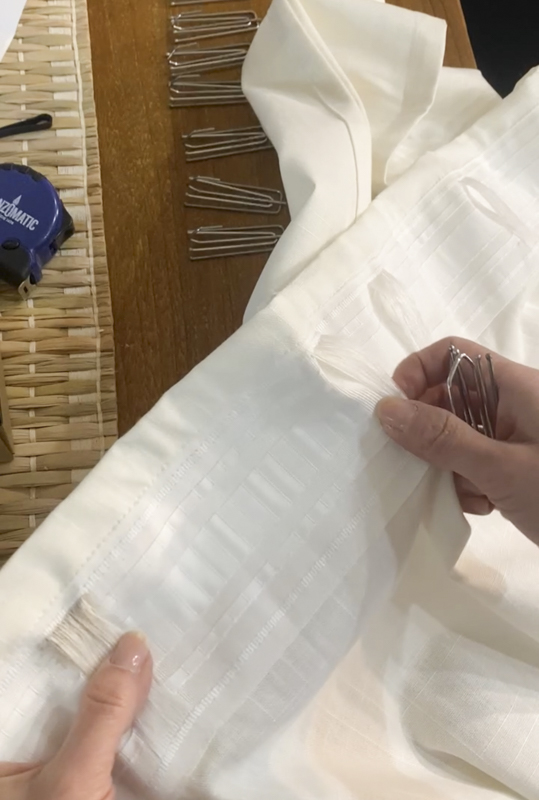
If you look at the back, you will see a bunch of tiny loops that go vertical all the way down the curtain tape. If you have a hard time following, you can check out my IG highlights where I also have videos saved to give you a visual tutorial.
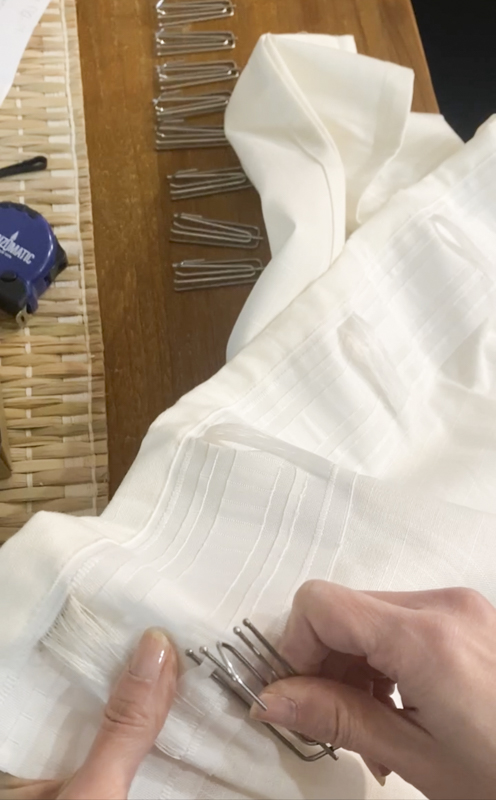
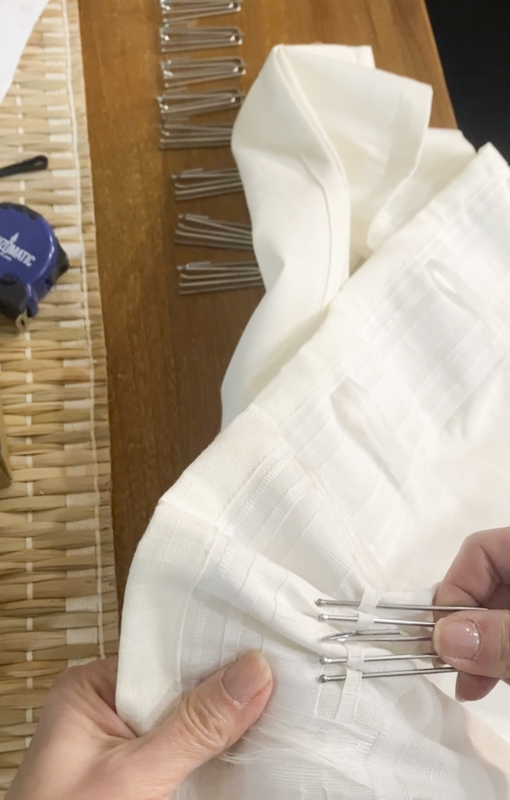
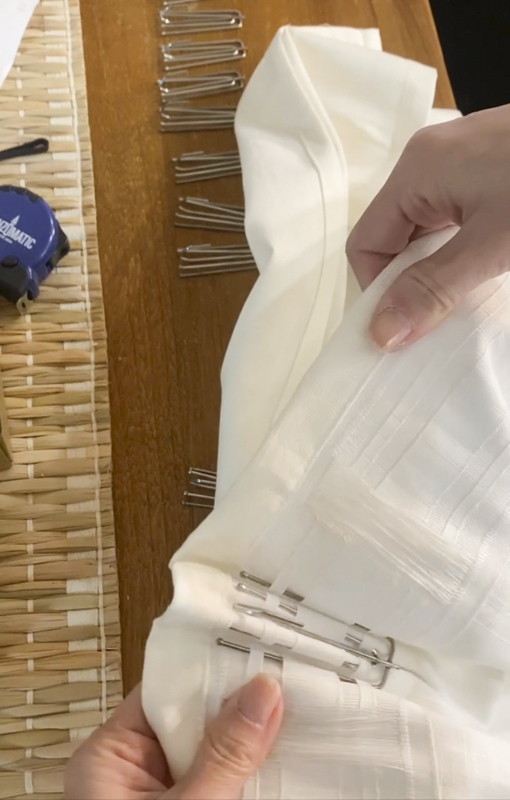
Take your first hook and make sure it’s facing you. Each hook has four prongs. Starting from the first threaded loop, count down the tiny loops and start at the second loop. Take your first prong and go through the tiny loop. Count down and make your second prong go through the fourth tiny loop. Repeat this step with the third prong into the next fourth loop. And again for the last prong into the fourth loop.
I’ve found it’s easiest to do one line of loops first. Now repeat those same steps with the longer loops and go through them with the coordinated prongs. Tuck in the fabric so that the prongs go easily through the loops.
Repeat those same steps again with the last row of tiny hooks. Once you’re done, slide the hooks up all the way to the top. Grab another hook and start again in the new set of loops past the stringy threaded loop. I like to add the hooks into the curtain rod and then hook the drapes after.
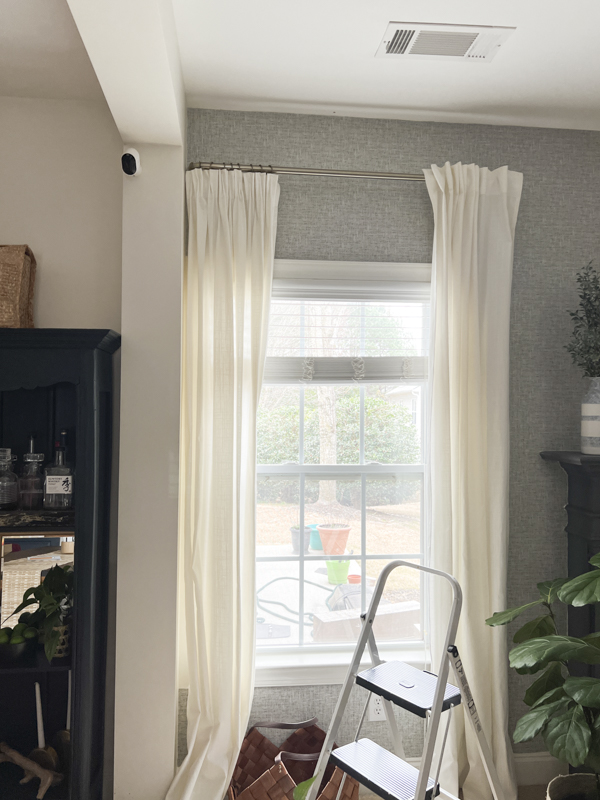
Here’s a side-by-side comparison of the pinch pleated curtains on the left. For the right side, I just slid the curtain hook through the threaded loops. It’s not bad but the pleated definitely looks better and cleaner in my opinion. Here’s a “if you give a mouse a cookie situation.” After adding the hooks, the curtains were now too long and dropped on the floor. I had to get out my drill and move the curtain rods a couple of inches higher. 😀
AFTER!!
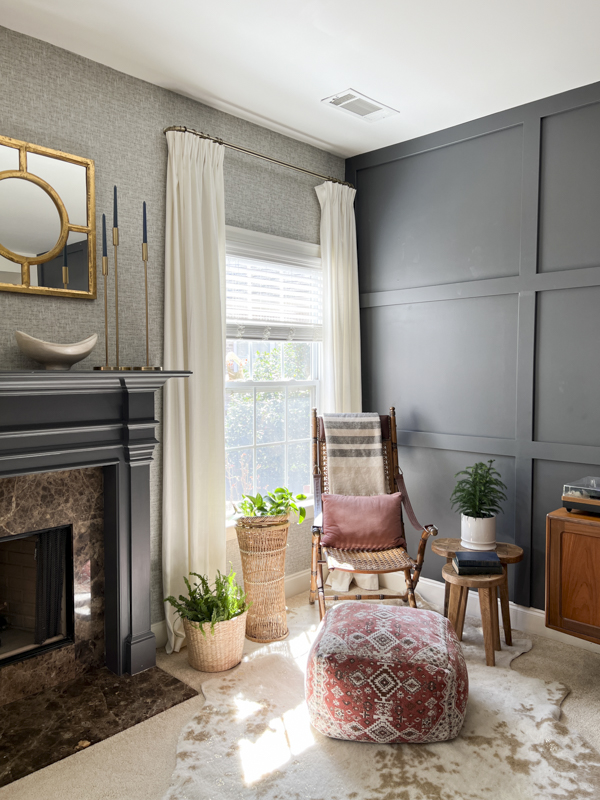
Once the curtain rods went up higher, they looked sooo good! I haven’t had time to steam the drapes but you can steam them to train them to lay a certain way. I am not a perfectionist so I’m happy with how they are right now without all the steaming business. I love when drapes puddle the floor.
For the patio doors, I added two sets of drapes on both ends for a fuller look.
Drapes really add a beautiful design element to any room.
If you want to elevate the look of your drapes, this is an easy and cost-effective way to imitate custom-made ones. I wrote a blog post a while back on some tips and tricks to hanging your window treatments. I follow those rules every time I hang drapes for myself or client spaces.
I love how they look now and it was such an easy upgrade. Small details like this can really elevate the overall look of your room. Lmk if you decide to attempt this look!
xoxo,
Let all that you do be done in Love. 1 Corinthians 16:14
This post contains affiliate links for your convenience.
