Here’s how to Build Wood Shelves over Ugly Wire Shelving
Chances are you probably have ugly wire shelving somewhere in your home. They are usually in closets, builder grade pantries, and linen closets. I have them in every closet in our home and I definitely do not love them. There’s a simple way to upgrade those closets! Here’s how to build wood shelves over ugly wire shelving.

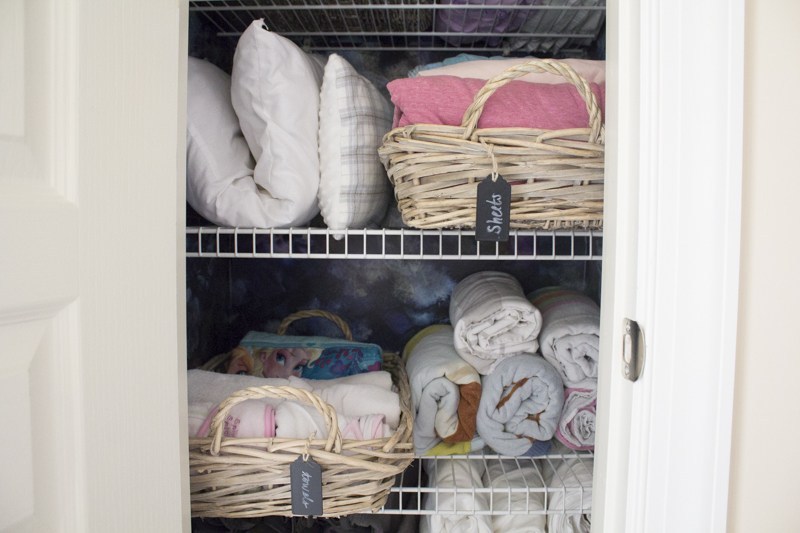
Over a year ago, I gave the upstairs linen closet a small refresh. I installed some peel and stick wallpaper and got rid of a bunch of items we weren’t using.
Here’s what it originally looked like. Not good!!

It definitely looked better with the wallpaper and baskets but I knew it could be even better. Plus, it was a good time to donate and get rid of items we didn’t use the last year.
My sweet friend, Marquita from Far From Cypress shared the simple tutorial on her Instagram. She did the same thing for her pantry and it looked sooo much better. I was inspired to do the same thing to this linen closet.
How to Build Wood Shelves over Ugly Wire Shelving
Supplies:
- Brad nailer
- Circular saw or miter saw
- 1×3 poplar wood
- 1/2 inch thick birch plywood
- sanding paper
- tack cloths
Instructions:
Measure the wire shelves and give yourself about 1-2 inches. You can always make more cuts if it’s too big but not the other way around!

Jimmy and I went to Home Depot and I settled on the 1×3 poplar wood which would be the trim that goes on the front of the shelves. Have one of the workers cut the large plywood to save time and to avoid hauling a huge piece of wood home.

Once we got home, I took my circular saw and cut them to the exact size I needed. I recommend going a little smaller than the wire shelves so that the plywood fits easily on top. My wire shelves lift up easily so that’s how we put these shelves in. If yours doesn’t lift, you may have to remove them.

Place one on your wire shelves to make sure the size is just right!

When you’re happy with it, go ahead and cut the other pieces. Jules joined me for this project and she learned how to use the electric sander. A couple of months ago, I realized we only had 4.5 years left together at home before she leaves for college. I’m trying to be more intentional about the time we have left even if it’s just an afternoon learning how to use electrical tools!

I really wish they had wood-working classes when I was in school! I would’ve been all over that. She did a fantastic job sanding down all the pieces of wood. This gives it a smooth finish and removes any splinters and debris. She also used some tack cloths to remove all the dust remaining on the wood.
I needed Jimmy’s help with this part while Jules was busy sanding. I held the wood together while he used the brad nailer in three places. This took some trial and error because some of the nails would poke out and we would have to start over. I recommend buying 3/4 inch plywood for that same reason instead of the 1/2 inch we used. I saw Marquita actually nailed the front trim with the base already sitting on the wire shelf.

You can condition your wood and add a stain and fill in your nail holes. But I was too excited and needed to see them immediately.
How good does this look!! We fit them right over the shelves and they look so custom!

The cost of the wood was about $70 with leftover pieces. Not bad right? I just used baskets I already had on hand.

It looks so clean and I actually love the look of the raw wood.

This is a really tricky area to photograph but I think you get the idea. There’s so much space now after donating and getting rid of a bunch of unused items.

I really wanted a photo with Jules but she’s been so busy with school and basketball. That will have to wait until the weekend when we have some daylight.
Hey! Girls can have fun building too! Here’s a final before and after.

Thanks for reading! If you want to follow along with the video tutorial, follow me on Instagram stories.
xoxo,

Let all that you do be done in Love. 1 Corinthians 16:14
This post contains affiliate links for your convenience.