DIY wallpaper panels can add some jazz and color to your space while giving you the luxury of removing it easily whenever you want.
Hi everyone! I had the fun opportunity to partner with Wallpaper Boulevard and today, I’m sharing how this DIY wallpaper panels in Emmy’s room! I’ve joined a fantastic group of bloggers for a blog hop tour so be sure to check everyone’s wallpaper project at the end of the post.
This post is created in collaboration with Wallpaper Boulevard. They generously supplied me with the wallpaper of my choice. All ideas, opinions and crazy DIY shenanigans are my own.

As most of you know, I’m doing the One Room Challenge and just last week, I shared my week 4 progress with you. There’s less than 2 weeks left and I am so excited to finally share how I added wallpaper to Emmy’s bedroom.

The only time I’ve dealt with wallpaper was when we installed beadboard wallpaper in our small mud area back in January. Other than that, I have some vivid memories from my childhood when my mom would install some hideous, juvenile wallpaper borders in all of our bedrooms. It was such a pain removing them! Can you tell I’ve had an aversion to wallpaper for many years? Luckily, wallpaper has returned with a vengeance. Gone are the days of old grandma looking patterns and babyish themes. Ok, those still exist BUT it’s amazing the types, styles and textures, wallpaper encompasses these days. I honestly had the most difficult time choosing the one I wanted because the choices were endless. I finally decided to go with a more bold choice and install it in Emmy’s room since I was doing the One Room Challenge. I felt challenged to go out of my comfort zone and do something a bit more dramatic than usual. I chose the Petal Pushers design in black and white which is a mix of vintage floral pattern on a modern scale. I’ve seen the gold version of this quite a bit especially since Oh Joy designed it. I was hoping that the black and white pattern would be a good contrast against the soft, shabby chic theme. When designing, I tend to mix styles because I’m never drawn to only one look.

Originally, I planned on putting the wallpaper up on the large wall in Emmy’s bedroom. After contemplating it some more, I decided that I wanted something a bit less permanent. I immediately thought of these three large frames that my friend, Esther found sitting next to the dumpster. Most people would be offended if their friends kept bringing them junk. Good thing, I’m not most people. Thanks, Esther! These were made from an actual framing store from the labels on the back. Two of the frames were in great shape but the third one was broken and I had to reattach the corners. By me, I mean my lucky husband because I failed after attempting to connect them with liquid nails. He actually screwed them together. We went to Home Depot AKA my second home and found the thinnest boards that would fit behind the frame. I had to have one board cut to size since it didn’t have a pre-cut one for that particular measurement. If you’re thinking of doing a similar project, you can either purchase a frame from an actual frame store or just make one yourself by getting trim from the home improvement store and attaching the corners together. The latter is much cheaper so I would opt for that if you don’t mind painting and attaching the pieces together.
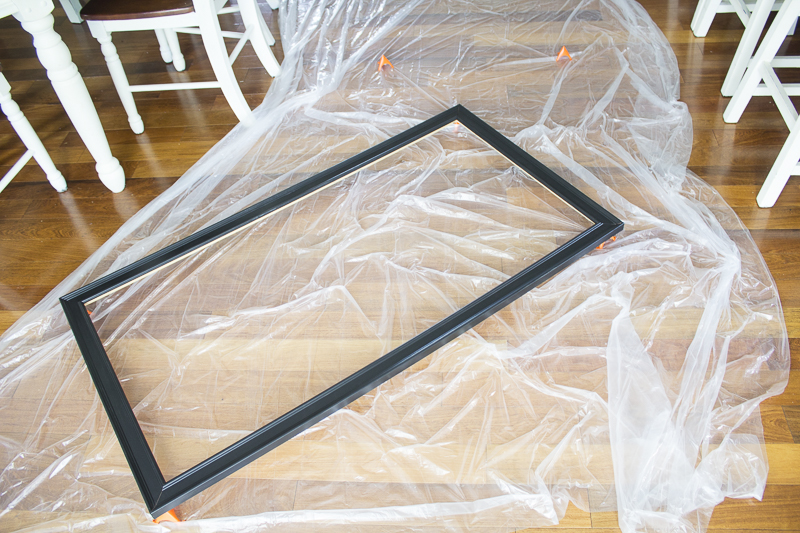
Do you guys like my work space? Okay, I’m not sure how I’ve never used these orange triangle thingies but they are awesome! I can’t remember what they’re called but basically I no longer have to use paint cans to hold up all my frames and other items when I’m painting them. #praisehands I used a satin craft paint in black and only needed to give the frames one coat. The paint updated them to look new and polished especially against the wallpaper.
I realize I didn’t take photos of my step by step process for the wallpaper install because I tend to forget these details when I’m on a mission to complete a task. #oops #forgiveme Basically, you take a roller, apply paste on the back of the wallpaper and fold it over for 3-5 minutes. These instructions are found on the wallpaper. You will need to purchase your own wallpaper paste from the store. I just used my hands to carefully place the paper over the board and I squeezed the air bubbles out slowly. After everything is completely dry, you can cut the edges of the remnant paper with a good pair of scissors or a utility knife. Jimmy drilled screws in the back to keep the wood in place. The only challenge I ran into was when I had to do the large frame. The wallpaper wasn’t wide enough so I had to cut and line up the wallpaper so that it would match the pattern on both sides. It took a little bit of time but I was finally able to line them up properly so you couldn’t see that there was a break in the paper. I wanted it to appear as seamless as possible. You can’t tell right?!
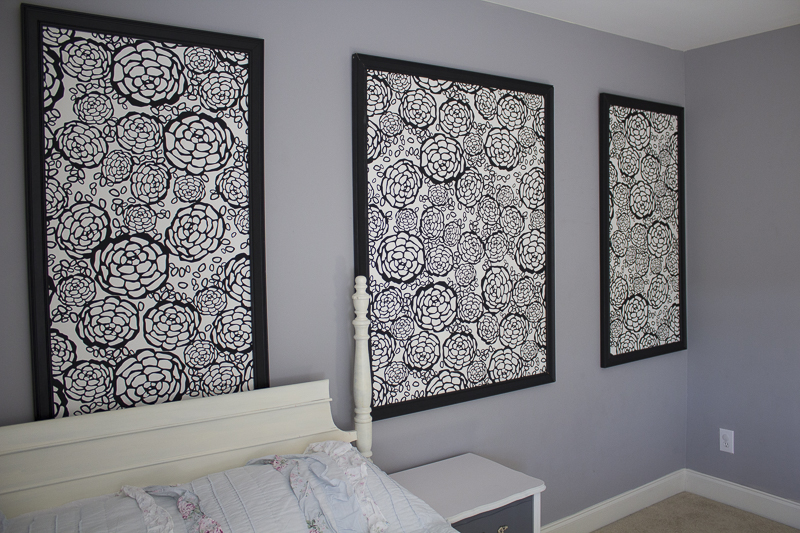
I hammered in some sawtooth picture hangers on the top of the frames. This is where I called in my hubby because he’s a perfectionist. He helped make sure the frames were all level and equal distance apart from each other. We just used simple picture hanging hooks on the walls to hold up the frames.

I love how it functions as art in the room.
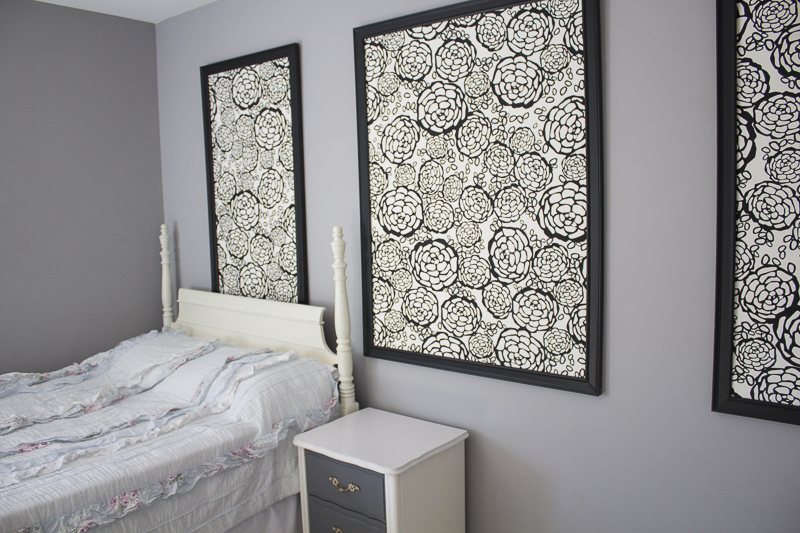

The bold and vibrant black and white color really adds some drama to the sweet, feminine space.
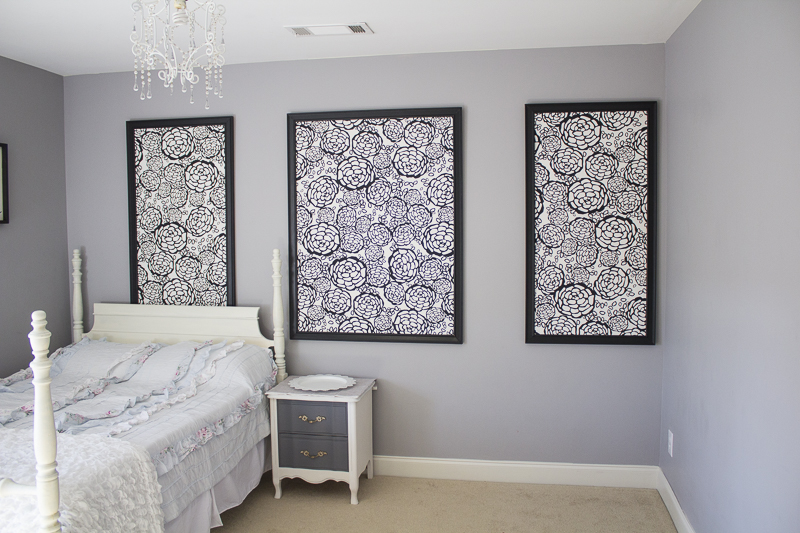

Creating wallpaper panels can be an awesome alternative for renters or people like me who like to change up things from time to time. There’s no hard work later when you have to actually remove the wallpaper. You simply remove the frames from the wall and that’s it!
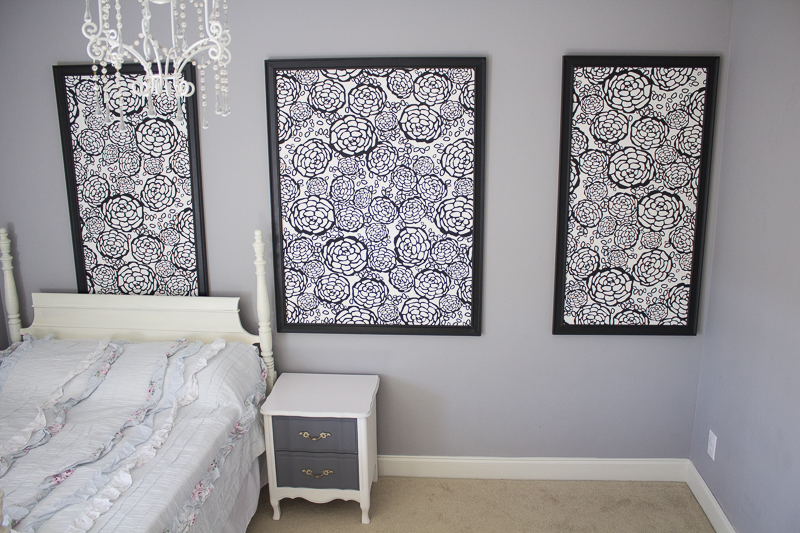
What do you guys think? I still have a bunch of stuff to do before Emmy’s room is complete but I love how the wallpaper adds some pizzazz and flair to the space.
I hope you’ll check out the rest of the blog hop tour! Be sure to see what everyone else chose and where they installed it in their home. If you’re thinking about doing a wallpaper project, be sure to check out Wallpaper Boulevard to see the endless array of options.
I hope you’ll come back on Thursday to see my Week 5 progress of the One Room Challenge!
yuni
Let all that you do be done in love. I Corinthians 16:14
What a dramatic statement the wallpaper adds to your space! The frames were the perfect way to hang it too! Great Job!
Thanks so much, Leslie! Drama was exactly what I was aiming for.
Yuni I love these panels!!! Super pretty with the bed spread and chandy!
Thanks so much, Stephanie!
Easier to just glue the wallpaper onto the wall, then add the frame onto the wall around it… I did that in my living room with a large canvas and it turn out wonderful, and so easy… love that wallpaper!
Cielo
Thank you so much, Cielo. Yes, that’s a great idea too especially if you don’t mind taking the wallpaper down later in the future. I’m sure yours looks beautiful!