Have an ugly printer you want to hide? I’ve got the solution for you! A DIY printer box!
For the next year, I’m so excited to partner with Bernzomatic to share DIY projects using a variety of their blowtorches. Recently, I just finished my office makeover. It has been a dream working in there ever since. I decided a DIY printer box would be the perfect project to get familiar with my new Bernzomatic torch.

This post is sponsored by Bernzomatic but all thoughts, opinions and styling are my own.
Where is your printer? Chances are it’s sitting in your office or another space in your home taking up necessary space with its boxy features. It’s a functional machine in our home but it’s just so unpleasant to look at especially now that I finished my office makeover. I know. There are worse things in life. But when you are a lover of function AND design, you can’t help but to see things like this and wonder if you can figure out an alternative solution.

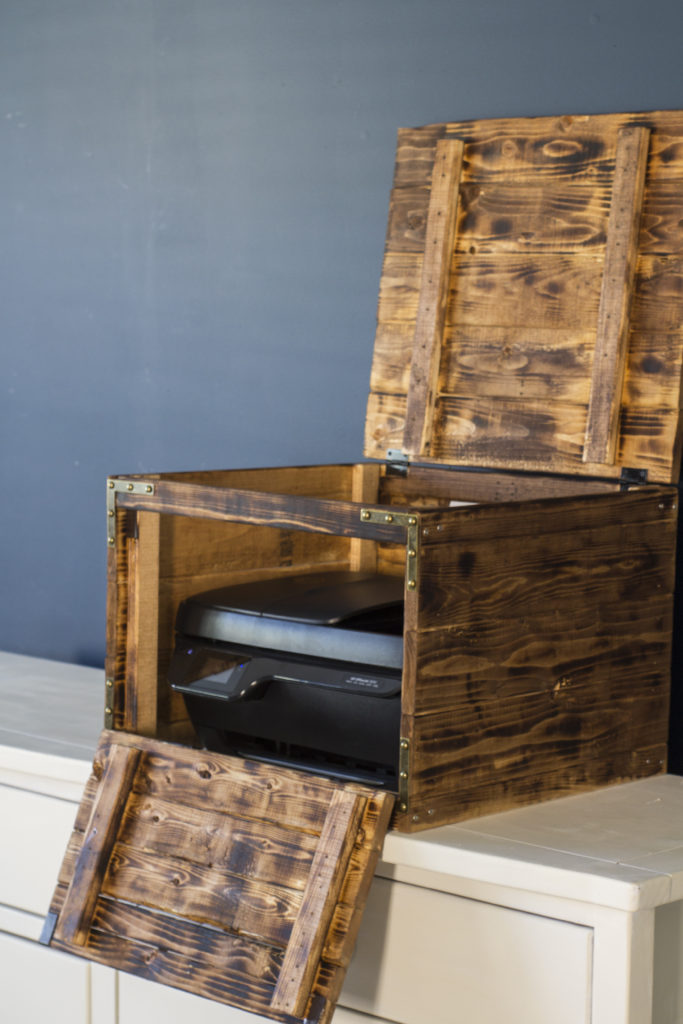
I started dreaming of different designs for the printer box and I came up with the idea of creating an antique shipping crate that would open from the top and front. I knew the Bernzomatic torches would be perfect in creating that aged finish on the wood and boy was I right!

I am so proud of this project. First of all, I couldn’t really find ideas on building something that would hide a printer. Second, I love that this actually looks like an old crate. I used the Bernzomatic TS3500 multi-use torch to create the aged, antique grains on the wood and it actually looks quite old.
Here’s how to build your own DIY Printer Box
Materials:
- Bernzomatic TS3500 multi-use torch and Bernzomatic propane cylinder
- 1 x 2 furring strip boards
- 1 x 4 furring strip boards
- narrow utility hinges
- Screws and finishing nails
- Stain (I used Varathane English Chestnut) and brush
- Cloth
- Optional : Campaign corners, handle and stencil
Tools:
- Nail gun
- Drill
- Miter saw or something similar to cut the wood
Directions:
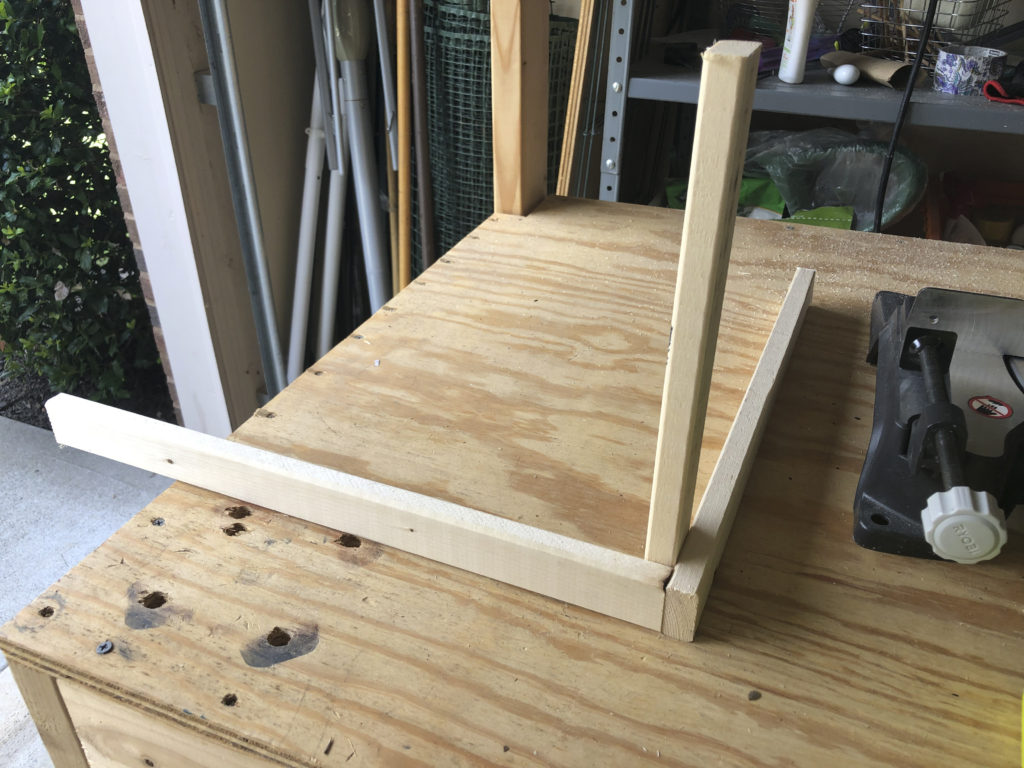
Step 1: Measure your printer and build the frame.
Cut your 1 x 2 furring strip boards after measuring your printer. You want to account a few inches around the perimeter so that your printer has plenty of space. It’s better to build too big rather than too small. I attached the corners of the 1 x 2s and 4 posts with screws to ensure a solid frame. You want to create a cube around the body of the printer with the vertical posts on the inside part of the top and bottom squares. Remember to create a cube tall enough to fit the width of your slats!

Step 2: Build the side and back panels with your 1 x 4s or whatever size board you use.

After cutting your 1 x 4s to length, nail them to the vertical posts using finishing nails to create the sides of the printer box. Notice that the 1 x 4s are flush with the sides of the top and bottom squares. I decided to leave the bottom open since the box will be sitting on a solid surface. Also, if there is a paper jam, it’s much easier to lift the box rather than taking out the whole printer.

I also left one board missing on the back so that there’s room for your printer cord and for ventilation.
Step 3: Build the top and front panels with 1 x 4s and using 1 x 2s for reinforcement.
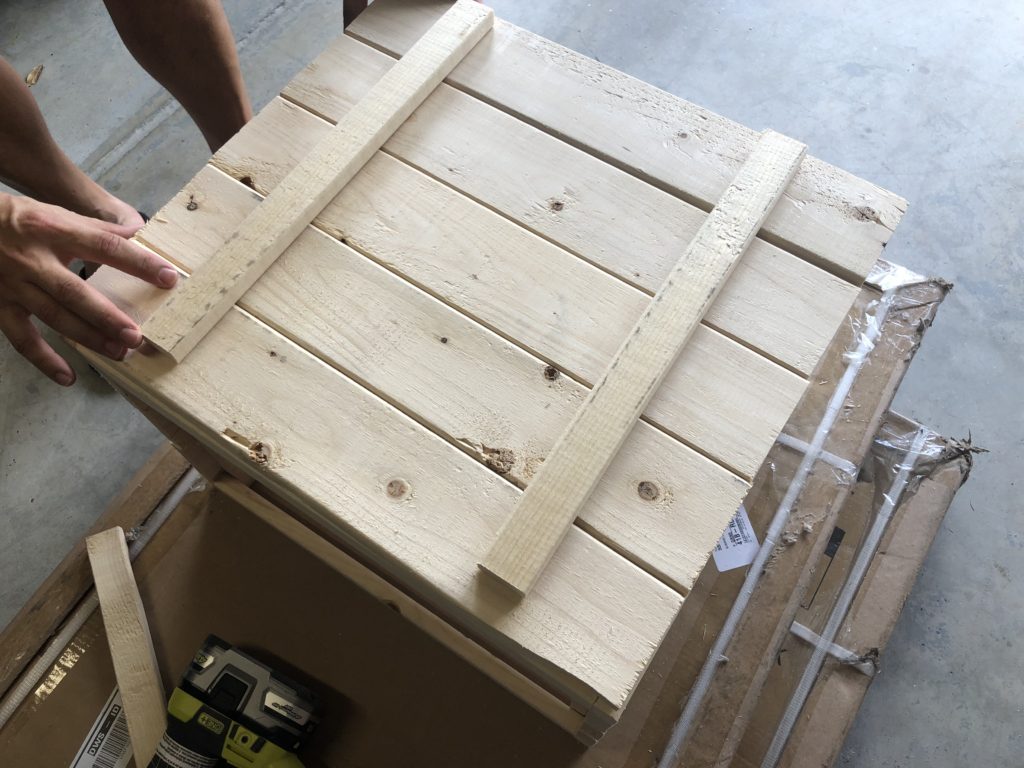
Since the front and top panels of the printer box will function like a door, you need attach the 1 x 4s to a couple of 1 x 2 to create one piece.

Remember to leave a gap from the end of the 1 x 2s and the edge of the panel so you have space for the hinges and so it will sit flush with the frame when closed. Also, leave a slight gap between the edges of the slats of the front panel and frame so it can easily open and close.
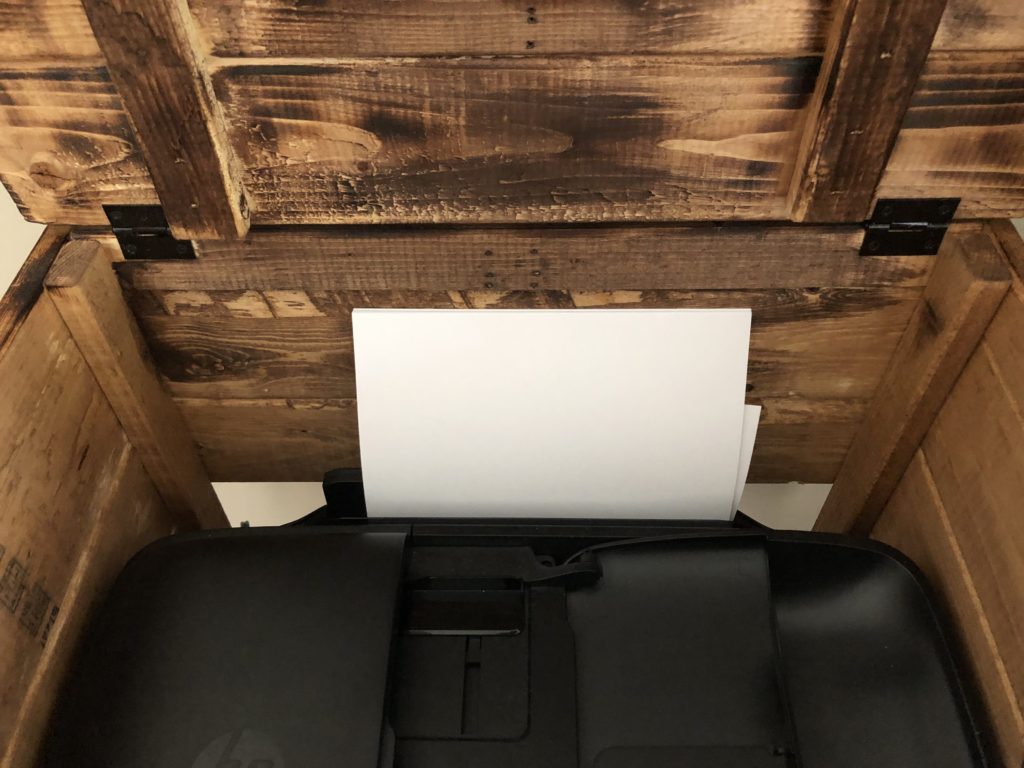
Step 4: Time to torch!!

Once the box is built, you can start torching. You’ll also want to torch the interior of the box since it can be seen when opening from the top and front. The Bernzomatic TS3500 multi-use torch is super easy to use and it really created some beautiful aged grains. Practice with it to play with different types of results.
Step 5: Time to stain and sand.

I used a dark color for the stain called English Chestnut from Varathane. Using a brush, apply the stain on the surface of the printer box. Take a cloth and wipe away the excess. The wood should absorb the stain beautifully. Make sure to wait the appropriate time on the instructions for the second coat. After the stain was dried completely, I took some sandpaper and softened up the edges and removed any potential splinters and rough areas.
Step 6: Optional: Add campaign corners, pull and stencil.

This step is optional, but I thought it added some lovely detail. The campaign corners can be found in a craft store and I used my Cricut machine for the stencil. The pull was from Hobby Lobby.
TAAA-DAAAAAA!!! I am so in love with this project!
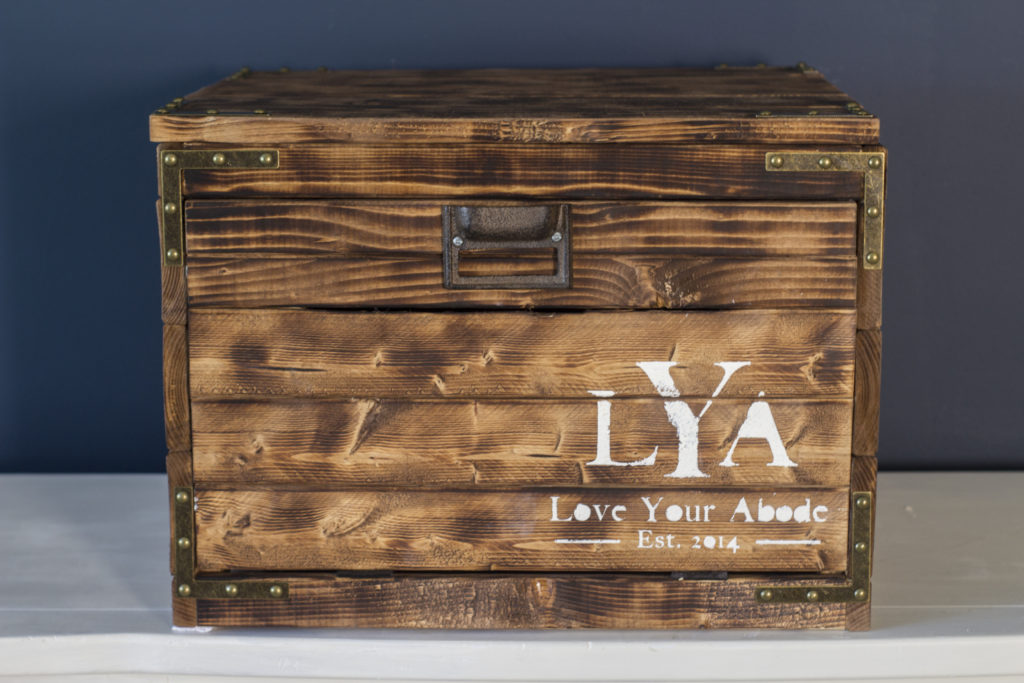
The wood looks absolutely beautiful and I can’t believe it was made from inexpensive furring boards. I love how the torch added so much depth and character to this printer box.
It’s perfect for hiding that unattractive printer. I forgot to mention that I glued strips of magnets for the door to help it stay shut.

Find someone who looks at you like I’m looking at my new printer box. #truelove
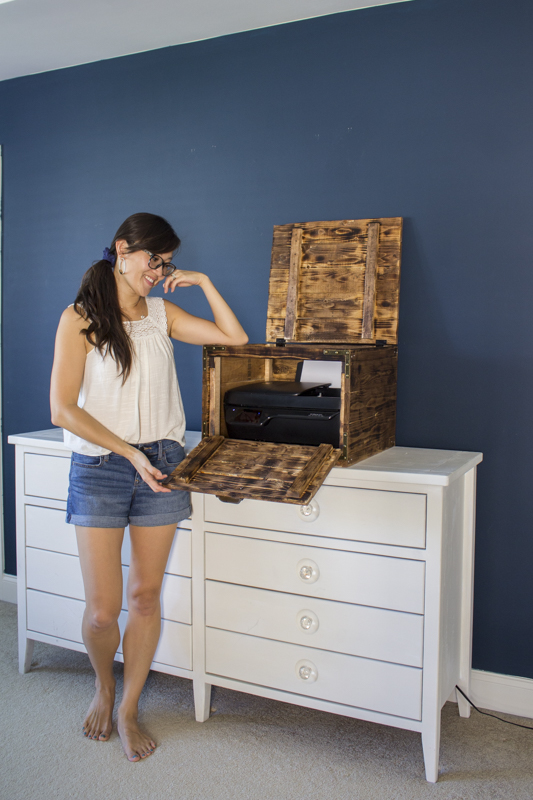
It’s perfect in my new office don’t you think? I love it so much I’m going to build another larger box to hold my other office supplies.

I hope you found this tutorial helpful. I’m excited to share a bunch more DIY ideas using the Bernzomatic torches.
Thanks for reading! Be sure to check out my IG and FB for the video tutorials.
xoxo,

Let all that you do be done in Love. 1 Corinthians 16:14
This post contains affiliate links for your convenience.