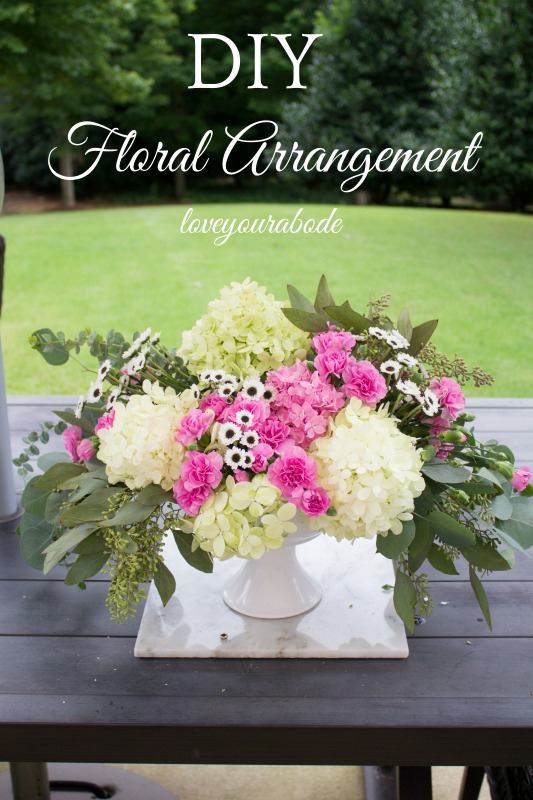
This DIY floral arrangement will have people thinking you had it professionally made.
Happy Sunday, friends! Today, I’m sharing another Simple Styled Sunday video on how to create a dramatic DIY floral arrangement.
The pictures below break up the steps to give you more detailed instructions on how to create a similar type of floral arrangement. I did a similar arrangement for Easter and you can find that post here.
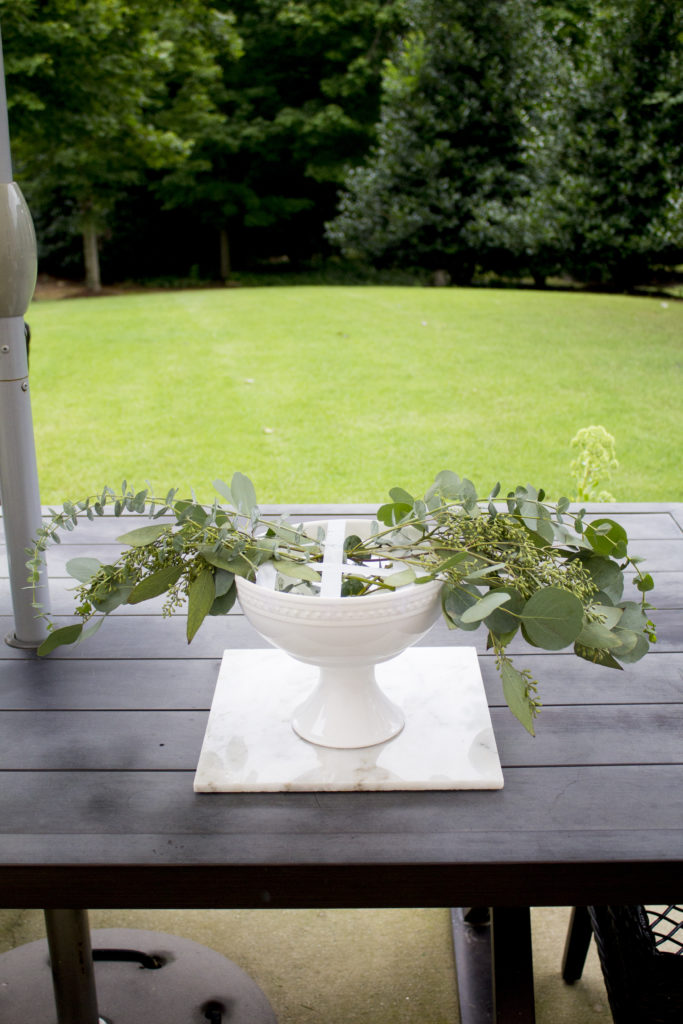
Step 1: Create a grid with scotch tape on the top of the pedestal bowl. This keeps the flowers from moving around too much and provides stability. I prefer this method over flower foam since I don’t usually have that on hand.
Step 2: Start with the eucalyptus and let them hang off the sides of the dish. This helps to create a wider and more dramatic arrangement. Just make sure the ends are soaking in the water.
Step 3: Start with the larger flower heads like hydrangeas and place them in the center and around the bowl.
Step 4: Add complementary flowers to fill in some of the holes and between the large flower heads. I used pretty pink carnations. Carnations tend to have a bad rap but I couldn’t pass these up when I saw their pretty color. Don’t forget to fill in the areas in the back!
Step 5: Add some filler flowers like I did here with these button daisies.
Step 6: Fill in the rest of the empty spaces with the leftover flowers. It doesn’t have to be perfect. Let it look wild and crazy.
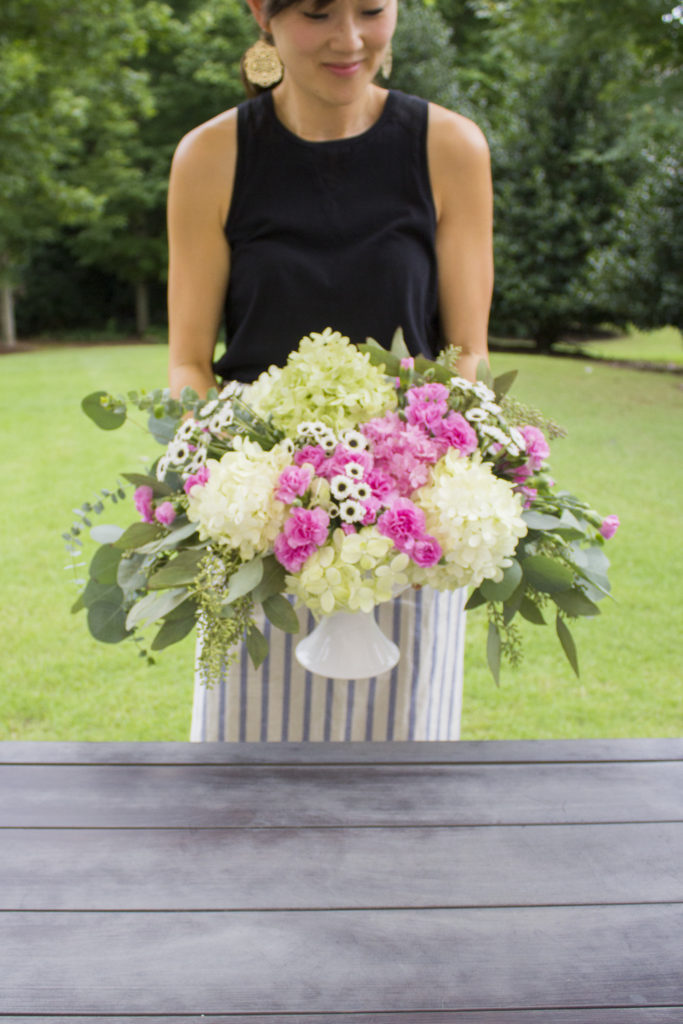
See how large it is? I spent about $17 on this arrangement because I used the hydrangeas from my yard. Two of my favorite adjectives, affordable and beautiful.
Admire your work and display it proudly!! Did you know hydrangeas can last up to 4 weeks? I shared the tips on an older post and mine always last a long time with proper care and maintenance.
I hope these tips helped you to realize that creating a large centerpiece like this is not that difficult. I hope you’ll try it out especially as the holidays are quickly approaching. These make the most wonderful table centerpieces. Be sure to pin this image so you can have it available when you recreate one at home.
Hope you’re enjoying my Simple Styled Sunday posts! Last week was a fashion post, did you catch it? Have a great start to the week and thanks for reading!
Yuni
Let all that you do be done in Love. 1 Corinthians 16:14


Wow! I love this idea with the grid. Beautiful! ❤️
Thanks so much, Adrienne! That tip works so well with arrangements with wide mouthed vases.
Oh Yuni, this is absolutely lovely… I’m going to try this for sure, thank you for the video, love that…. and how do you do these videos ?
Yay, I’m so glad!! Thanks so much, Alicia. I can’t wait to see your arrangement. I’ve been using Imovie! I’m a little addicted haha 😉
The grid is such a good idea! thanks for the tips!
You’re welcome! It really is a game changer. Thank you so much!
Yuni,
You are so talented and I love your floral arrangement! This is a total inspiration for me since I need to create one this week! So, thanks for the wonderful post!
That makes me so happy! I’m so glad it’s helpful. Thank you so much, Janine!
The grid is such a great idea! I love how whimsical it looks, especially with the greenery stretching out the sides. Beautiful!
Thank you so much, Sarah. I’m so glad the grid tip was helpful!
So amazing and beautiful! Love the grid idea!
Thank you, Carolann for your kind words!
What a beautiful arrangement that you made!!! So many tips!! Thank you so much for sharing! Loved your video too! 🙂
Thank you so much, Sam! I’m so glad it was a helpful post. 🙂