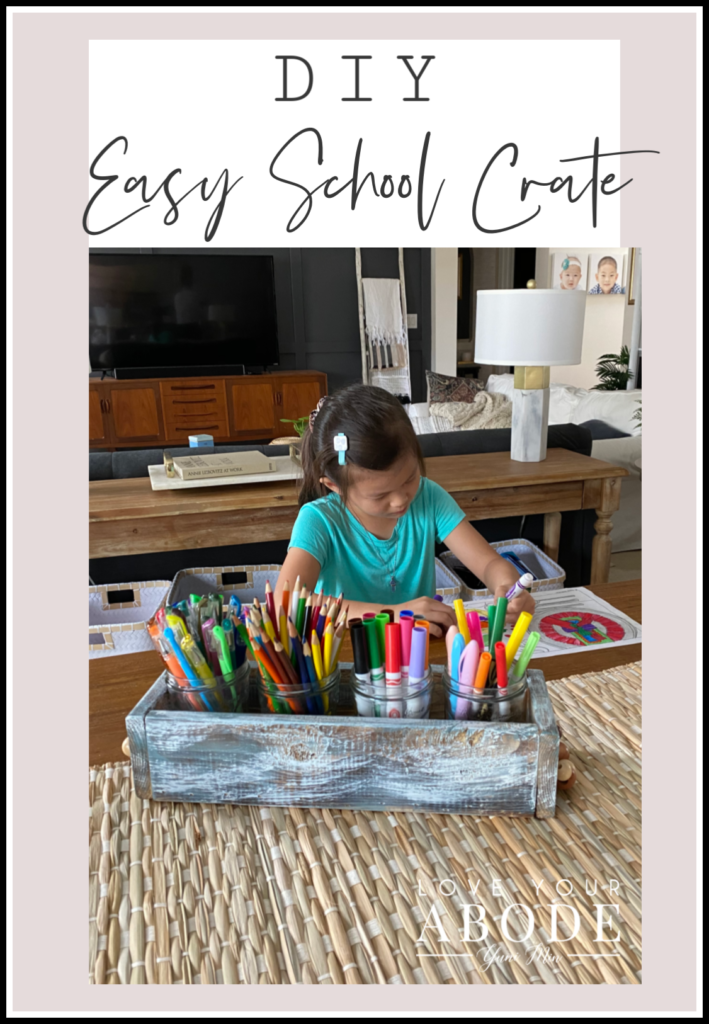
Using some leftover scraps of wood, I built an easy school crate.
This post is sponsored by Bernzomatic but all thoughts, opinions and styling are my own.
How are you all doing? We have slowly transitioned into our new normal at home as I’m sure all of you are in the process of as well. Since our trips outside are so limited now with the shelter in place order, I’ve grown to become quite creative when it comes to cooking, DIY projects, and organizing. My friends at Bernzomatic understand this unique situation and asked that I complete a simple project using whatever I had on hand. That’s how this easy school crate was born!
This is seriously the easiest wood project you can do. All you need is 1×4 wood or whatever wood you have at home, your favorite Bernzomatic torch and some paint. Since the kids are busy with online school at home, I thought this would help corral all their writing instruments in one spot. Here’s how to build your own easy school crate.
Easy School Crate
Supplies:
- Bernzomatic TS8000
- Bernzomatic Map-pro Hand Torch Cylinder
- 1 x 4 wood
- brad nailer
- drill
- sandpaper
- clean cloth
- paint
- beads
- twine
- mason jars
Directions:
You can also buy Bernzomatic products online from The Home Depot, Amazon and Lowes.
I’m so glad I saved my jelly jars! I decided to use these small mason jars to hold markers and colored pencils. If you don’t have a mason jar, you can use some glasses or plastic cups you already have at home. Remember, this project is about using what you already have!
Measure the length of your mason jars. You want to build the box so that it’s long enough to fit the number of containers. I made my box about 14 inches long.
Cut three pieces of wood to the same length, sand the cut edges and use a brad nailer to attach the sides to the bottom.
Measure and cut two pieces to fit the ends of the box. Drill two holes on both end pieces. These holes will be where you’ll create “handles.”
I used my Bernzomatic TS8000 and torched the wood on the exterior and interior of the box. Sand and then wipe down with a cloth. I always keep old t-shirts for projects like these.
This was the perfect project to do with my little helper! Emmy loves painting so we picked a pretty greenish-blue color just like her shirt.
We added some thin strokes of the green paint and then added some white as well to give it a nice distressed antique look. I love how the dark torched areas show through the paint.
I initially wished I had some extra hardware on hand but had to improvise since I couldn’t go out to the store. I decided to take some wooden beads and twine to create a cute and unique handle. I used a small tool to push the twine through the small holes. Make sure your twine is long enough so you can tie the ends together.
Look how cute! I actually love the beads. The box has a nice antique looking finish to it, doesn’t it? These markers and coloring pencils could easily be swapped out for fresh flowers and displayed as a centerpiece.
It’s easy for Emmy to carry around and holds all her necessary art supplies. The best part is that we made it with everything we had on hand. This was the perfect quarantine project for us.
I hope you’re all staying safe and healthy, friends! I’m sharing a lot more content on my Instagram so be sure to follow me there.
xoxo,
Let all that you do be done in Love. 1 Corinthians 16:14


