Make your own DIY bathtub tray following these simple instructions
This post is sponsored by Bernzomatic but all thoughts, opinions, and styling are my own.
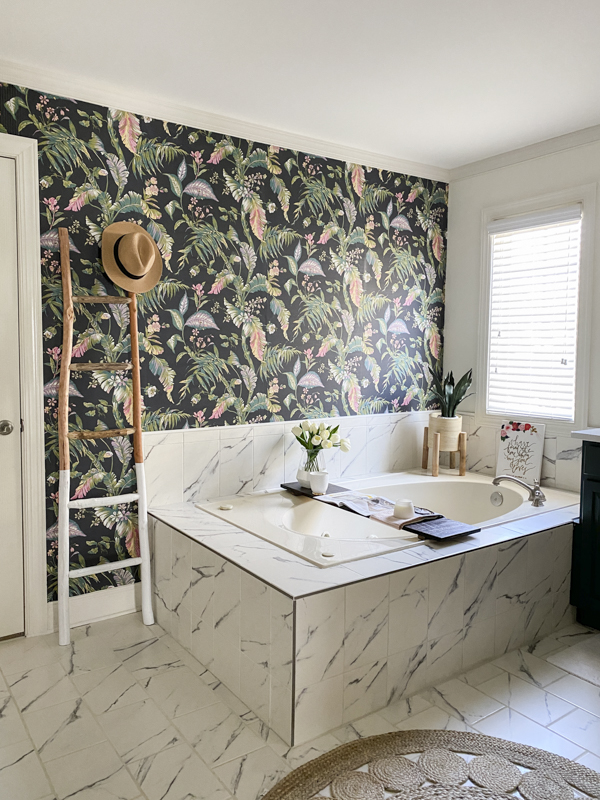
Recently, I came across a very beautiful but expensive bathtub tray from a well-known design store. It served as my inspiration to create something similar but on a much smaller budget. When it comes to DIY, I know when it’s worth it to shell out the money and when you can totally build it yourself. Here’s how I made my own DIY bathtub tray using the Bernzomatic TS8000.
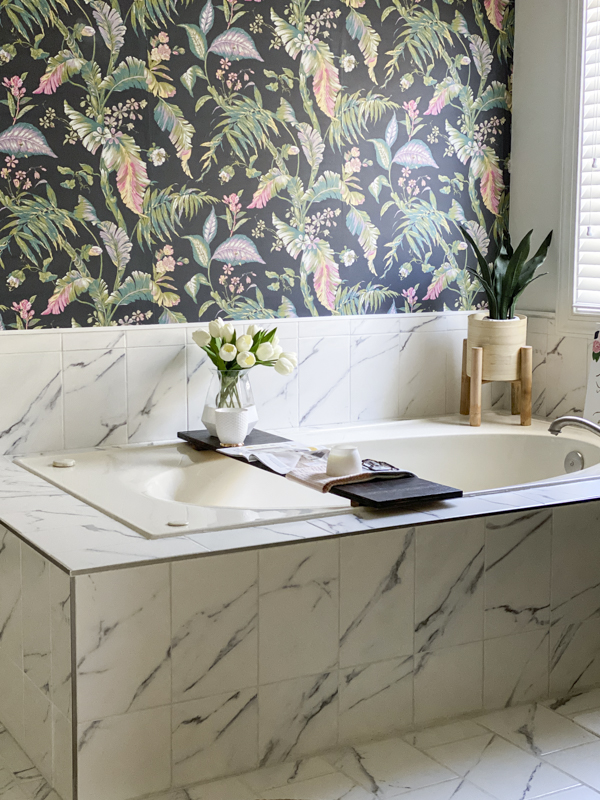
Most of my projects are customizable so you can change the size, color, or even style to fit your own home. I built this a little longer in width since my garden tub is a bit on the wider scale. You can even customize the color if you want a more rustic vibe. I went with a darker burnt wood color to create a modern aesthetic to match my bathroom. Here’s how to build a DIY bathtub tray for your own bathroom.
DIY BATHTUB TRAY
SUPPLIES:
- Bernzomatic TS 8000
- Bernzomatic Map-Pro Cylinder
- Plywood
- Polyeurathane
- Sand paper
- Paintbrush
- Tack Cloth
- Brad Nailer
DIRECTIONS:
STEP 1: MEASURE AND CUT YOUR WOOD
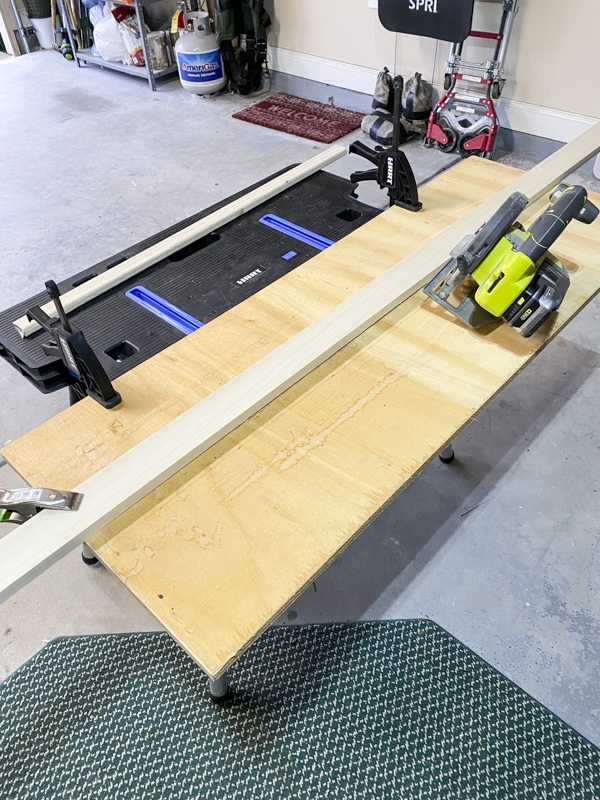
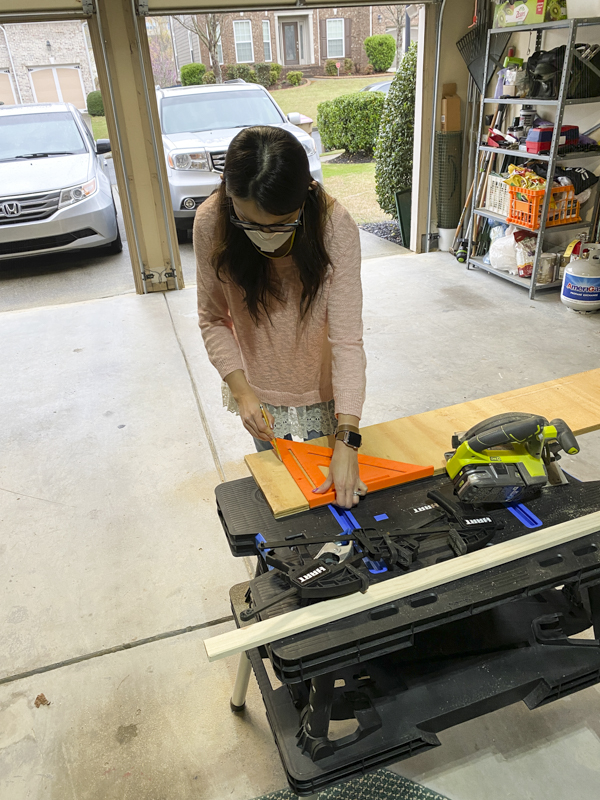
Measure the width of your bathtub and cut your wood accordingly. I wanted the tray to extend outside the rims. My board measured to be about 45×10 inches. It’s always better to cut longer at first. Take it to the tub and adjust accordingly. I cut the wood with my circular saw and used a piece of trim to help guide me along.
I recommend wearing a mask when cutting wood because a lot of the sawdust goes flying everywhere. As you can see, I was too lazy to change out of my normal work clothes before tackling this project. I also cut two small pieces of wood that measured 1.5×8 inches. These served as my “feet” for the board which helps the tray to sit a little higher above the tub.
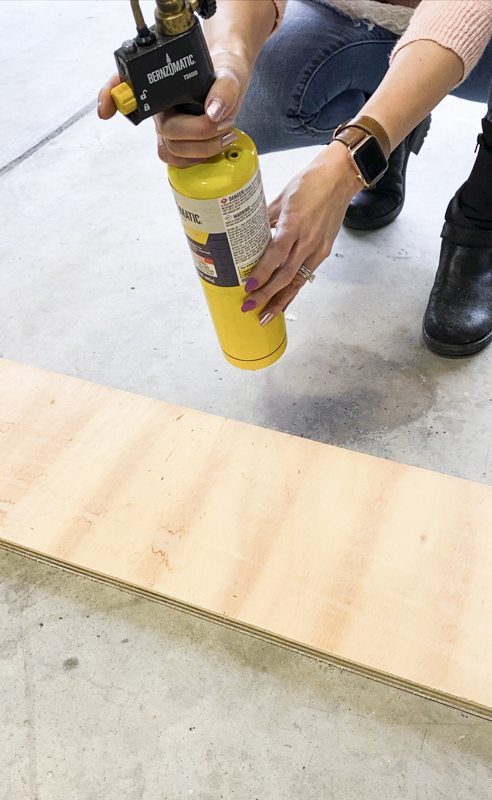
STEP 2: TORCH THE WOOD WITH THE TS8000 and Map-Pro Cylinder
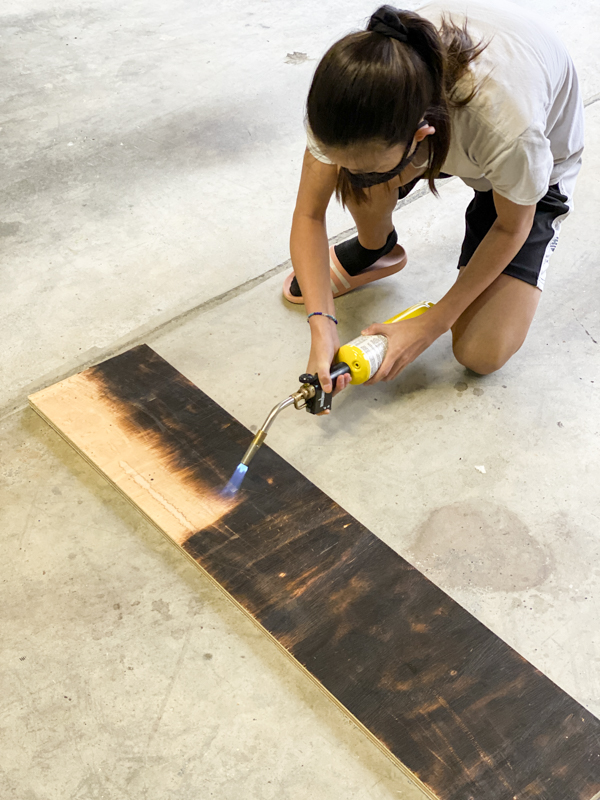
I taught my oldest daughter how to use the Bernzomatic TS8000 torch and she did an awesome job.
The Bernzomatic TS8000 is a high-intensity torch and is the hottest burning torch in the Bernzomatic line. The Instant On/Off trigger ignition provides easier lighting.
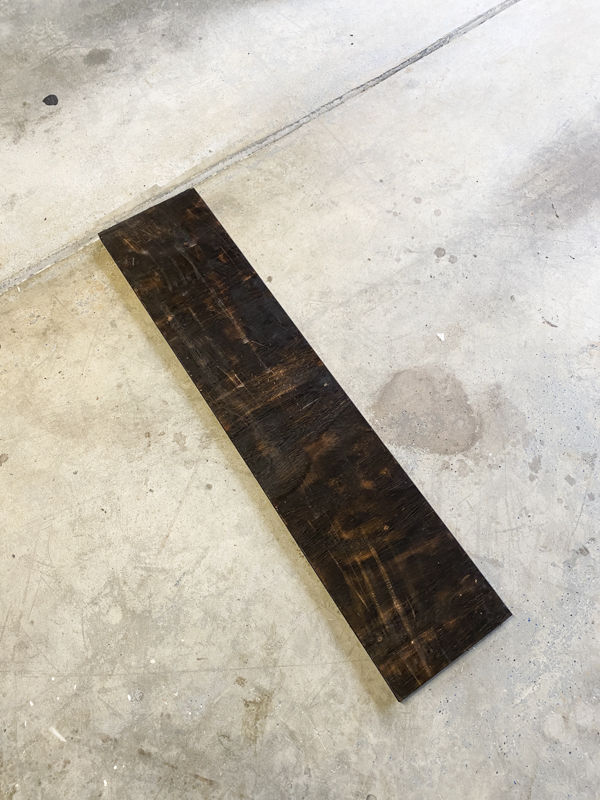
This particular torch burns the wood quickly and evenly. The burnt look really adds richness to the wood grains and mimics a stained look.
See the beautiful difference between the torched and untouched wood? It’s really quite beautiful! Using a brad nailer, I attached the two small pieces of wood on the backside.
STEP 3: SAND THE WOOD
Now it’s time to sand the wood and clean it down with a tack cloth. This also helps to remove a bunch of the char from the wood. Your hands will get dirty!
STEP 4: ADD POLYEURATHANE
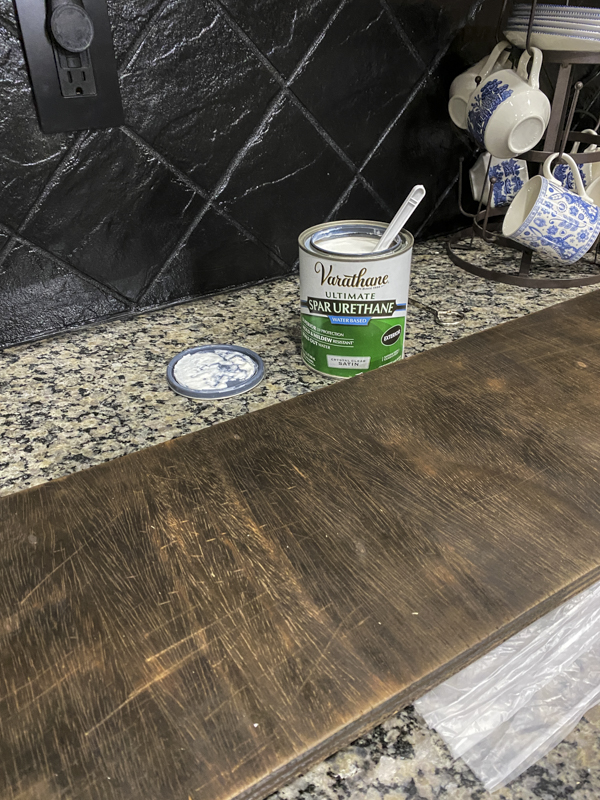
This is right before adding the first poly coat. Note the difference in the wood tones. You want to add polyurethane to help protect and seal the wood from moisture.
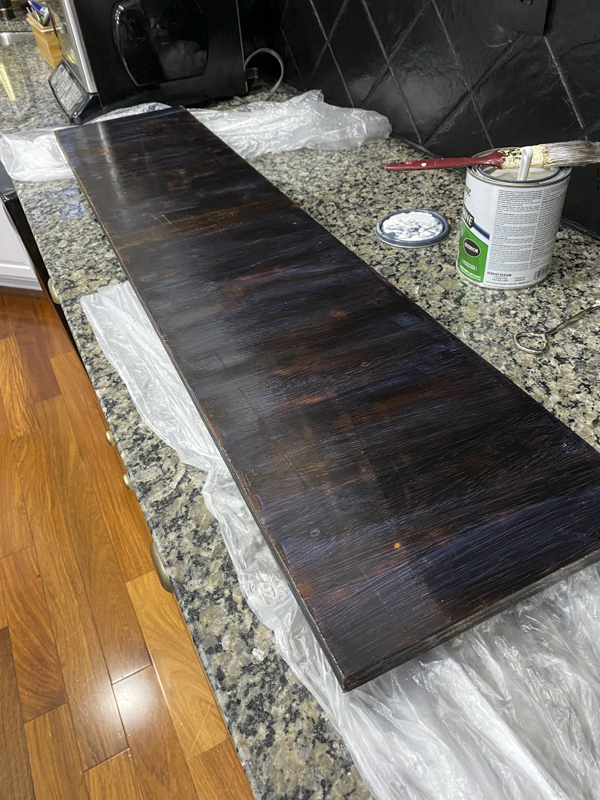
This is after one coat. Do you see how darker it got? It’s gorgeous! I added two coats of polyurethane to the wood. Make sure to wait the appropriate waiting time in between the coats of polyurethane.
STEP 5: STYLE THAT BEAUTY IN YOUR BATHTUB
Isn’t it gorgeous?! I’ll be honest. I was never a bath person until a couple of years ago when I started training for a marathon. Baths became my best friend and helped relieve my old achy bones and muscles.
And even though I will never train for a marathon again, bathtimes are here to stay!
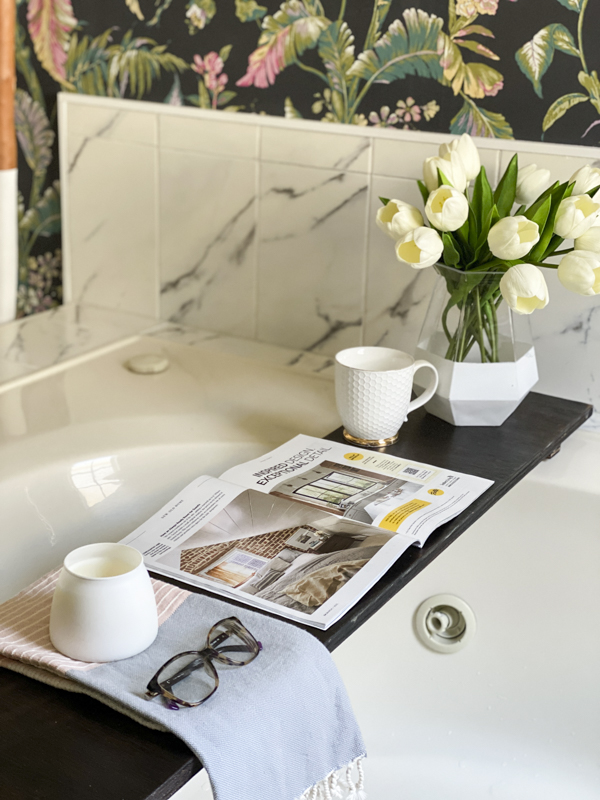
I think it’s also a wonderful way to treat yourself, especially in this season when we are spending more time at home. It can really be a stress reliever and a great way to relax and feel rejuvenated. The tray holds the perfect bathtub essentials like a design magazine, candle, tea, and some flowers to add to the mood.
We renovated our bathroom a couple of years ago and it was by far the biggest project we have ever done.
Who wants to take a bath? I do! Thanks for reading, friends. Excuse me while I go unwind in my tub for a bit.
xoxo,
Let all that you do be done in Love. 1 Corinthians 16:14
This post contains affiliate links for your convenience.

