Custom blinds can be expensive and inconvenient especially when you factor in the turnaround processing time. The Home Depot has blind cutting machines in their local stores so that you can buy great quality cut to width blinds the same day.
After living in our house for over a decade, we noticed five of our blinds had broken over time and I just didn’t want to deal with the hassle of replacing any of them. After discovering that The Home Depot has their own blind cutting machine, I had to check it out myself and finally address our malfunctioning blinds.
Here’s a look at our new cut to width blinds in our dining room from The Home Depot!
This post is sponsored by The Home Depot but all thought, opinions, and styling are my own.
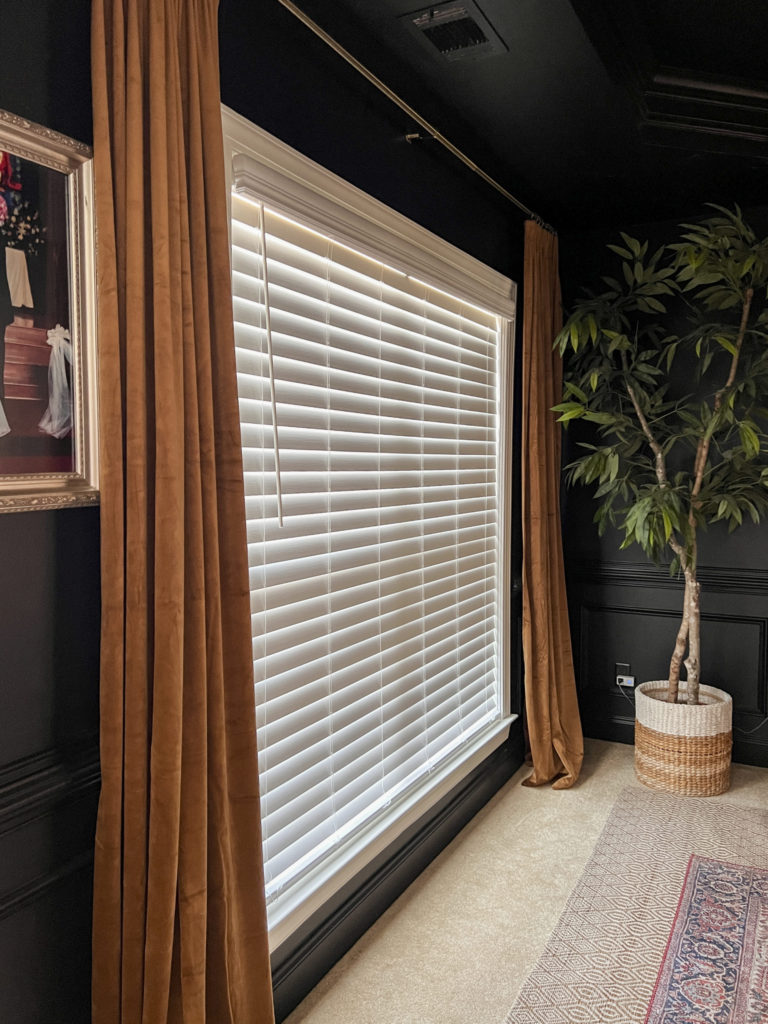
If you’re in the market for new blinds, this post is for you. The Home Depot makes it quick and painless and best of all, the quality and price can not be beat!
STEP 1: Take Measurements For Each Window
The first and most important thing you need to do is make sure to gather the measurements from your windows. You can find the blinds measurement guide on The Home Depot website which is super helpful.
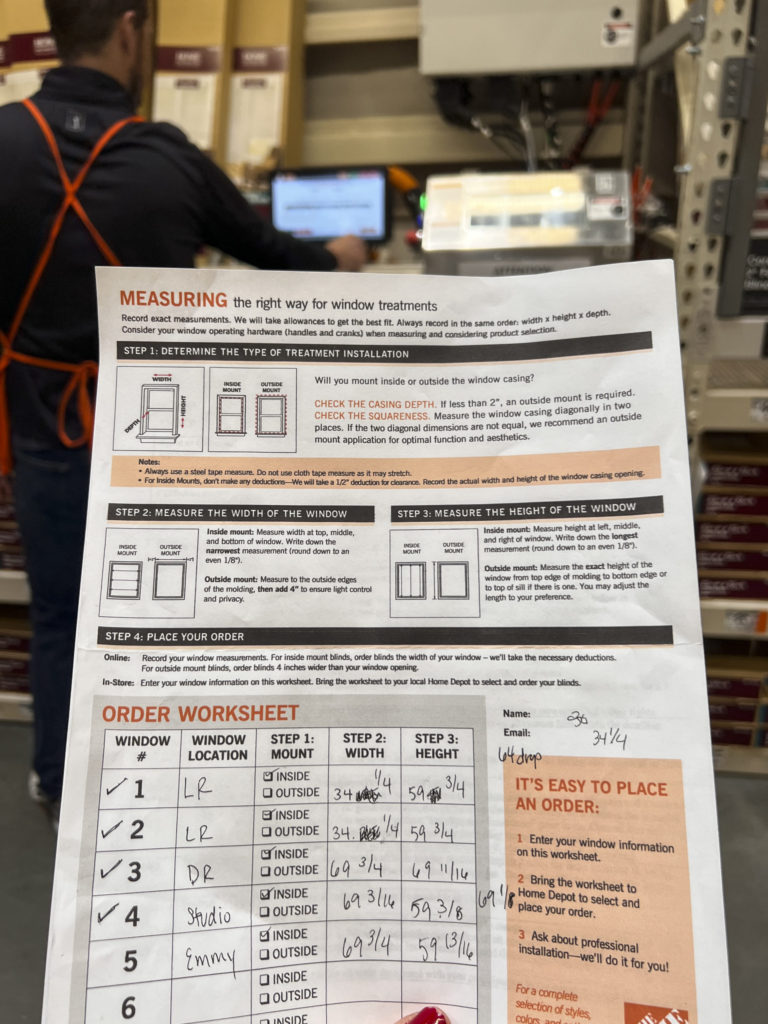
The measurement guide gives you detailed instructions on how to take accurate measurements so that you can bring this worksheet with you into the store and hand it to the sales associate. You have the option to do either an inside or outside mount. We made sure to triple-check the measurements at home to decrease any potential for errors from our end.
STEP 2: Go To The Home Depot With Your Measurements

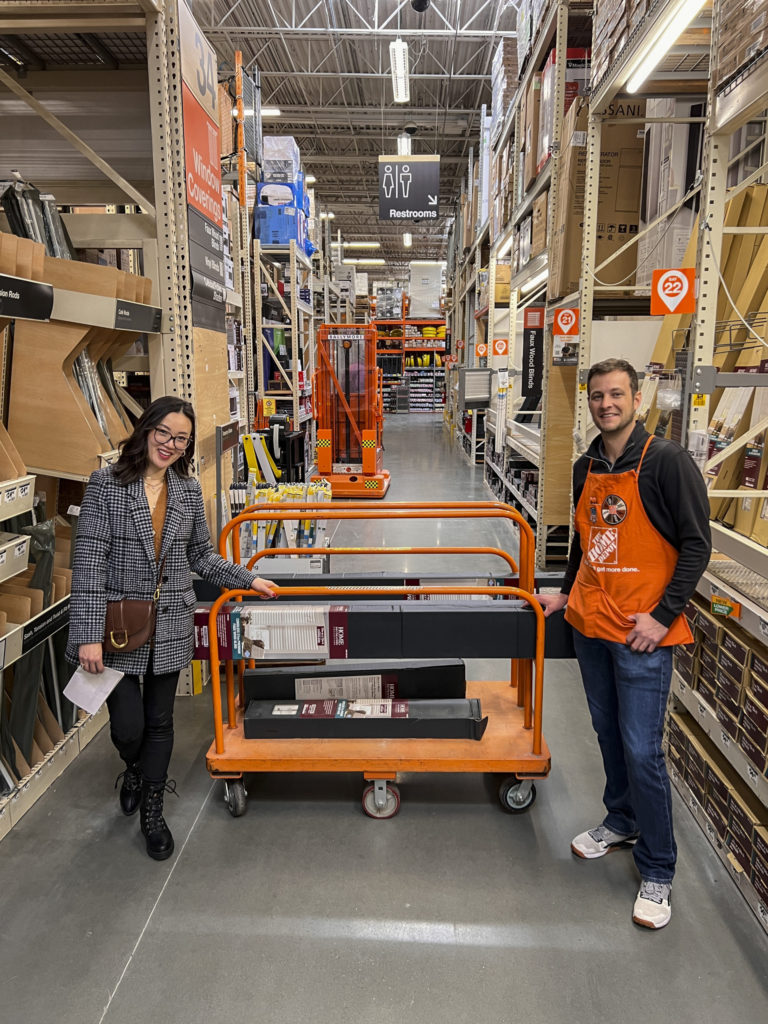
Upon arriving, my sales associate, Brett walked me through the whole process. I had already decided upon the Premium Faux Wood Blinds from The Home Decorators Collection so he grabbed them from the shelves. You can choose from cellular shades, faux wood, or premium faux wood.
STEP 3: Watch The Machine Do The Work
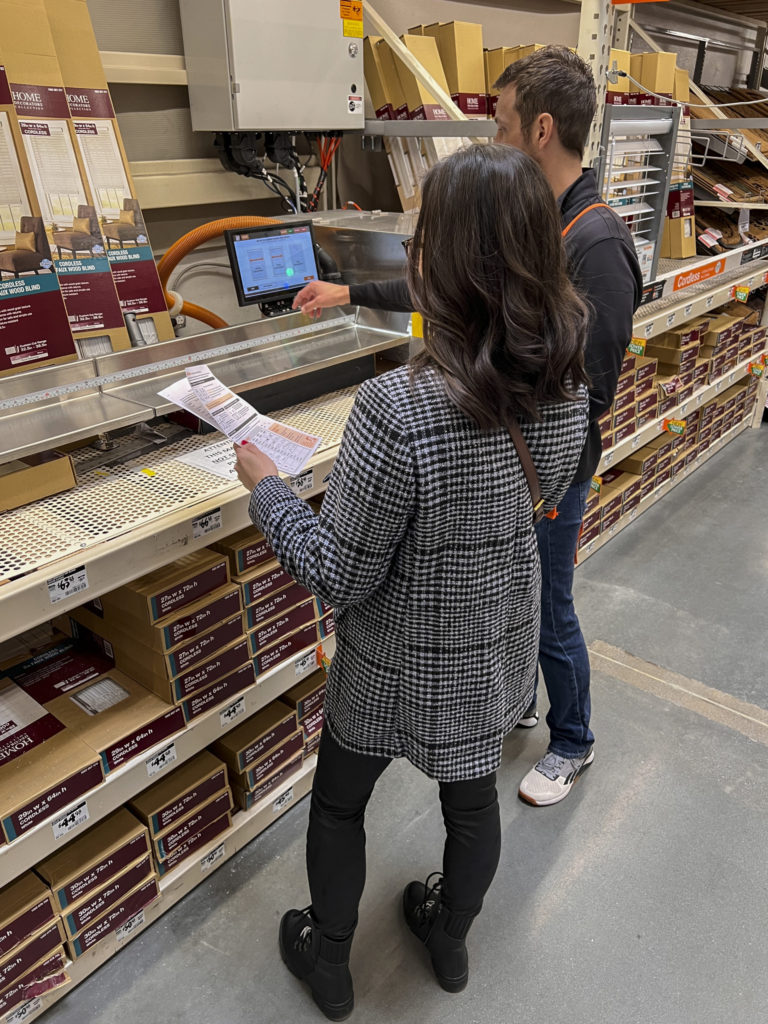
I gave Brett the worksheet and he took each blind measurement and input them into the blind cutting machine.

It was so cool to watch the machine make precise cuts. I couldn’t believe how quickly the whole process took from start to finish. I peeked into the window of the machine to watch my blinds getting cut.
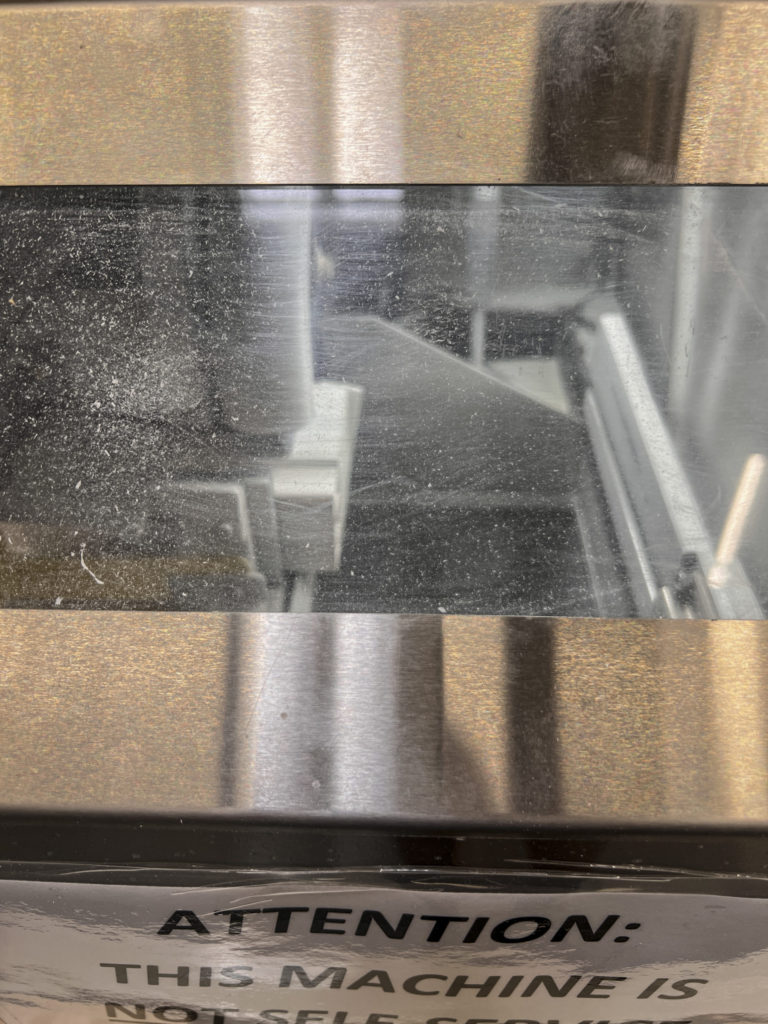
Now, it’s time to go home with all of my cut to width blinds. The whole process was quick and efficient. Brett even loaded up my cart with his impeccable service.
STEP 4: Take The Blinds Home for Installation
The installation was also very straightforward. I really appreciated how the brackets came with double-sided sticky tape so you could install them easily by yourself.
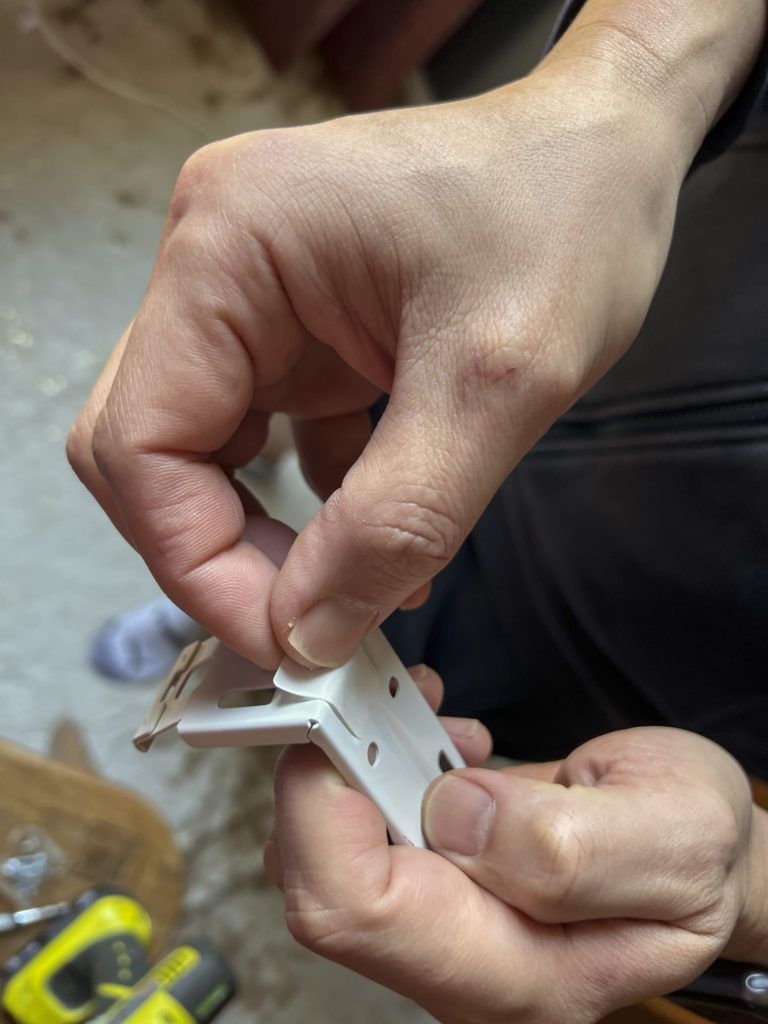
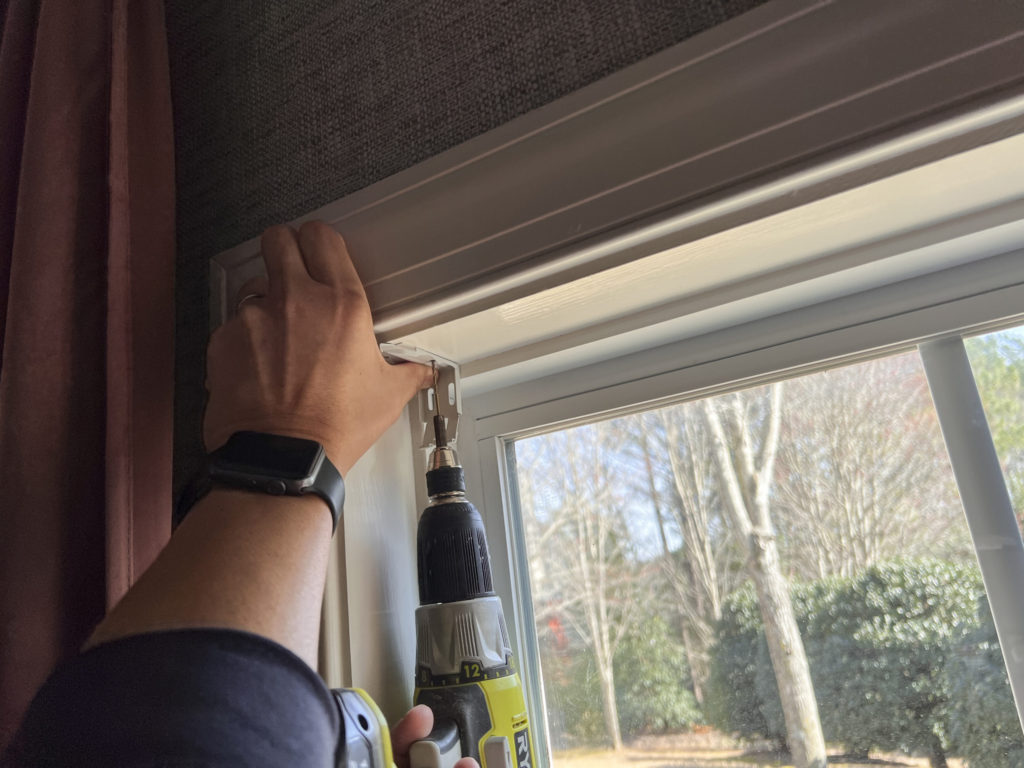
Once the brackets are in place, just insert the blind and add the valence.
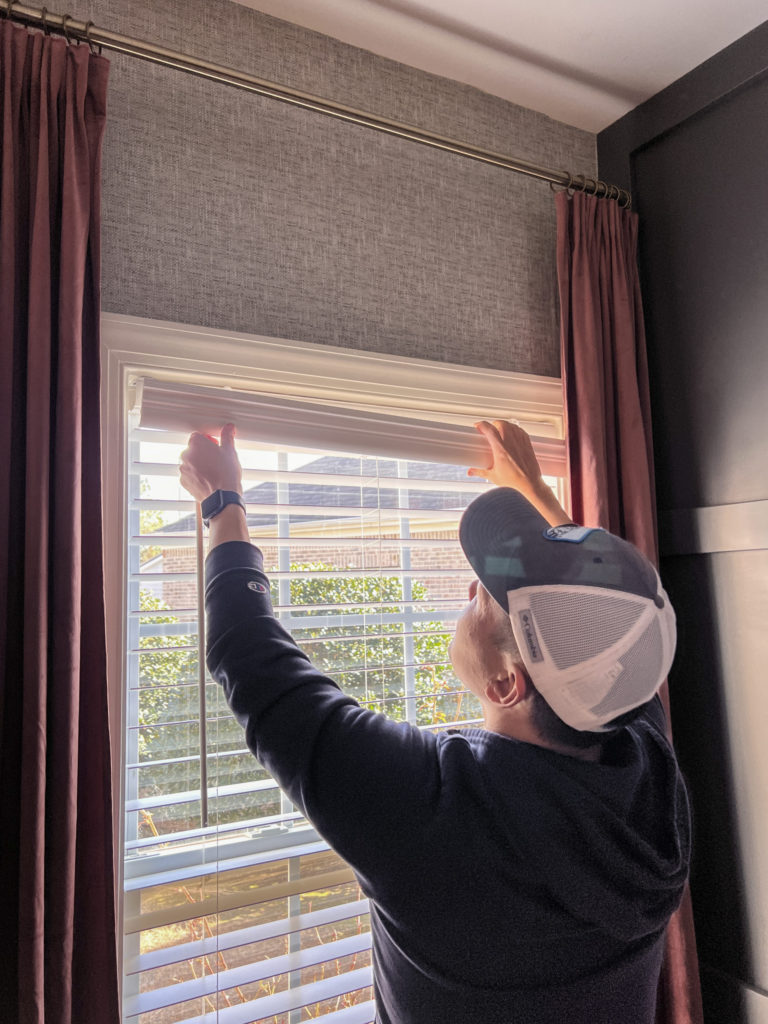
It was worth triple-checking the measurements because the blinds fit perfectly inside our windows. The best part of these blinds is that you just push them up to open or pull them down to close them. My previous blinds had a cord that had a tendency to break. It also was virtually impossible to pull the string to open the larger blinds.

They look great in our home and I’m so happy to have new functioning blinds! I can’t believe how easy and affordable it was to get these cut to width blinds.
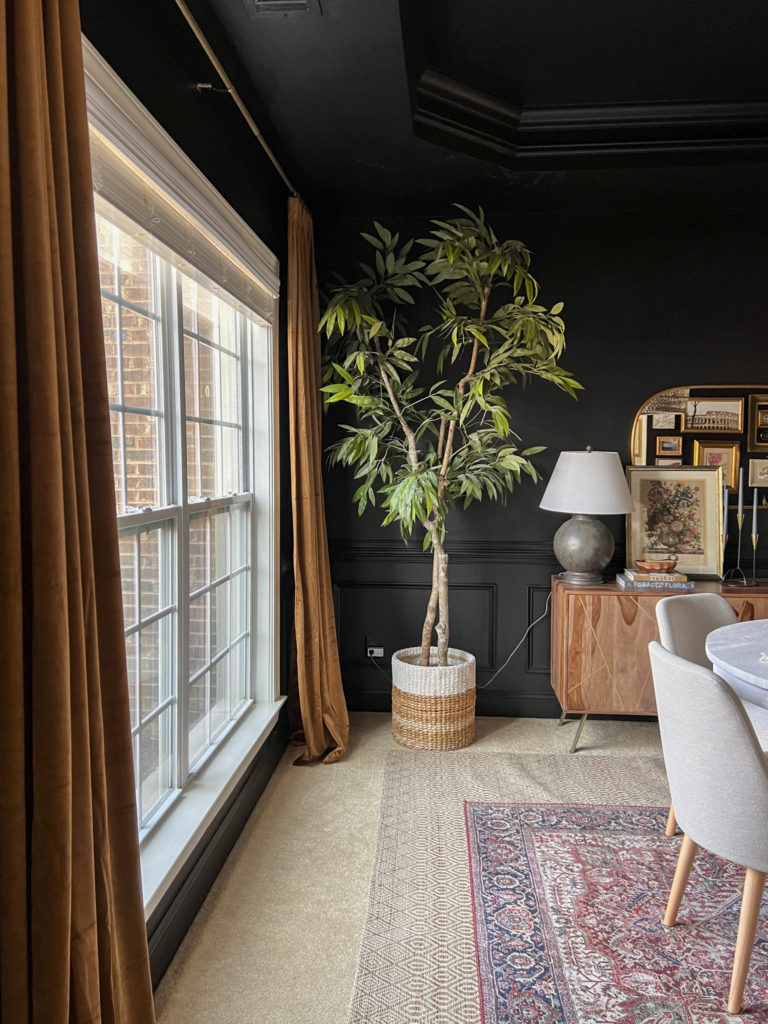
I love how the blinds open so easily in our dining room. I rarely had the old blinds open all the way up because it was nearly impossible to lift them with the cords. Now, this room benefits from so much sunshine during the day, and the closed blinds provide the necessary privacy and shade in the evenings.
If you’re in need of new cut to width blinds, be sure to check out The Home Depot for quick, affordable, high-quality blinds that are cut in your local stores.
xoxo,

Let all that you do be done in Love. 1 Corinthians 16:14