Here’s how to build your very own modern farmhouse plate rack.
This post is wayyyyy overdue. Jimmy and I built this modern farmhouse plate rack back in August and I shared the after photos with you all. However, I had all the good intentions of sharing the DIY tutorial with you. I blame it on many things including my big shower turned into whole bathroom renovation along with everything else that has been going in in the Min household. But better late than never? I hope you find this tutorial helpful in case you are interested in creating a similar modern farmhouse plate rack in your own home.
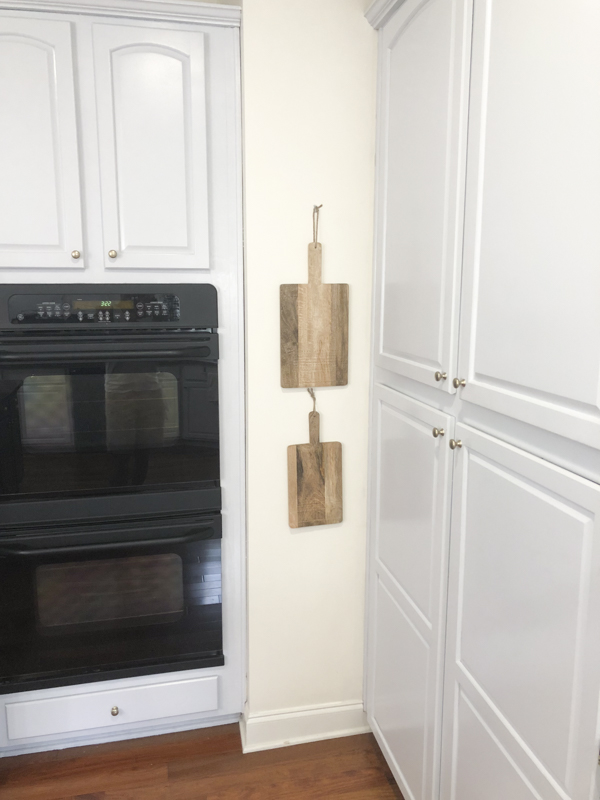
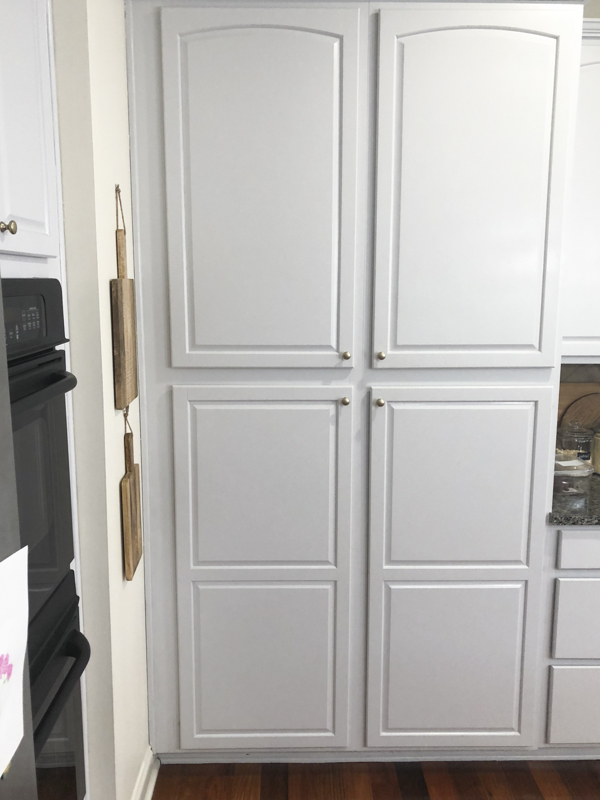
Long before we built this thing, I dreamt it. The section of wall between my pantry cabinet and double ovens is quite small. Everything I put up there just didn’t look right to me at all. I had a chalkboard wall at one point and then changed it to photo frames and then hung simple wooden boards.
I had dreams of creating a plate rack there to display some of my fun dishes but kept going back and forth because I wasn’t sure the space could accommodate it. #dishladyproblems
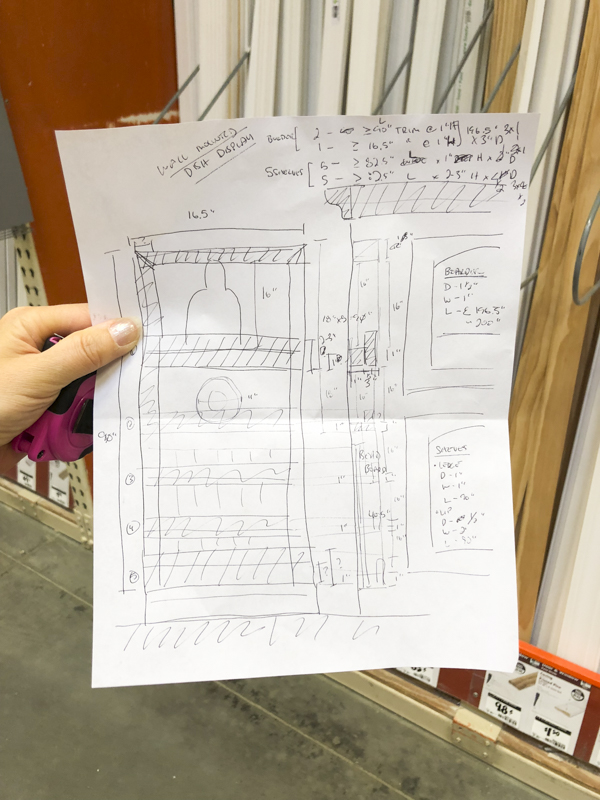
As with all projects, I tell Jimmy my vision. I’m not good at drawing but somehow, he understands my vision and is able to create an illustration of what’s swirling in my head. We really do make a great team because he is able to figure out the details while I’m good at seeing the overall vision and end result. Both are equally important.
Here he is holding up a couple of plates so I could get a better visual in terms of how many shelves we could build.
I finally decided to pull the trigger and when Jimmy and I had a free Saturday, we hit our local Home Depot aka our second home and got all of our materials to create this simple and inexpensive plate rack. We brought his drawing with detailed measurements so we knew how many pieces of wood we needed to purchase.
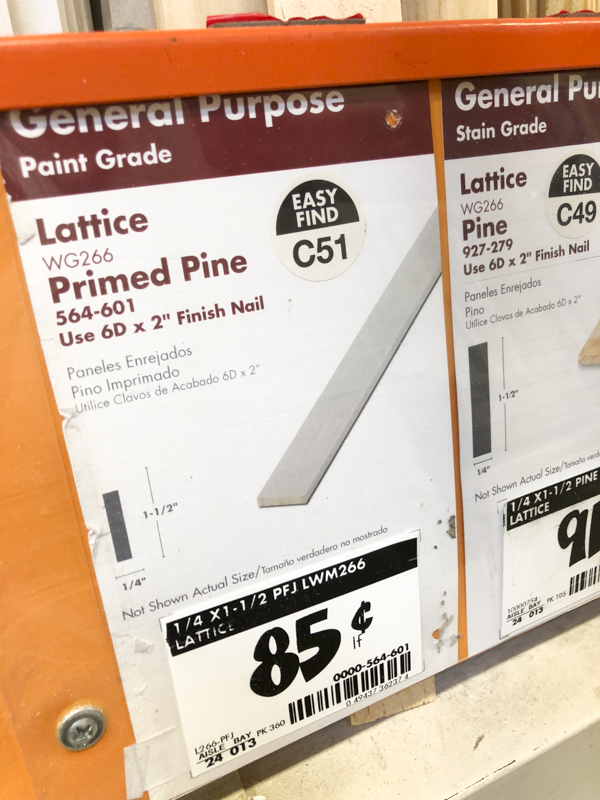
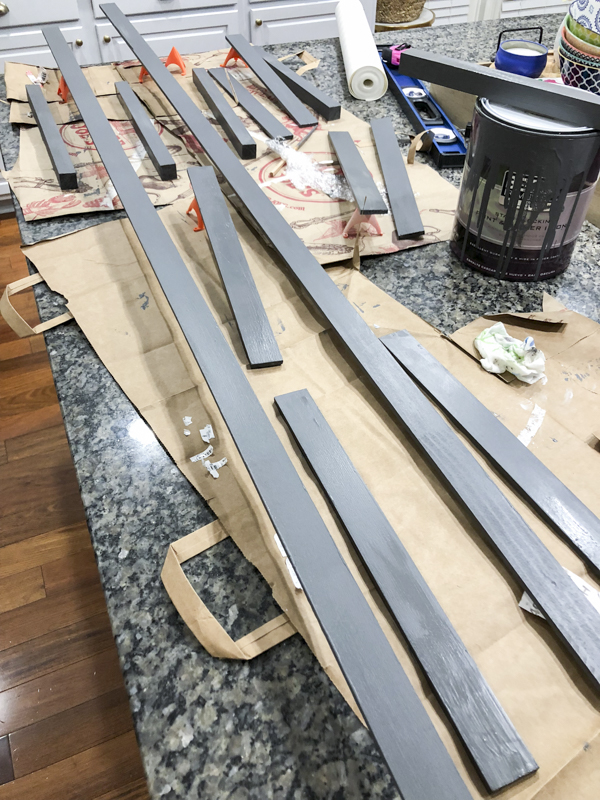
We purchased these 1/4 x 1.5 primed pine lattice. Jimmy cut these into strips for the sides and fronts of the plate rack. The pine lattice strips created the frame for the rack.
We also purchased these square dowels and used them in front of the plate racks. This is what created each level of the rack. If you aren’t working with a tight space like mine, I would recommend using something thicker so that you have greater clearance and can layer plates in front of one another. I would’ve loved to do this but again, I was tight on space with the pantry doors.
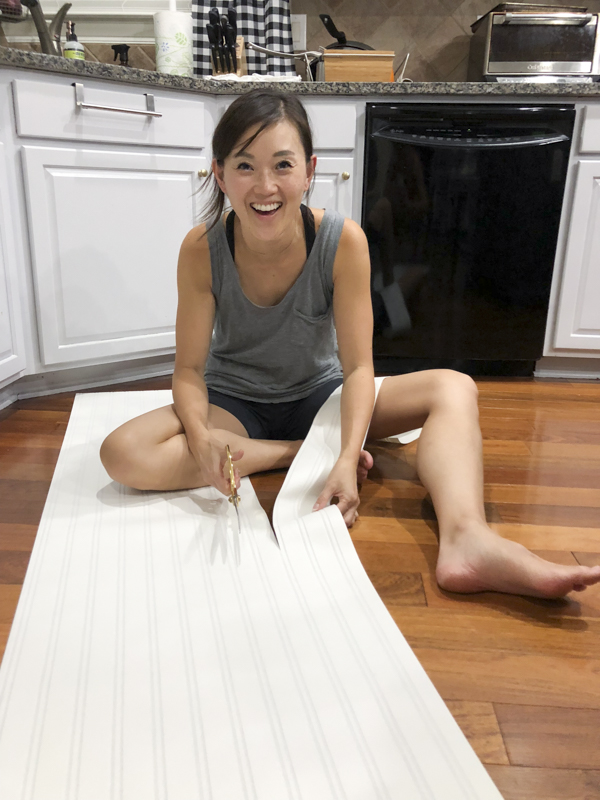
For the back of the wall, I used some leftover beadboard wallpaper. I used this on our makeshift mud area wall and it’s been holding up wonderfully for over 3 years. This wallpaper is the kind where you spray with water. After measuring and installing this on the wall, I painted it with Peppercorn by Sherwin Williams. I used this same color on my paneled wall in the family room. The color coordinates well with my cabinets and kitchen island.
The dark color paint adds a modern touch and keeps it from looking too farmhouse-y. I painted everything before installing it on the wall.
The beadboard wallpaper went up first. The main thing you want to think about when planning this shelf is to take the height and decide how many tiers you want. Depending on how many tiers you decide to add, you have to divide it by the number of tiers and take into account the thickness of each shelf.
After the painting dried, Jimmy started at the bottom and used a nail gun to attach the side lattice trim that was closest to the pantry cabinet door.
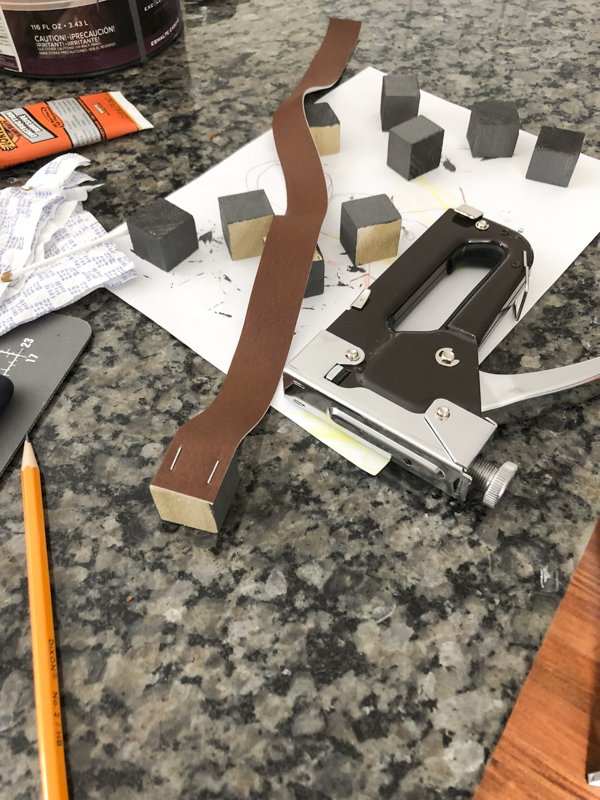
I purchased some faux leather from my local craft store. I had a vision of adding these to the front to add another modern element to the rack.
Jimmy then installed the square pieces and then nailed an additional smaller piece of lattice for the lip of the shelf. Instead of installing the lattice lip right on top of the square dowel, I put it about 3/4 inch higher to create a more custom looking trim detail. This helps the shelves have more support for the plates.
Do you want to know something funny? Jimmy actually made a mistake in measuring and when he got to the top, he realized that space was much larger than the rest. With DIY, there are always big or minor errors. Sometimes, these mistakes can be a great thing. That was the case here because the larger space at the top allowed me to put my longer wooden board and it ended up looking great up there.
Another piece of detail were these two pieces of leather straps that I had on hand. They were part of some scarves that came packaged that way and I ended up glueing them as some extra detail. They look so good! You could easily try too recreate something like this with some leather trim.
Jules is testing out the plates and holding them up so I could get a good visual. I originally bought the wrong color faux leather so off to the craft store I went again! The leather straps support the plates but they are also my favorite design detail for this plate rack. Make sure to pull them tight around the square dowels. I used a nail gun and lifted the leather while it was tight around the dowel before nailing it in. This way, I didn’t have holes in the leather.
The last part was installing the side edge lattice trim and then the top lattice to finish it up. You can use wood filler for all the holes and then repaint it. I was too lazy and skipped that part. The dark paint is forgiving so I’m good with it. I always like to say, progress is better than perfection!
Emmy is my little plate model.

That’s it, guys! I hope you found this helpful. If so, please pin an image from the post and save it on your pinterest board or share it on fb.
I love changing the plates out seasonally and right now, I’m loving some fun color for Spring.
I’ll be back tomorrow with another bathroom renovation update!! It’s looking so so good. Please don’t forget to keep voting for us!
xoxo,
Let all that you do be done in Love. 1 Corinthians 16:14
This post contains affiliate links for your convenience.

