Hi everyone! Thanks for you messages regarding Emmy. She is doing well and actually scooting around on her bum. Kids are really resilient!

Casts are so scratchy and rough AND heavy! Jimmy cut one of his socks and put it over her cast and it’s so much better now. But then we ran into the problem of having one cold leg. What do we do?

You cut a slit on the opposite leg and now, you have one leg pants! YES! We totally need to go on shark tank! #noonewouldbuythis Haha but yes, she’s doing well considering the situation.
Today’s post is a bathroom makeover. I found a line of paint that I really wanted to try called Behr Marquee from Home Depot. It’s their higher quality line and I saw someone else use it on their kitchen cabinets on Instagram. Since I wasn’t about to try it on my kitchen cabinets, I decided to test it in the smallest bathroom in our home. Lucky Jules!
Here’s the Before

We have these same cabinets all throughout the house. We have it in all of our bathrooms and in our kitchen. As you can see, her cabinets were a bit scuffed up so it needed a bit of sprucing up. Now, fast forward a day later and I’m already painting our kitchen cabinets. I should have really tested the paint on this cabinet because we ran into the problem with our kitchen cabinets peeling off. Right now, her bathroom is fine but I think we may run into the same issue later.
Since I learned it the hard way, I’m going to tell you the process of painting these the correct way. If you’re thinking about doing a project like this, a small bathroom like this one will be fairly quick. There are steps I definitely want to press on because you do not want to cut corners when painting cabinets. If you want them to look as professional as possible, then make sure to do it the right way. There’s a reason hiring professionals is expensive! Now, I’m in no way a paint pro so there are only MY suggestions. You should do your own research because cabinets are different. Yours may require heavy sanding or none at all. These are just my opinions on what has worked for our cabinets.
Step 1: Take off the doors, hinges and screws. Make sure to place them all in a zip lock bag. If you do this in the kitchen, make sure you label everything including cabinet doors. You want to put the correct cabinet, screws, hinges back where they used to be. You can run into the problem of the doors not hanging back properly due to wrongs screws or hinges. Trust me, it’s worth the trouble of bagging and labeling. Remove all the knobs or pulls and place them in one area. Remove all the drawers.

Step 2: Clean the cabinets and frame really well! I used a homemade cleaner and cleaned it as best as I could. You need to remove any residue or grease.

Step 3: Take the doors outside preferably in the garage. You want to either liquid sand or regular sand the cabinet. I only sanded the outside of the cabinets because the inside didn’t have a glossy finish. Do this same step for the cabinet frame. We used a liquid sand and wiped it all over the cabinets and frame. Wait at least 10 minutes and feel the surface. If it feels bumpy, you may want to sand after the liquid sand. Sanding is important because it gets rid of the glossiness from lacquer or stain off the cabinets. Latex paint will not stick to glossy surfaces!
Step 4: PRIME! I used Kilz and did one coat on both sides of the cabinet. Basically, wherever you are going to paint, you will want to prime. Even though my paint is a two in one primer, it doesn’t mean the same thing. It’s still a good idea to have a separate primer. This will allow the paint to stick to the surface better and you will use less paint. You only need a thin coat of primer. If you are painting with a dark color, you could get your primer tinted. Make sure you ask someone at the paint desk. After you prime, make sure you wait about an hour until it’s fully dried.
Step 5: Have a workspace ready. Jimmy is really good about this. He has a good set up in the garage right now. He taped down a tarp on the garage floor and that’s where most of our work is being done with our kitchen cabinets. We also have a workbench that we’re using. Now, Paint! I used a brush for these bathroom cabinets and they came out great. We’re currently using a paint sprayer for the kitchen that we borrowed from a friend and I will say, we highly recommend this. It’s not only time saving but it coats evenly and there are no brush marks. Use thin even coats and paint the crevices first. If you are going to roll, buy a small one that is made for smooth surfaces. Also, get a good quality brush for the sides and crevices. We spray painted the cabinets but used the roller to easily get the edges of the cabinets and drawers. Spray painting saves so much time especially when you’re doing kitchen cabinets and drawers.

Step 6: Wait at least an hour before you start a second coat. After it’s fully dried, check the smoothness and sand any areas that are rough or have bumps. Use a talc cloth to remove any paint debris. Remember, thin coats are best! You don’t want goopy paint because you’re layering it on thick. It’s gonna look messy and you will have to sand a lot to fix that mistake. Do your second coat of paint and let dry for a few days to cure. If the weather is humid, it will take longer to cure. You may want to wait the next day for the second coat. If you hang the cabinets back on prematurely, you run the risk of it scratching because it hasn’t been fully cured.

Step 7: Hang the cabinets back on and enjoy your new bathroom/kitchen! It’s truly amazing what paint can do!!


It went on really smooth! I was impressed with this paint.

Sorry, the lighting in here isn’t that great but hopefully, you get the idea!
Again, here’s the Before and After.

Paint is really an inexpensive way to upgrade your bathroom or kitchen. I hope this post was informative!
Here’s a little sneak peek at our kitchen progress.
BEFORE

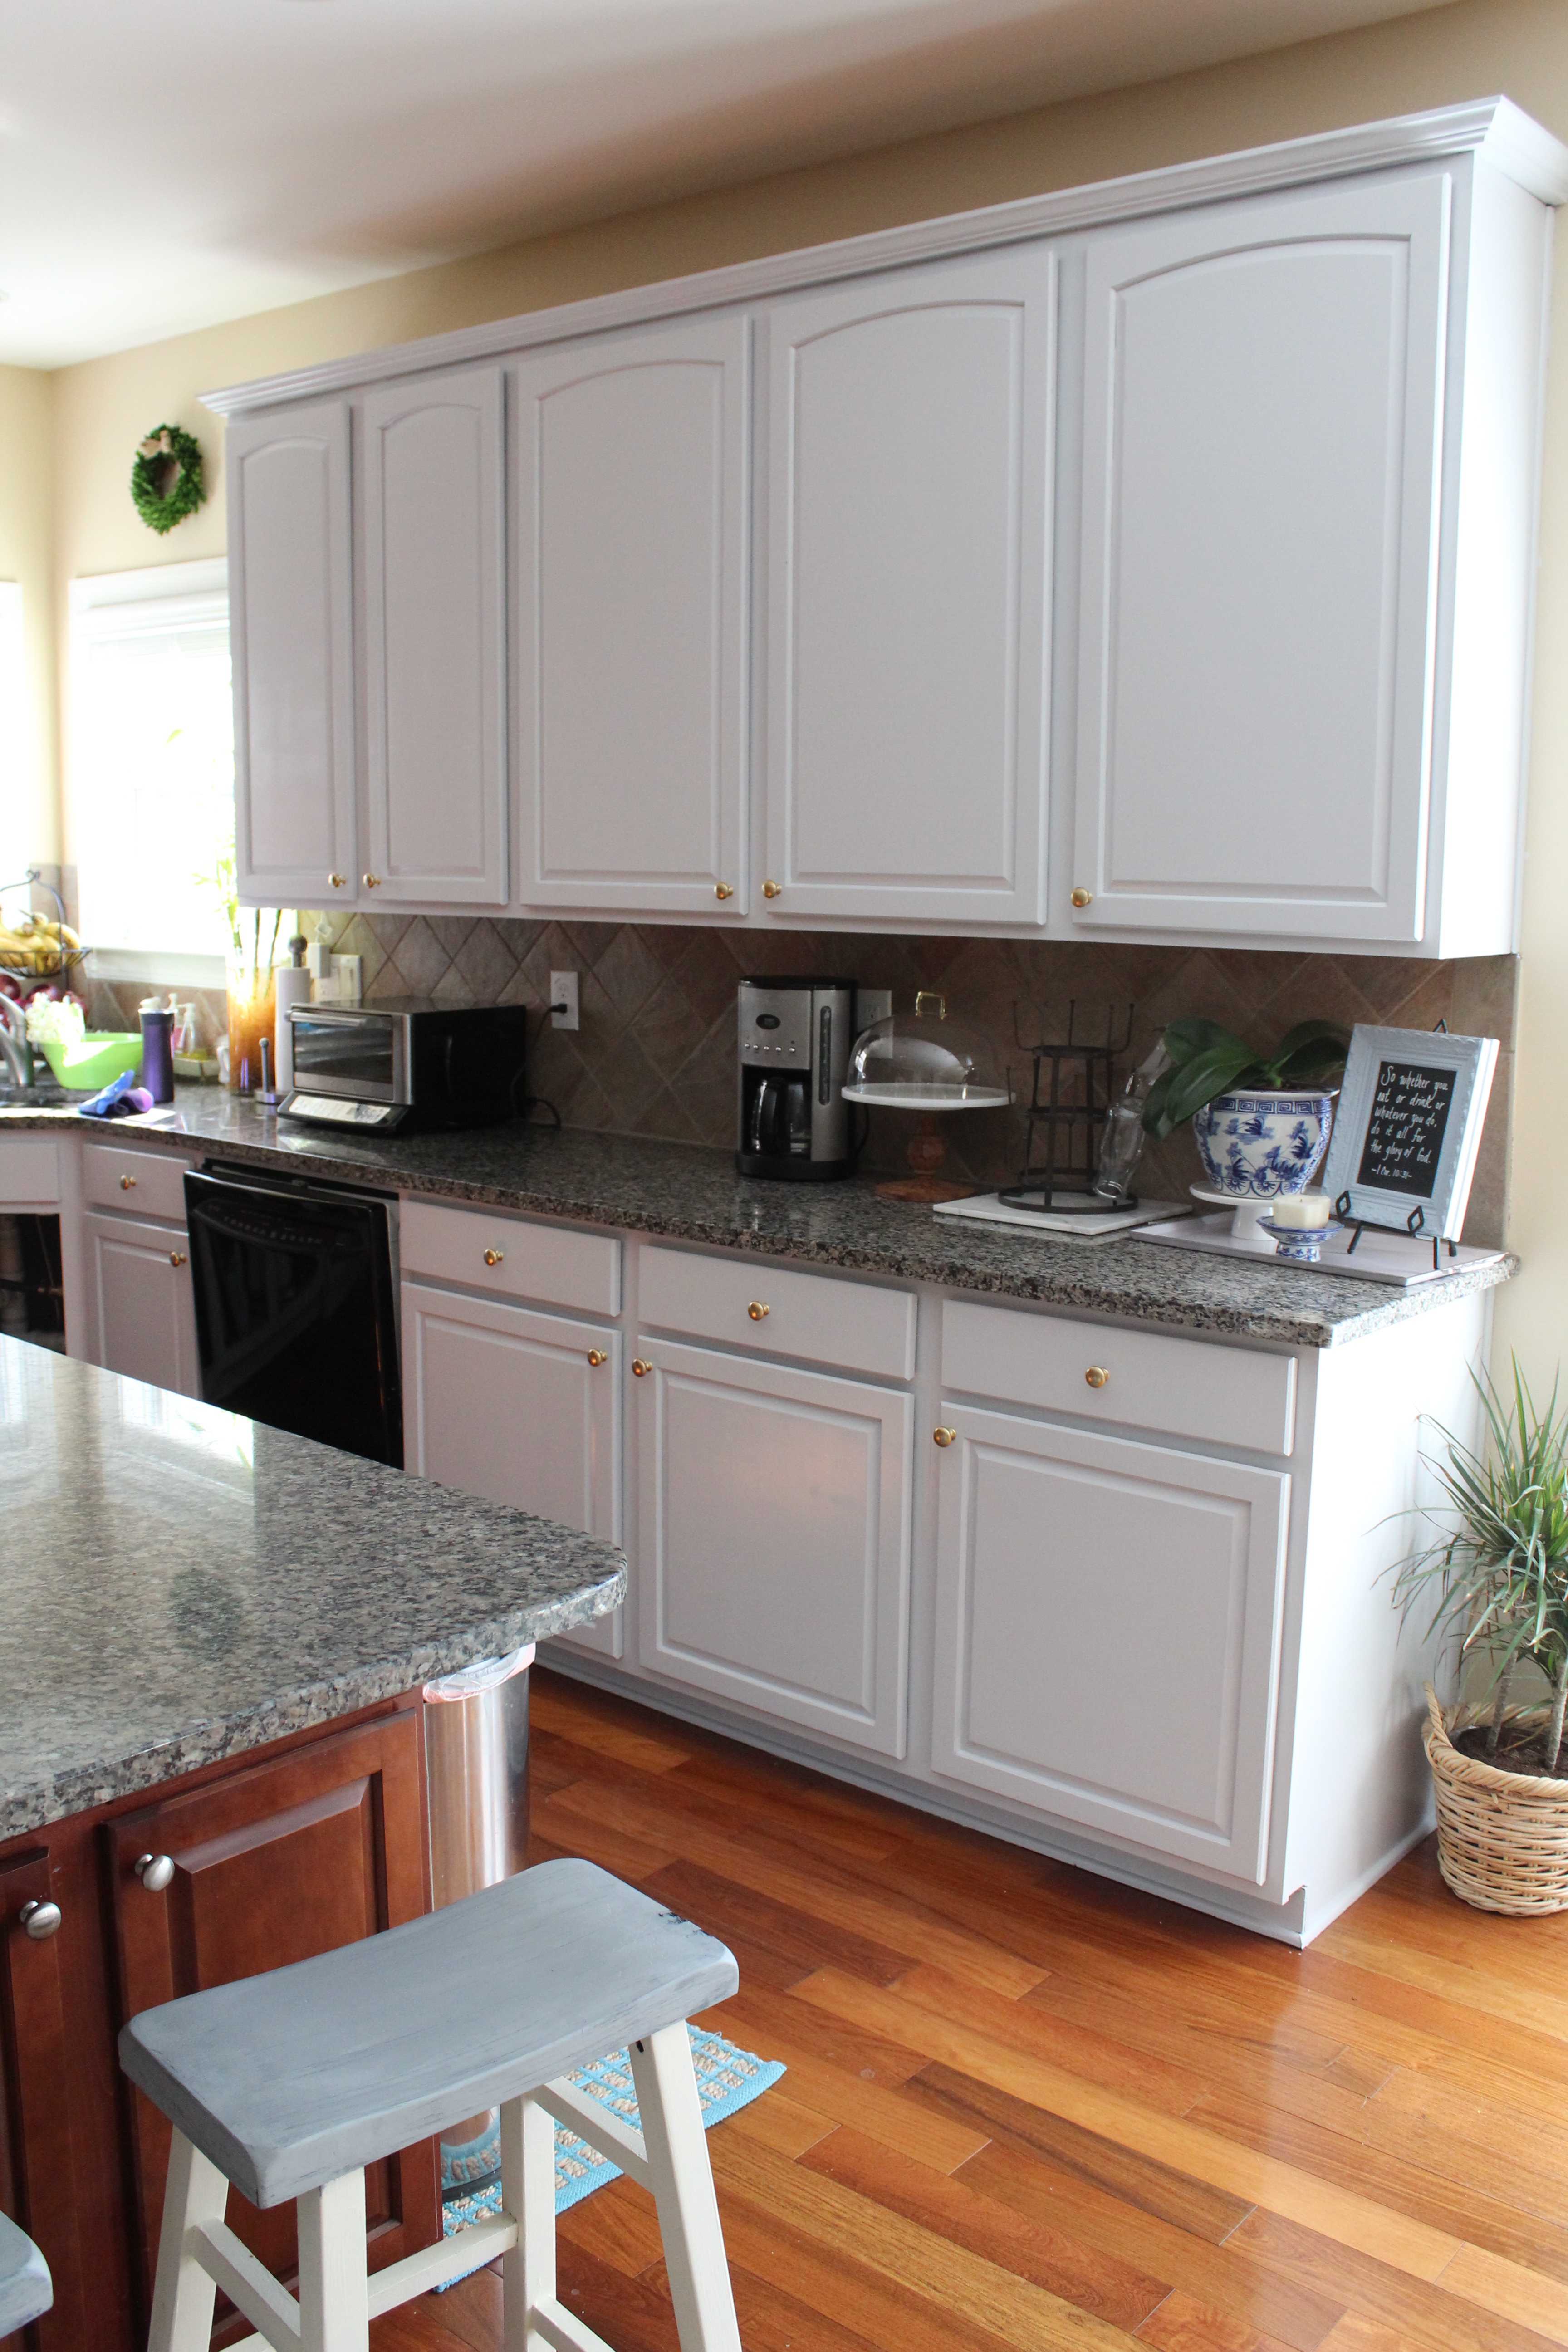 Let me know what you think! It definitely requires a lot of elbow grease but man, it’s so worth it! Jimmy and I are loving the results! It feels like a new kitchen and it’s so much brighter!
Have a great day, folks!
<><yuni
For everyone born of God overcomes the world. This is the victory that has overcome the world, even our faith. John 5:44
Yuni, what type of sprayer did you use to spray on the Behr paint? What kind and what brand? The cabinets look fantastic and your advice is about the best I’ve seen on painting cabinets. Thank you.
Hi Kathleen! The brand is called Wagner and it worked so well. Our cabinets have held up really well and we still love the results. I’m so glad that you found the advice helpful. Please keep me updated if you do yours!