Here’s how updating a traditional end table with paint can completely change the entire look.
If you’ve followed me for a while, you’ll see a lot of traditional elements in my spaces but with a modern twist. Many of the pieces in my home fit a transitional style which is a marriage between traditional and modern furniture and decor. The lines are usually clean and simple but still warm and inviting. I partnered with my friends at HandyPaint in updating a traditional end table I found at the thrift store. I am so excited about how this turned out!
This post is sponsored by Handy Products but all thoughts, styling, and opinions are my own.
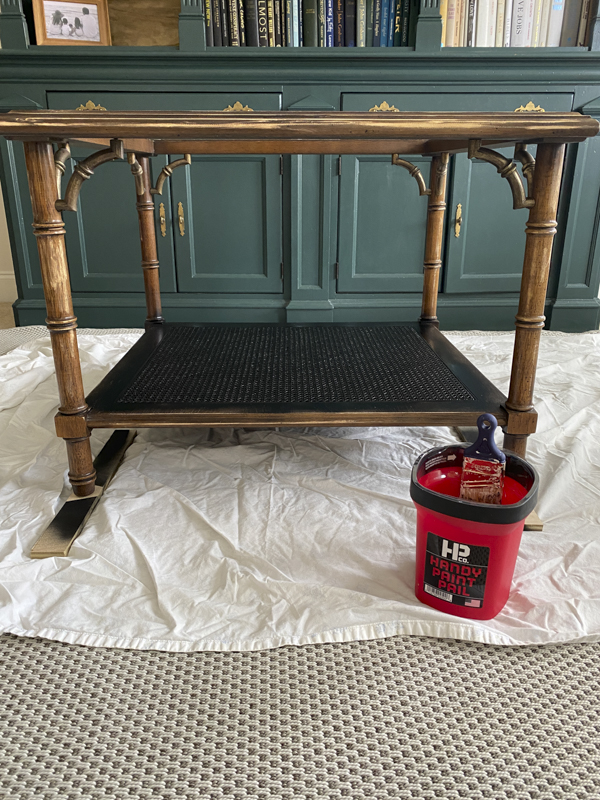
BEFORE
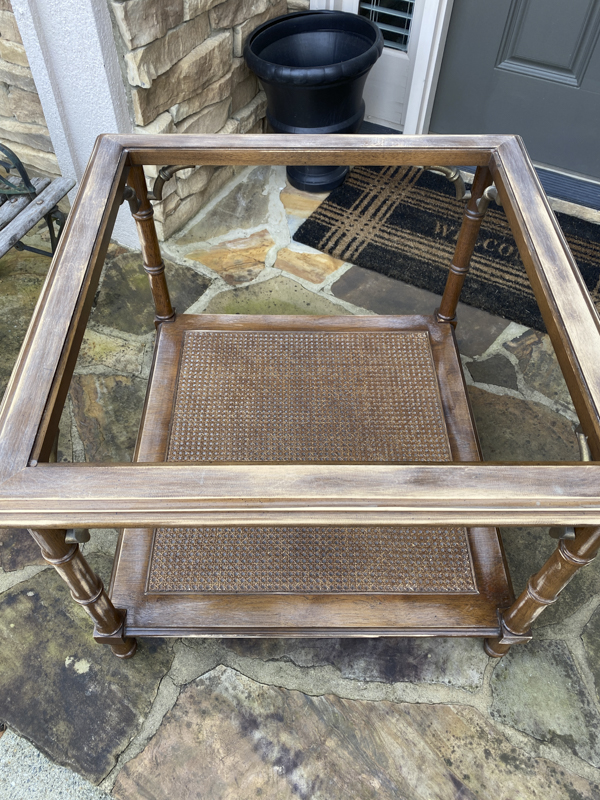
Here’s what it looked like originally. I found this vintage Lane faux bamboo style side table at my local thrift store for only $25! It was still in great condition and I fell in love with the caning on the bottom and the bamboo legs. I saw the brand name under the bottom and knew it was a solid high-quality piece. I found the same one sold online by Chairish for $355!
I just knew the color wasn’t my style and something I could easily change. I removed the glass top before cleaning and wiping it all down. I highly recommend taking your furniture outside for this part. And yes, it’s definitely time to pressure wash our stone floors. 😉
Using an electric sander, I sanded down all the top, edges, and legs. I avoided the caning on the bottom since the wood is more delicate in that area. Sanding will allow the paint to better adhere to the surface. I cleaned all the dust off with some tack cloths and wiped it down really clean.
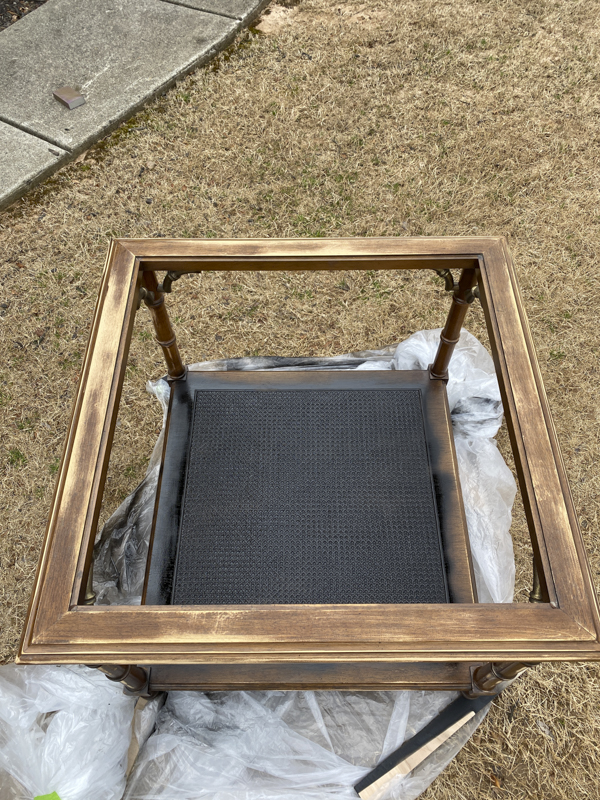
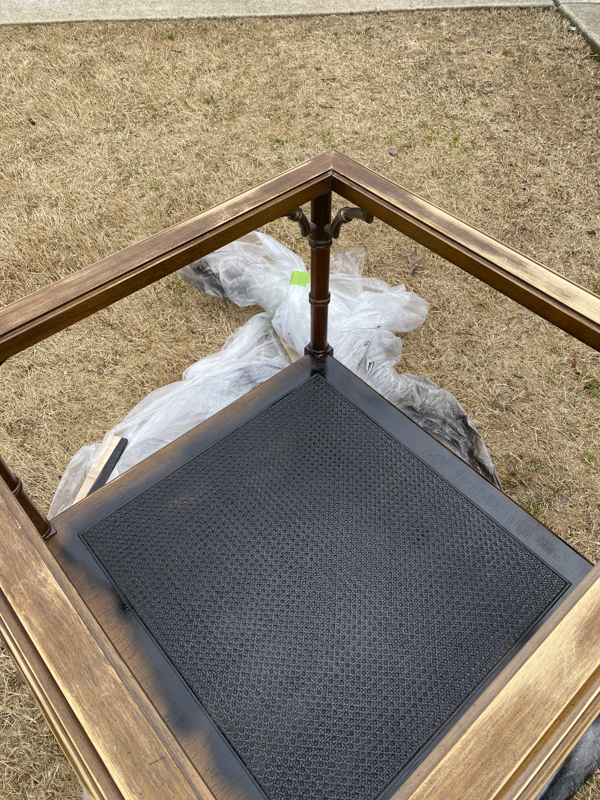
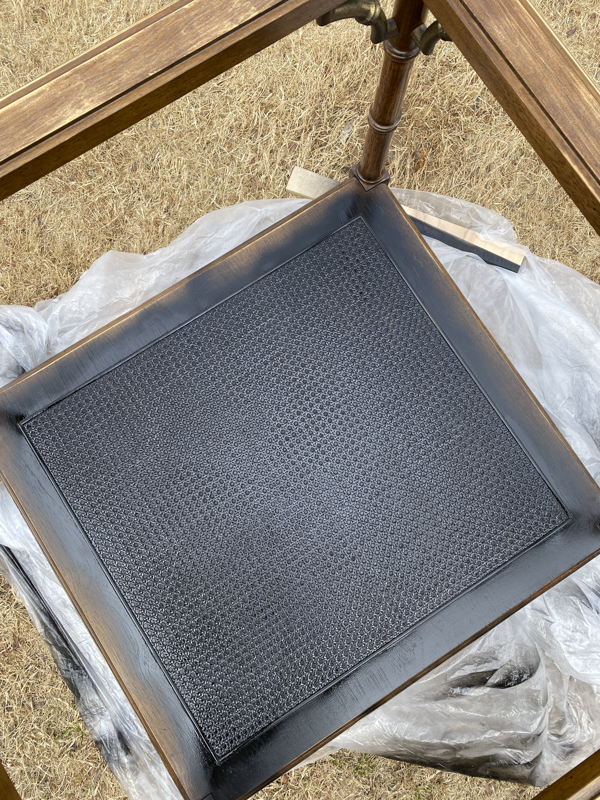
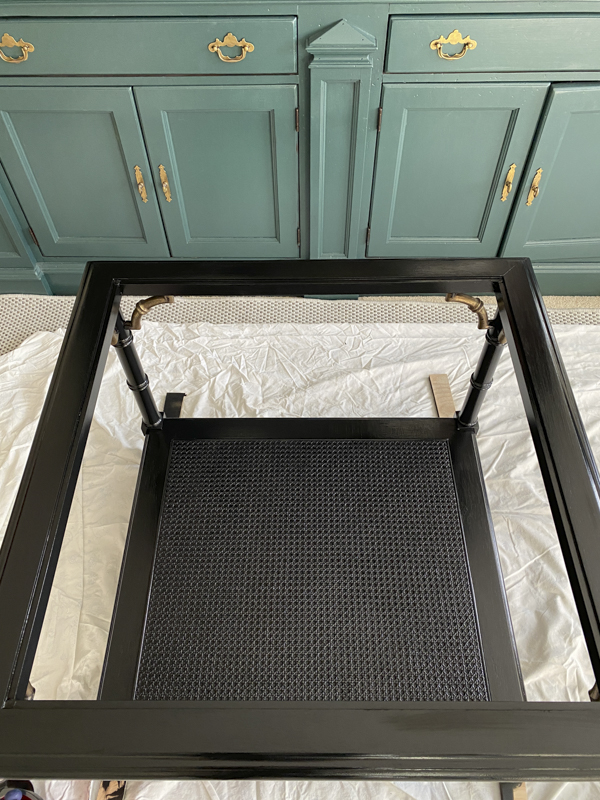
Because the caned area on the bottom has a lot of mini holes, I decided to use glossy black spray paint by Colorshot to make sure I got it into all the crevices. I knew using a paintbrush would make it too messy and really goopy.
This is after one coat of paint.
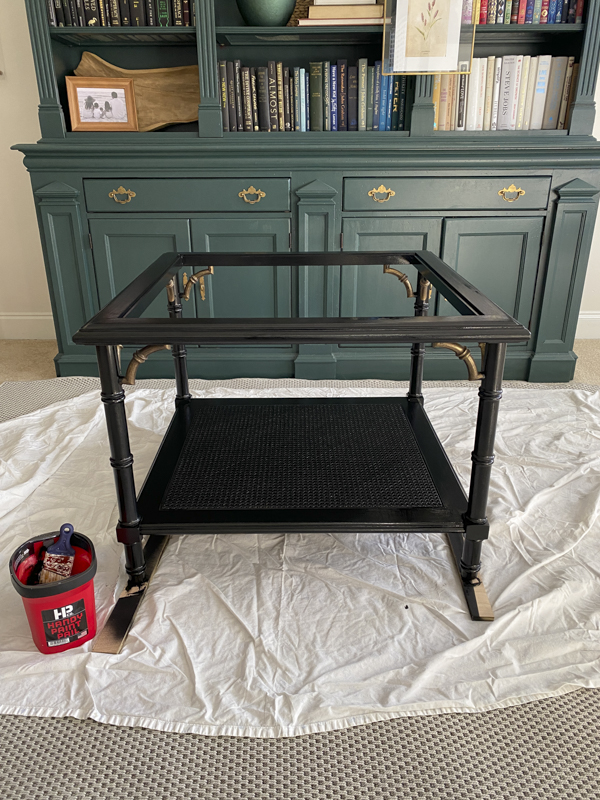
Two coats really did the work!
Now, it was time to paint the rest of the table! Whenever I paint anything, I always get out my Handy Paint pail. The Handy Paint Pail is perfect to use when using a paintbrush. It has a comfortable handle so that you have a firm grip on the container AND it has a magnet on the edge of the bucket. This allows you to magnetically attach the paintbrush to the side instead of making it sit inside the paint at the bottom of the bucket.
The handy paint pail also has disposable liners that you change out with each project. Between drying times, you can use a cover so that your paint doesn’t go to waste. I gave the entire table two coats of glossy paint from Curb Appeal. Oh it’s so beautiful!!
The metal corner pieces needed a little shine with some gold rub-n-buff. The finish was previously a little dull and this step really brought out the pretty gold detail.
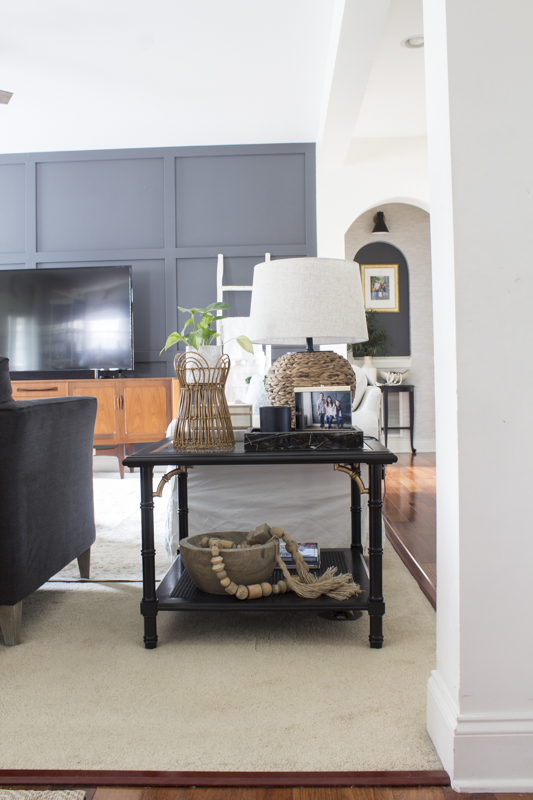
AFTER
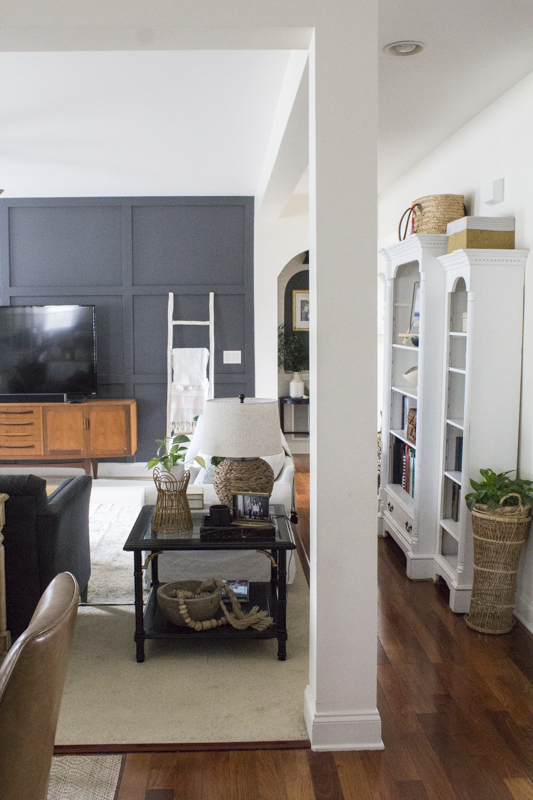
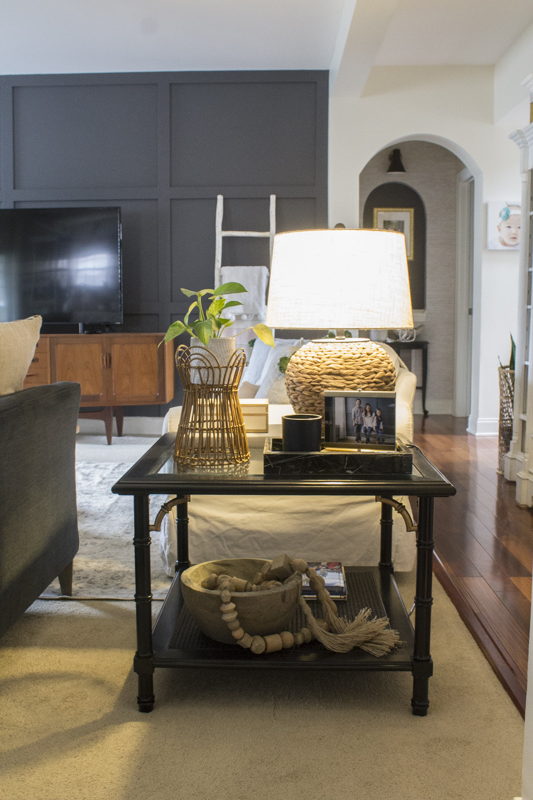
Do you want to see her styled so pretty? Of course you do! This end table fits in the corner between our sofas perfectly. And I love that I can finally put a lamp here because we have a floor outlet right under the table.
Jimmy was the one who thought of putting the table here after I had originally styled it as a coffee table.
It provides the perfect amount of light in the evenings and creates a cozy atmosphere.
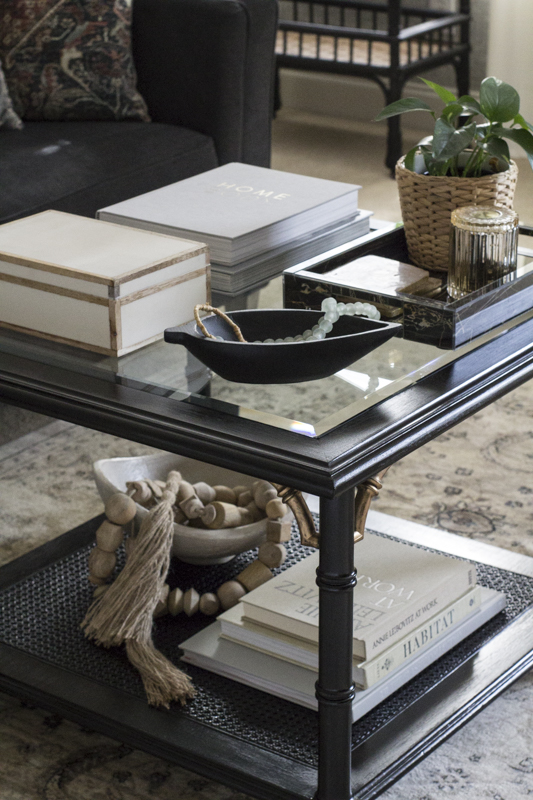
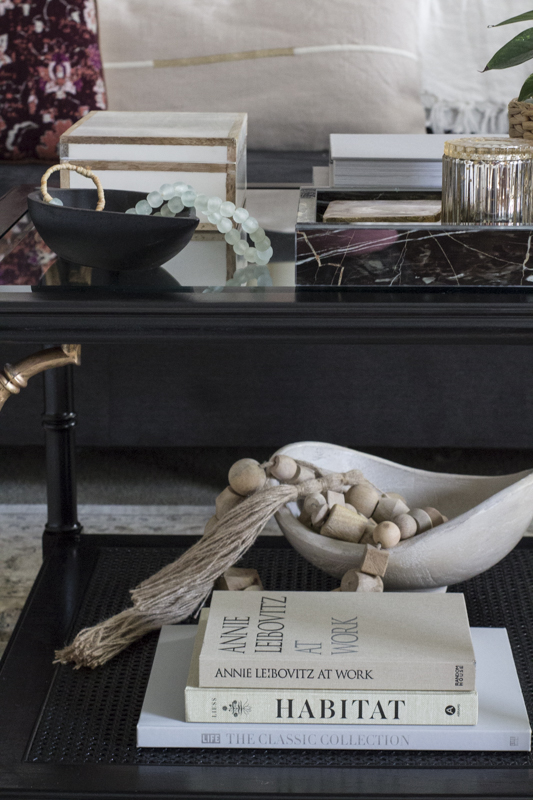
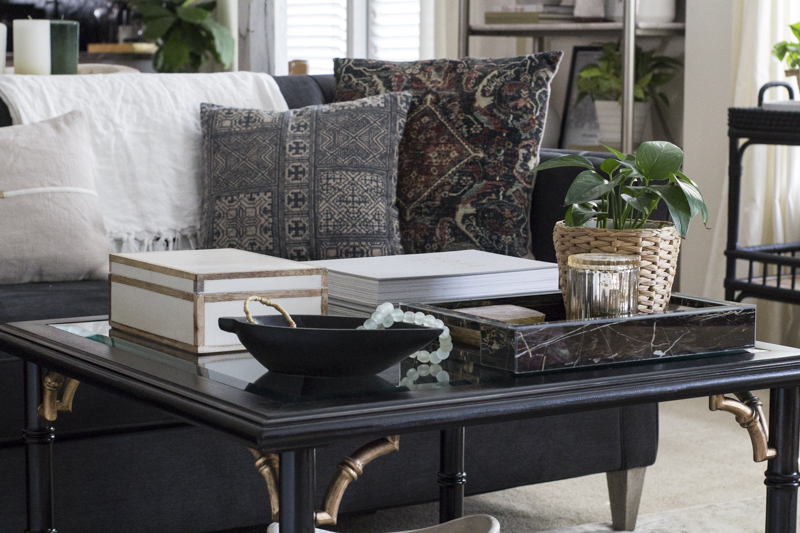
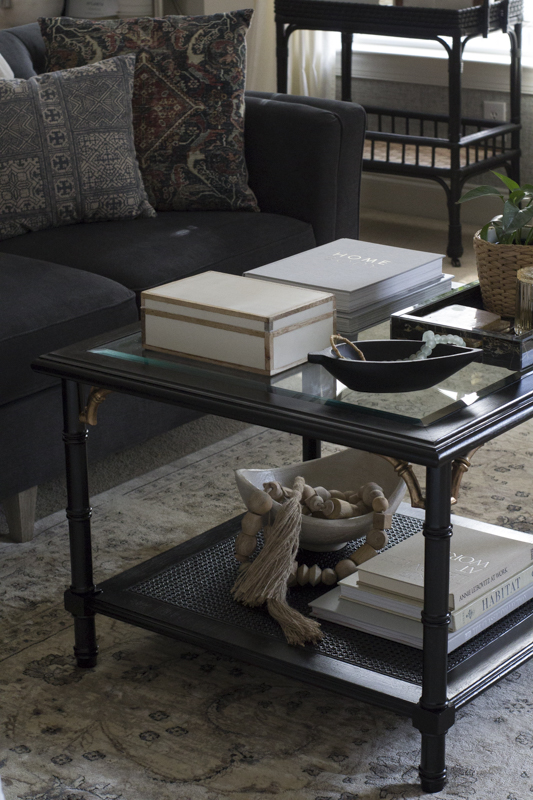
Here it is styled as a coffee table!
I’m super happy with how this paint project turned out. It’s amazing how many treasures you can find thrifting if you just look.
Books, bowls, and plants are some of my favorite coffee table decor. I also used the wooden box to hold our remotes.
Thanks to my friends at Handy Products for making all of my DIY projects a success! I have been using their products for many years and am so happy to share more projects with them throughout 2021.
What do you think of this makeover?
xoxo,
Let all that you do be done in Love. 1 Corinthians 16:14
This post contains affiliate links for your convenience.




Love this table. Your table makeover from original to the black look like completely two different tables.
Thank you so much, June! I have loved having an end table in this room