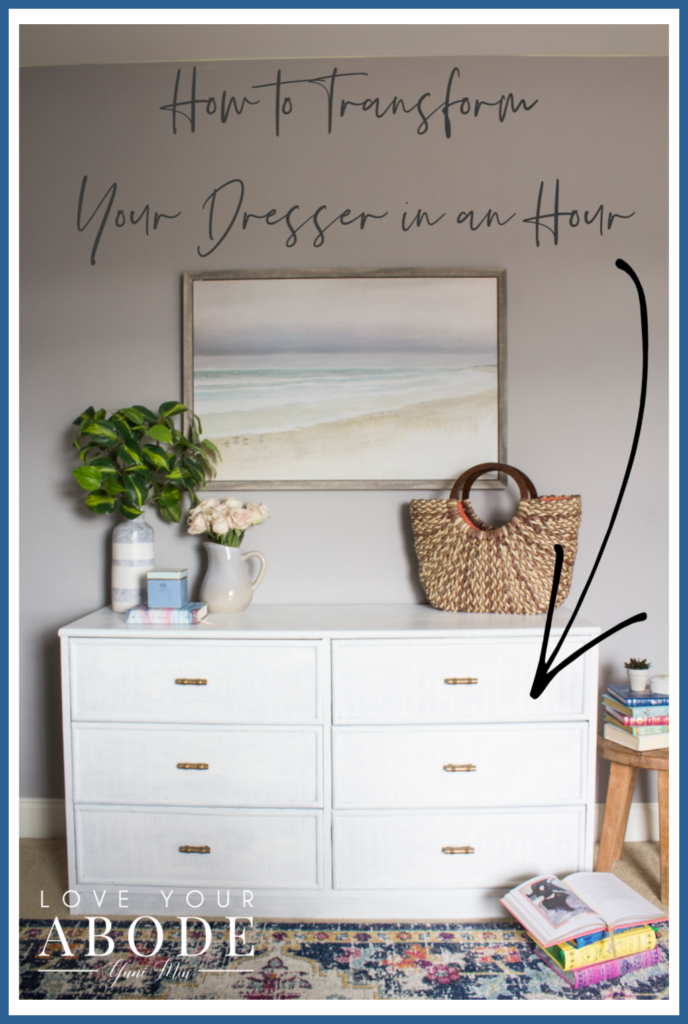
Think you can transform your dresser in a hour? Let me show you how!
If you have been following my blog since the beginning, you may remember this old dresser that I transformed many years ago. It was a Craigslist find for $15! I have loved this dresser in various spaces in our home. If you have an old dresser hanging around in your home, I’m here to tell you just how easy it is to transform your dresser in an hour!
The first image is how I bought the dresser. I loved the look, just not the color.
After 7 years and the dresser working mad overtime, I decided it really needed a refresh. Plus, our almost 13 year old Jules has been asking for her own room for some time now. She has been sharing a space with her 6 year old sister for years and I finally decided it was time for her to have her own room. I will say that sharing a room with your 6 year old sister builds good character don’t you agree?
I moved the beat up dresser into our guest room which has now become Jules’ bedroom. She loves her new space and I have to say it’s easier for the girls to keep their own spaces clean now that they are separated. You can see that the dresser has a lot of marks and scuffs. It’s nothing a little paint can’t fix.
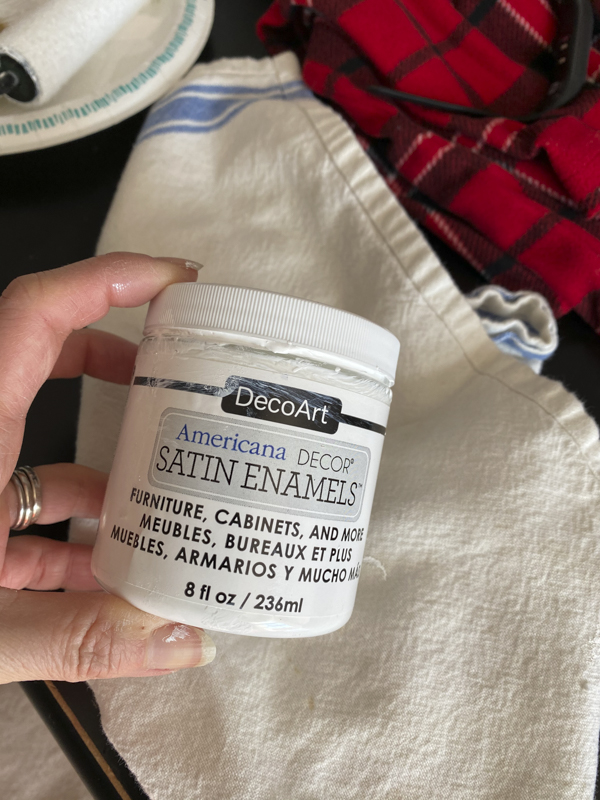
I used this particular line of paint from DecoArt because it’s what I had on hand. You know I love a project that’s free99!! Previously, I used chalk paint on the dresser. No sanding was involved. I gave the dresser a good cleaning on the outside as well as inside the drawers. I used the entire small bottle which was the perfect amount for this dresser.
Don’t forget to lay down a drop cloth and prop your dresser on some pieces of wood so you can get to the bottom edges. You can check out my instagram for more videos on my stories sharing the whole process. I used my favorite Wooster brush and a small roller to make this DIY project quick and painless.
After painting the dresser, I decided to add a fun little detail because why not? Now, this part will take your project over an hour but I thought it was totally worth it.
I took some leftover wallpaper from my master bathroom renovation and lined the drawers with it. It’s a little floral goodness that only Jules will appreciate. I like to think it makes putting away laundry a little less drab. I love using leftover wallpaper to line all sorts of drawers around the house.
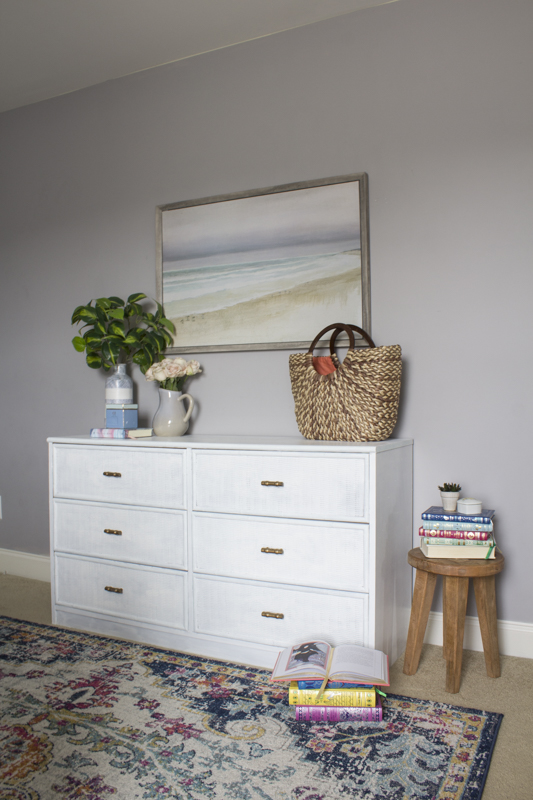
Doesn’t she look gorgeous? Sometimes, white is best. It’s fresh and totally fits in with the coastal vibe that’s going on in this space.
The white paint doesn’t have to be perfect. It has almost a slightly distressed look but the sheen is more on the satin side so that makes it super easy to wipe down. Plus, it didn’t need a protective seal coat.
Here are a few pretty things I gathered from around the house with Jules’ bible that happened to match perfectly. I’ve noticed when the tops of dressers or counters are styled, there is less inclination to mess it up with clutter.
She loves the results and so do I! I don’t think I’ll ever part with this dresser. I left the hardware as is since it still had that nice gold finish on it from the rub-n-buff.
So fresh and so clean!
This whole project took about an hour since the first coat dried so quickly.
Sorry, I wish I knew this gray paint color on the walls. We painted it before I started blogging and I never recorded it. 🙁
If you want to read about some other paint projects, you can check out my large bookshelf, dining room table, painted backsplash and more from this tab.
Thanks for reading, friends!! If you do a similar makeover, I’d love to see how you transform your dresser in a hour.
Hope you have a great start to your week.
xoxo,
Let all that you do be done in Love. 1 Corinthians 16:14
This post contains affiliate links for your convenience.


