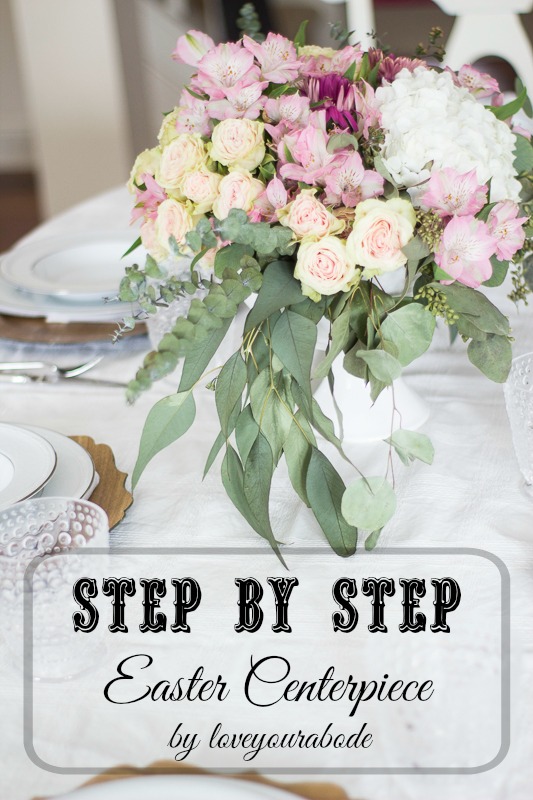
This step by step Easter centerpiece is an easy and elegant way to spruce up that beautiful Easter table.
Thanks for all the lovely comments from my Spring Home Tour blog hop. I have to say my blogger friends really knocked it out of the park with some beautiful ideas. To me, decorating is as simple as bringing some branches from outside, sticking them in a vase and putting them on our kitchen island. It doesn’t have to be complicated to be beautiful. This step by step Easter centerpiece is a lot easier than it looks and will give you the confidence to continue creating floral arrangements.
This could work for any tablescape for any gathering or party. This just shows how a bunch of inexpensive grocery store flowers can create an expensive, dramatic impact just by how they’re presented.
A couple of weeks ago, I shared my first flower tutorial on how to create a mixed arrangement. I actually took those same flowers and created this Easter centerpiece. All I did was cut the stems down and used a bowl instead of a vase. If you’re hosting Easter brunch or dinner, this would be perfect since it sits lower on the table. You don’t want an arrangement on the table that prevents you from making eye contact with the people sitting in front of you.
Here’s how I created mine.
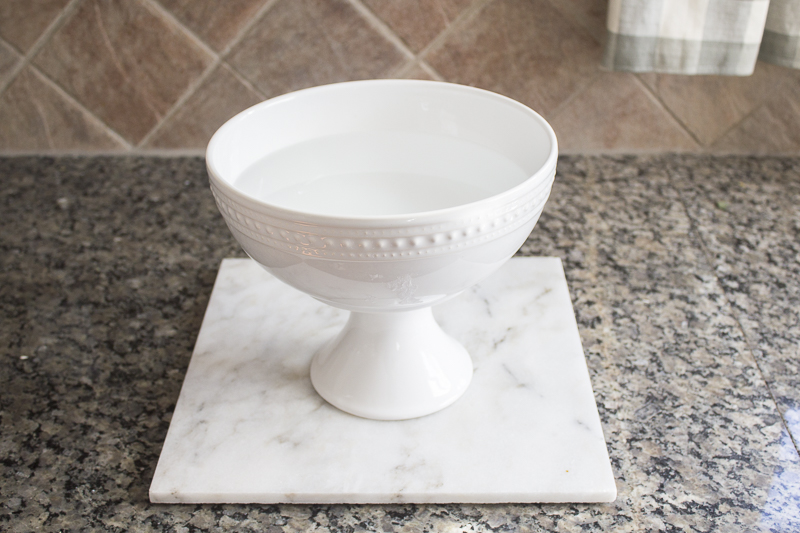
Step 1: Add water and floral food to your bowl.
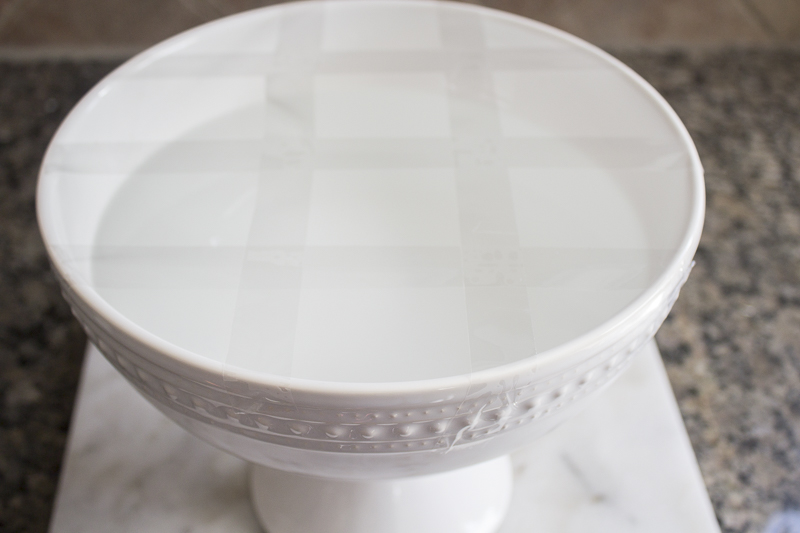
Step 2: If you don’t have any floral foam, use scotch tape!!
Tape across the bowl so that it makes a criss cross. Depending on how large the bowl is, you want to create the strips so that they are no more than 2-3 inches apart. Doing this allows your stems to lean against the tape instead of falling all over the place. It gives the flowers some structure and stability. It provides sort of a grid for the flowers. When it’s time to clean up, they come off easily without residue.
Step 3: Start by adding a little greenery and your main flowers in the center.
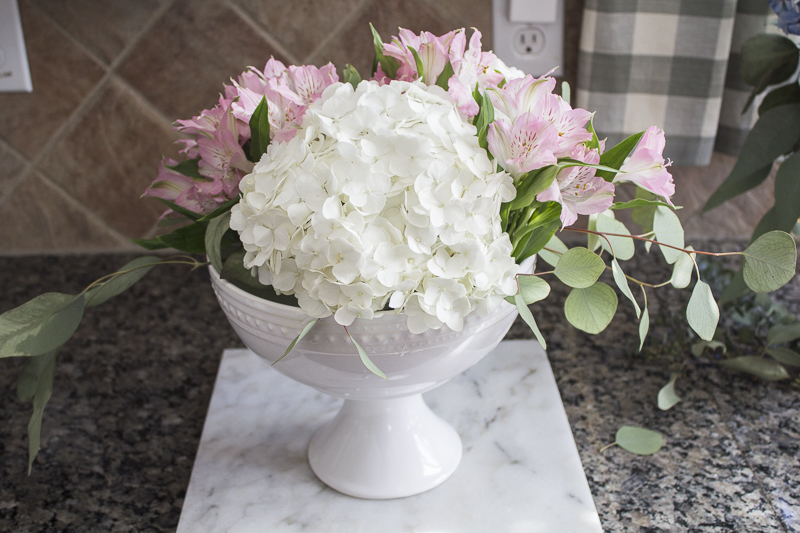
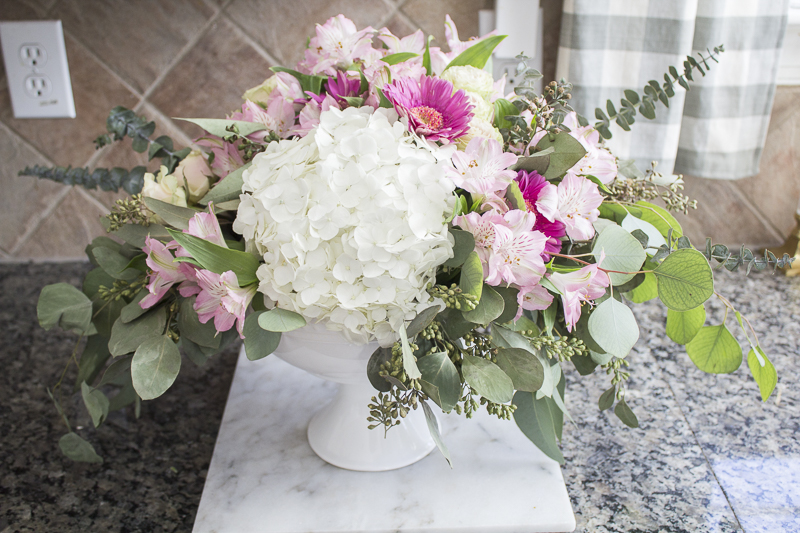
You’re going for a rounded shape on the top so you want to cut the other stems accordingly. The big headed hydrangea is able to sit up because of the tape. Otherwise, it would totally fall to the side.
Step 4: Add the other flowers slowly so that the arrangement starts to look fuller.
See how it has a rounded shape on the top?
You can get a little wild with the greenery so that they stick out on the sides or hang down.
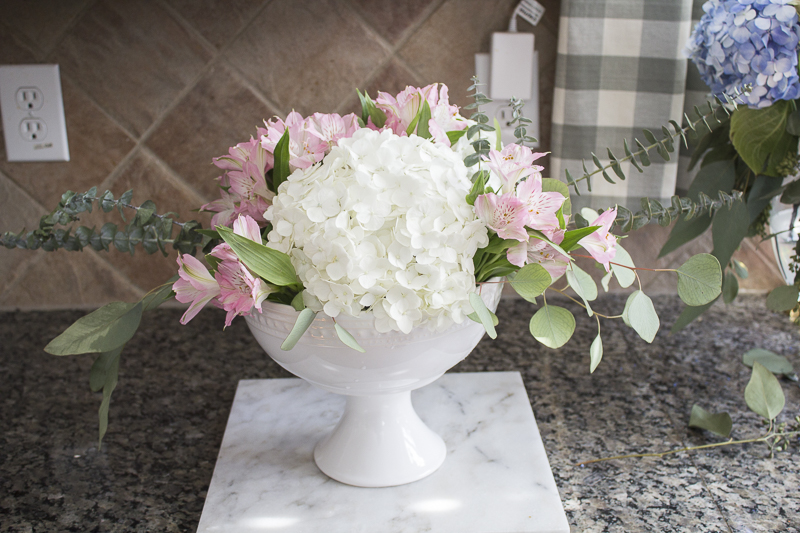 Step 5: Keep adding filler flowers until the arrangement looks really full.
See how the greenery creates a cascading effect? Let it go out on the sides to create a little drama. Drama ain’t ever good in real life but you definitely want some in your flower arrangement.
Turn it around to make sure that you do the same on both sides. When you’re creating a tablescape, people will be sitting around it so you don’t want any “bald” spots on the arrangement.
Simple right? Set it on your table and admire your creation.
These were the same inexpensive flowers I bought from the grocery store for the other arrangement. I even used my hydrangea tips for these so that they could last longer. They are still going strong today!
Just look at her in all her splendor.
I hope you found this tutorial helpful! Be sure to pin this image to save it for later.
Have a most blessed weekend, friends!
yuni
Let all that you do be done in Love. 1 Corinthians 16:14





Beautiful! Love the flowers you chose!
Thank you so much, Judy! I appreciate you stopping by!