Hi friends! Today, I’m talking about JJ’s room and how we added simply DIY paneling to his walls.
JJ’s room is one of the last of two rooms that have never been painted. I thought that for his 11th birthday in September, we would gift him a new bedroom. My friends at Home Depot are partnering with me on the decor so I’m excited to put it all together for him before his birthday. Naturally, I dreamt up a design for his room and thought that adding a simple DIY wall paneling would add some nice visual interest.
Edit*: You can check out the complete board and batten wall treatment in this post
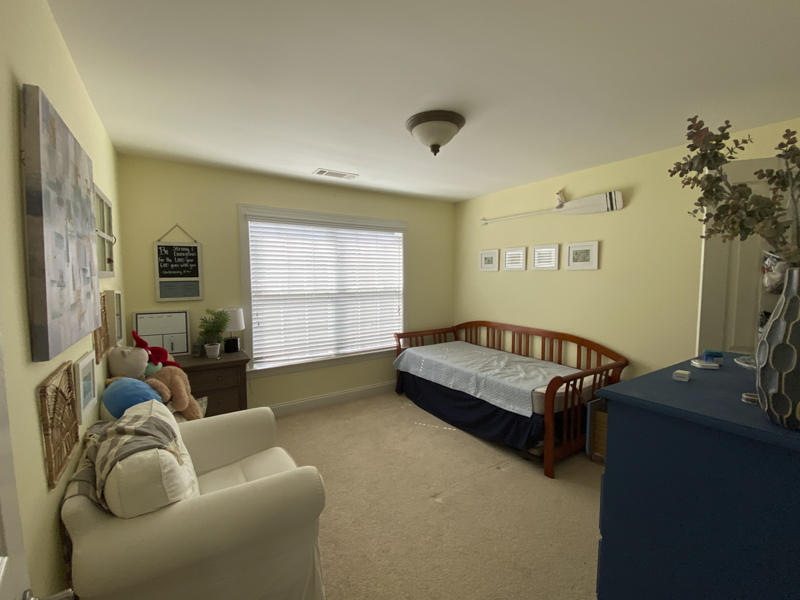
Here’s where we started.
BEFORE
About 5 years ago, I gave his bedroom a very inexpensive $100 room refresh. I love that this room was decorated with mostly second-hand purchases and hand me downs. We got rid of most of the furniture in this room and gave it a fresh new coat of paint. He’s outgrown some of the things in his room so this was a great time to donate and sell those items.
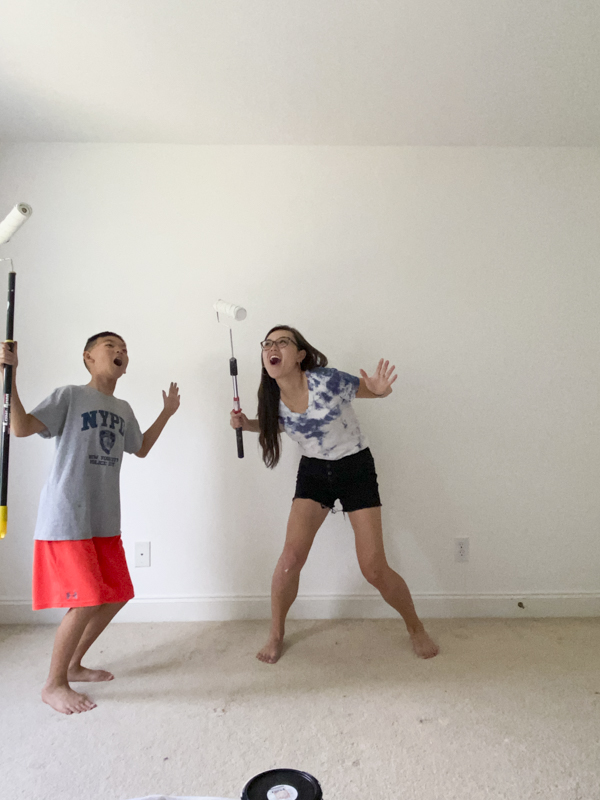
To tell you the truth, I was excited to have a solo night of painting. I was going to listen to music or a podcast and be still in my thoughts as I painted away. My plans got nixed when these three came in begging to join me. I guess I shall be in solitude some other time in the distant future.
We ended up having a good time and with deep discussions surrounding farting and burping. You know, important topics as such.
I will cherish these memories when I look back on this crazy season in life.
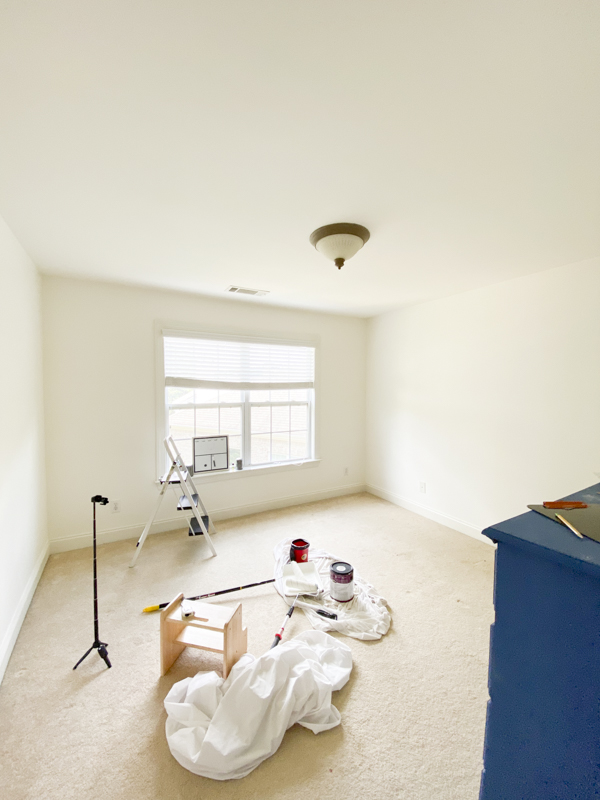
We went with my tried and true favorite white color which is Alabaster by Sherwin Williams.
Paint alone can totally transform a room! I also took the time to patch up the million holes and damaged walls from random decals that the kids put up.
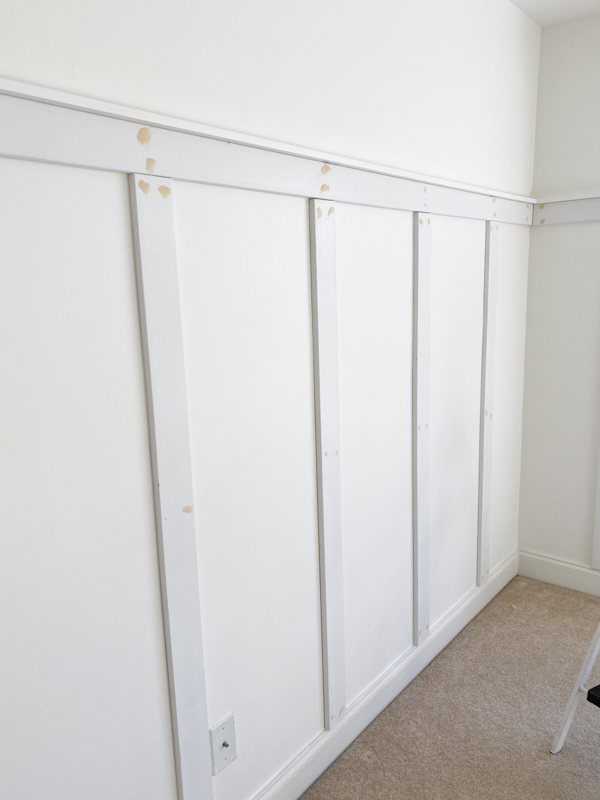
My vision was to add boards evenly spaced apart vertically. We used primed MDF 1×4 boards. We cut them so that they would go up at least 2/3 of the height of the wall. We used the same size boards to across horizontally across the vertical boards.
We just used a brad nailer to install all of the boards. Make sure to measure and use a level to ensure the boards are installed correctly. More time is spent measuring and calculating to ensure you don’t spend too much time fixing mistakes.
A 1×2 board went on the top of the horizontal boards to create a little ledge. I love it so much! It’s exactly how I envisioned it in my head. I used wood filler for all the holes and sanded them down smooth. The next step is to caulk the joints and paint!
It’s going to look so much better after I caulk and paint. This is an easy DIY project that really adds some beautiful depth to any space.
Can you tell I love this wall treatment? Be sure to follow along on my IG stories where I shared a bunch of videos on this installation.
Edit: You can check out the completed board and batten wall here.
xoxo,
Let all that you do be done in Love. 1 Corinthians 16:14


Yuni, I love this! I want to do this in my kids bathroom, but our baseboards slope in towards the wall. What does it look like where the vertical boards meet your baseboards? Any tips so the vertical boards don’t stick out? Thank you!!
Hi Kate! Thank you so much! Typically, if you have baseboards that don’t align or match up well you might have to replace them. Or you have to cut your boards angeled to match the baseboards. Our baseboards have a curved decorative trim look on the top. Normally this would stick out but because I chose to paint everything white in here, it has a clean and somewhat seamless look. If I choose to paint the board and batten another color someday, I will most likely paint the baseboards the same color. Hope this helps!
Were your walls textured or did you skim coat? I can’t tell. Looks great!
Hi Julie, our walls are smooth so no skim coat was needed. Thank you!