If you’re thinking about painting your kitchen cabinets, be sure to read these DIY tips for your kitchen makeover.

I hope you had a fantastic weekend! As promised, here is the breakdown of our kitchen transformation. If you missed the Before and After post, you can find it here. I’m going to keep it as short as possible. You can always contact me for more questions. Remember, we are not professionals by any means so this is just our method of painting our cabinets. If you decide to paint your cabinets, make sure to do your own research. There are different types of cabinets and some are best done by professionals. We had dark cherry stained, glossy cabinets. We definitely ran into bumps doing our cabinets so I’ll elaborate on that too.
 Here is what our cabinets looked like before.
When I originally started painting, I didn’t realize how glossy our cabinets and frame were. I found out the hard way that sanding is critical to this process.

After painting a section of the cabinets, I knicked the cabinet frame and the paint came off in a small spot. I realized it peeled right off and realized that was going to be a big problem. I ended up having to remove the cabinets that were done in this spot and had to peel it all off and redo the entire thing. It was a good lesson because we ended up doing it the right way after that. We used liquid sander for about 1/4 of the kitchen. I hand sanded the rest of the frames and machine sanded the cabinets and drawers. If you use a liquid sander, you need to do it a few times to ensure you remove the glossy layer. Make sure your cabinets are cleaned so that you remove any grease buildup or residue.

I highly recommend unscrewing all of the brackets off. Label them in baggies and just store them inside the cabinets.

 Have a good working space ready. We used one side of our garage and worked about 4 nights a week. After sanding, we hand primed everything. The only part we didn’t prime was the backside of the cabinets. We just spray painted those with one layer. Since no one is going to really look at that side, I opted to not prime or double coat them. If you machine sand the cabinets, they will really soak up that primer. We waited till it completely dried and then put on the first coat of paint with the sprayer. Using a paint sprayer is quicker and more even than doing it by hand. Here are our steps.
- take off hardware and place in labeled bags
- sand
- prime the front side of the cabinets and drawers
- after prime dries, spray the backside of the cabinets
- after completely drying usually overnight, spray the primed front side of cabinet
- wait till dried and apply second coat
- leave out to dry for at least a couple of days before reinstalling them back
 We worked from the right side of the kitchen and moved left. I also spray painted the knobs gold.
*EDIT: After time, the gold spray paint started to peel and scratch off the knobs. I should’ve added a top finishing coat from the start. I ended up replacing all of our knobs recently.


Hanging up the last few cabinets felt exhilarating!! Parents, teach your boys AND girls how to use tools! I love using the drill gun. I’ve used it so many times to hang curtain rods, frames and now cabinets!

The island was painted last and I actually did this my hand. Since I wanted to finish the kitchen up quickly at the end, I did this during Emmy’s nap for a couple of days. Because it’s darker, it went on pretty smooth. I really love the color and how it contrasts with the lighter cabinetry.
COLORS: Behr Marquee gray shimmer and dawn gray in satin finish
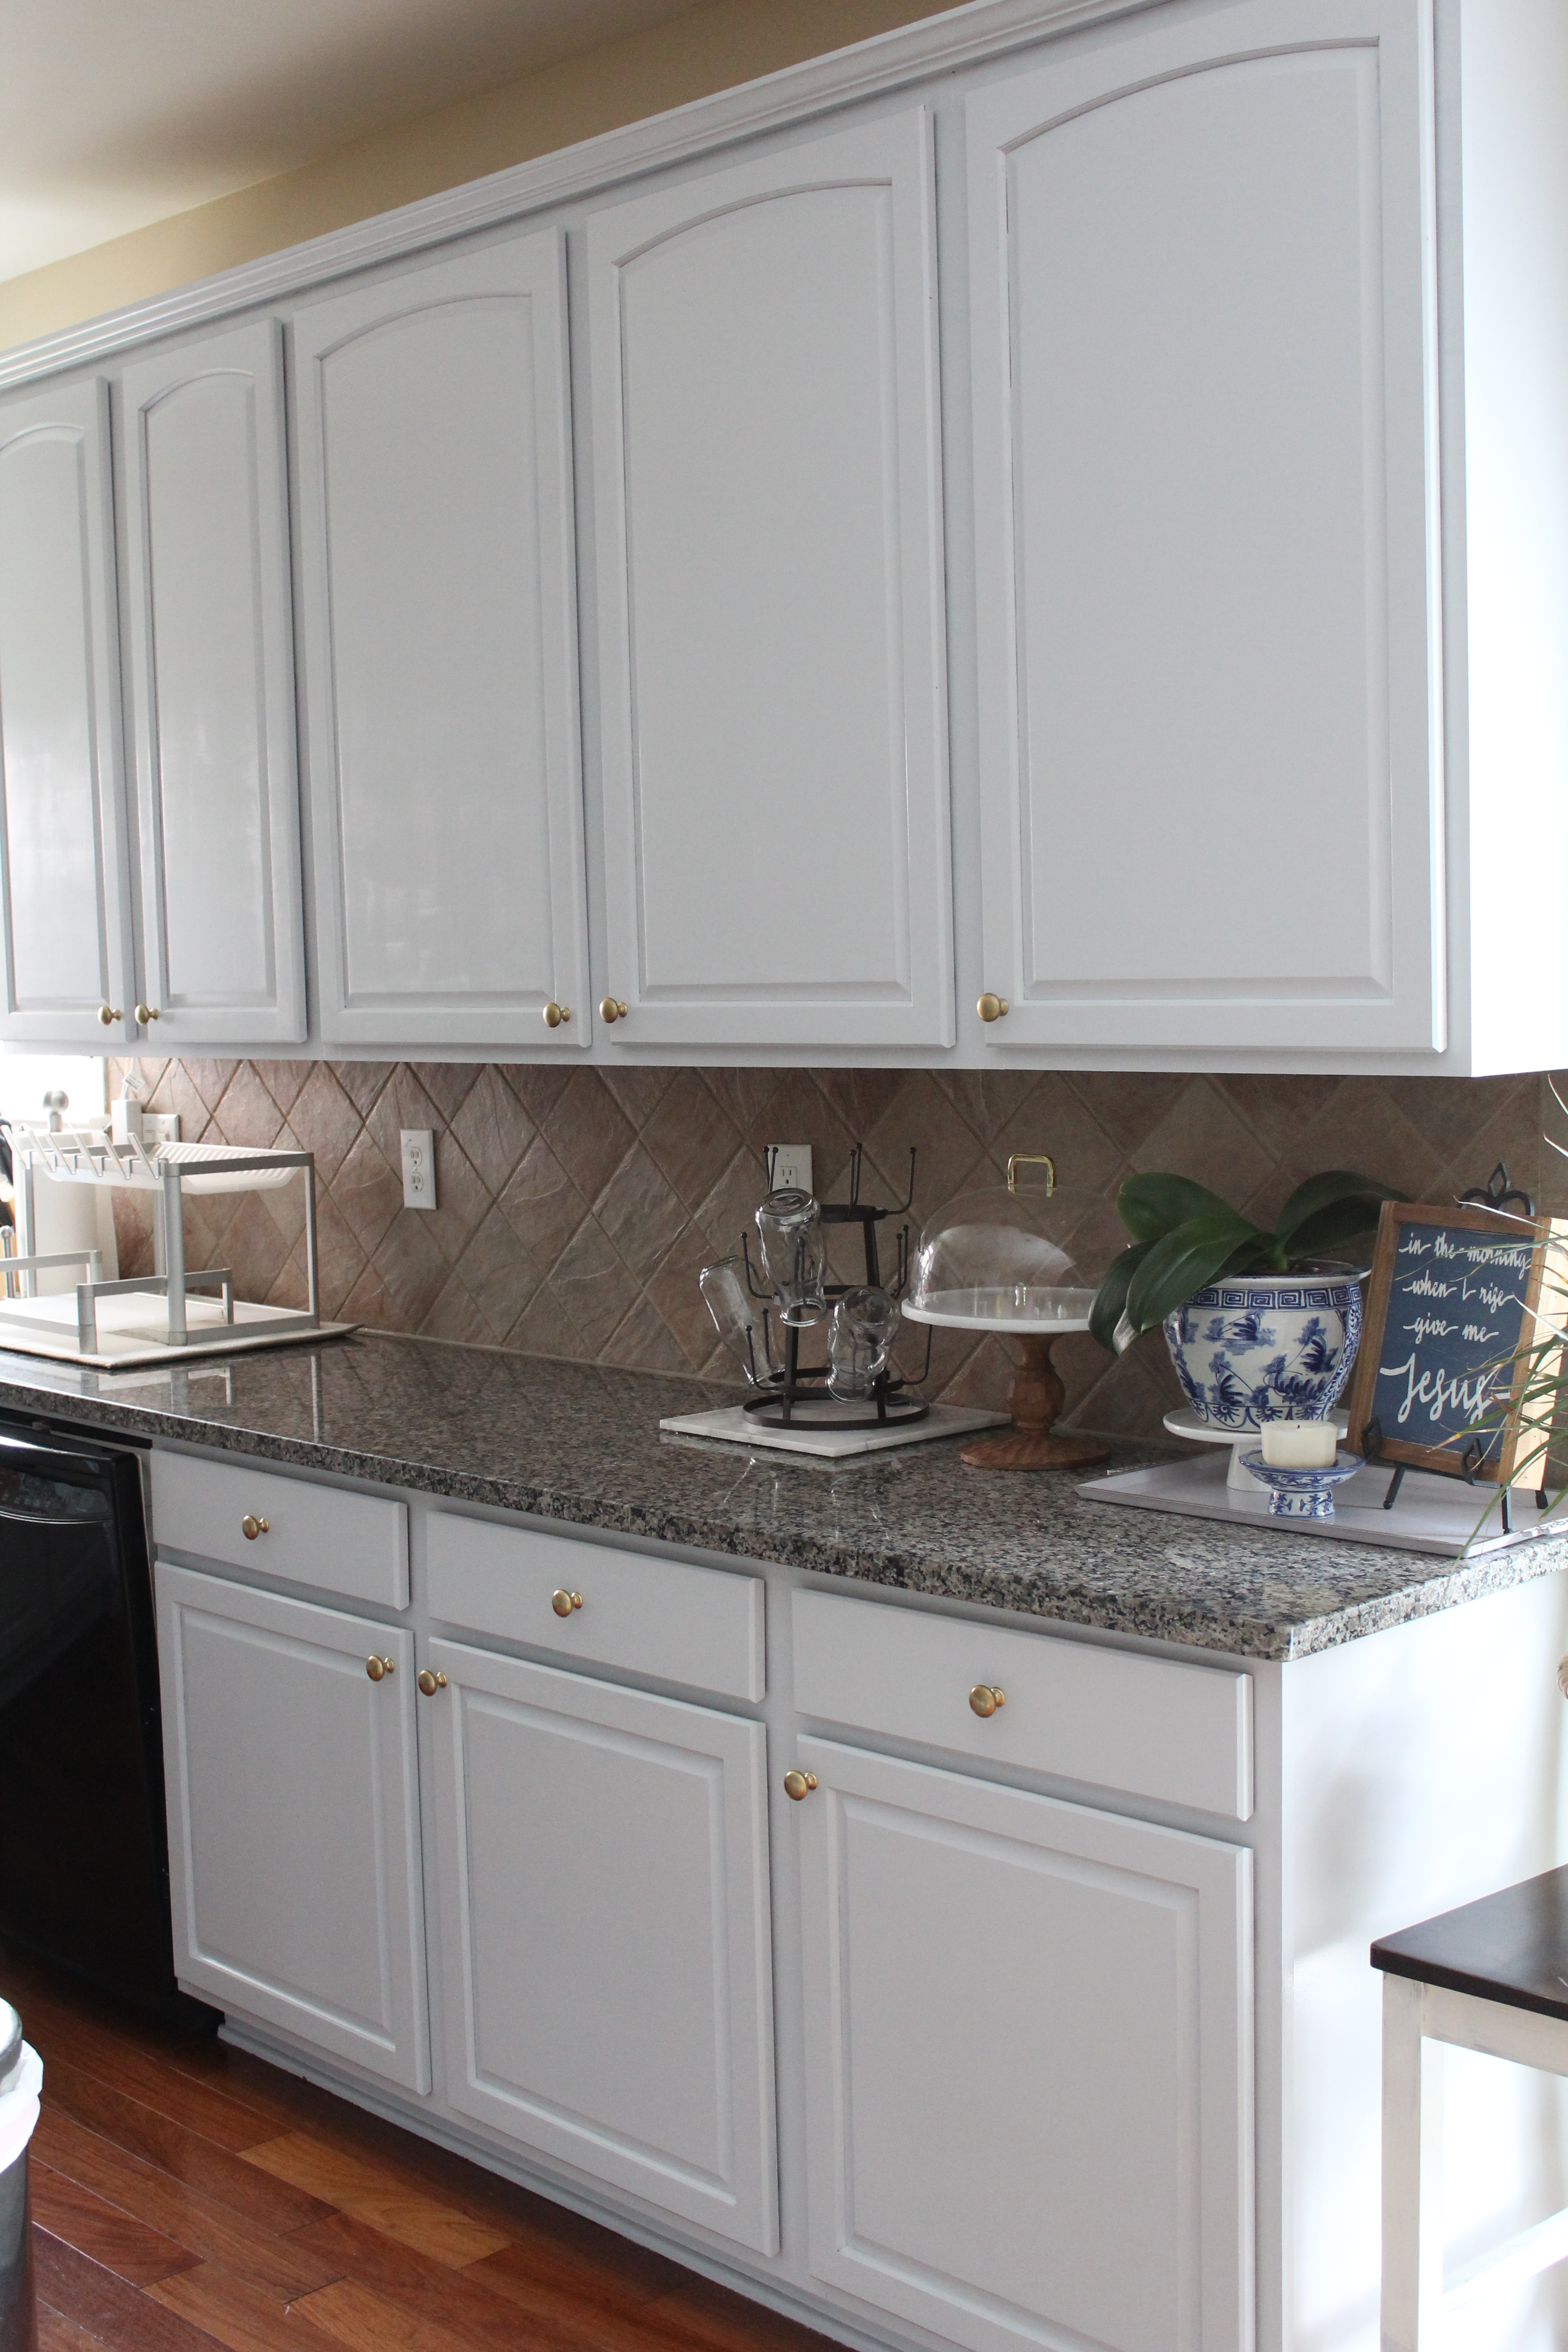
 Love my baking corner! I keep most of my baking supplies in those upper cabinets.

These pictures were taken during different phases of the painting process hence the different flowers 😀 These Mother’s Day hydrangeas are over a week old and still going strong!

Even my dark granite countertops look so different against the lighter cabinets!


Hope these tips are helpful. The kitchen looks and feels completely different.
*EDIT: Check this post to see what our kitchen looks like today and an update after 3 years.
xoxo,
yuni
Let all that you do be done in Love. 1 Corinthians 16:14
The transformation is amazing! We have cabinets just like your before pic and I am dying to paint them, but I know it will be a lot of work. My husband is reluctant to paint them because they are newer cabinets and still so nice, just so dark and we hardly have any natural light coming in. I hope someday I can transform our kitchen like you did. Great job!!
Shanna, thank you so much for your comment! Yes, I’m not going to lie, it definitely was a ton of work. It really has brightened our kitchen so much even in the evening now. One day, I just came home and started painting them and then it was too late to stop! Haha. Good luck in the future!! Have a great day!