Here’s how to build your own custom cutting board when you can’t find what you’re looking for.
This post is sponsored by Bernzomatic but all thoughts, styling and opinions are my own.
When you can’t find exactly what you’re looking for, build it! That’s what I did with my custom cutting board. I have been searching high and low for a super large cutting board that was both food safe and didn’t cost hundreds of dollars. Well, I haven’t been successful. So, I decided it was a great time to use my Bernzomatic torch and finally build one myself. Here’s how to build a custom cutting board.
I loved building this because you can create a custom design in terms of shape, type of wood and size. You also have the ability to make the wood food safe so that you can serve all your delicious foods right on this gorgeous new cutting board. I have so many ideas on how we are going to use this when we entertain!
I finally have the perfect tray to hold all of my delicious spring roll toppings!
Here’s how to build your own custom cutting board
Supplies:
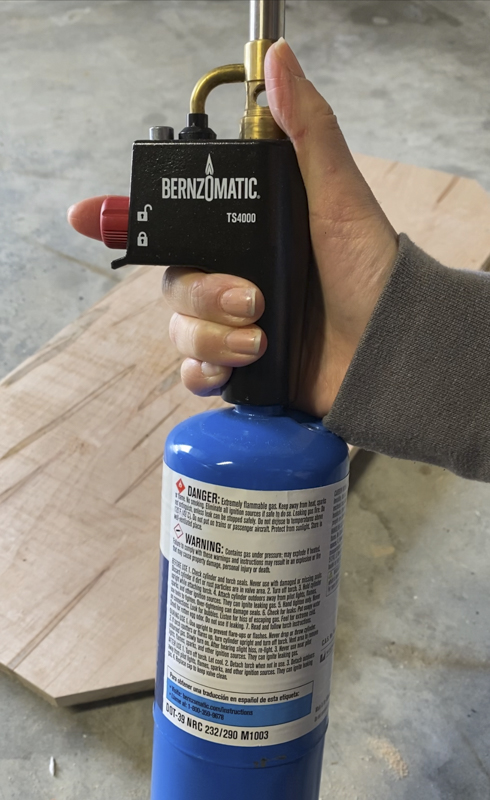
- Bernzomatic TS4000
- Bernzomatic Propane Cylinder
- Large piece of wood that’s food safe like maple, walnut or oak
- 80 grit sandpaper
- 220 grit sandpaper
- Tack cloth
- Face mask
- Measuring tape
- Pencil
- Brad nailer and nails
- Circular saw or tool to cut your wood
- Mineral oil or any other food safe oil. I used a white worktop oil that creates a whitewash effect
- Paint brush for the oil
- Rag
Instructions:
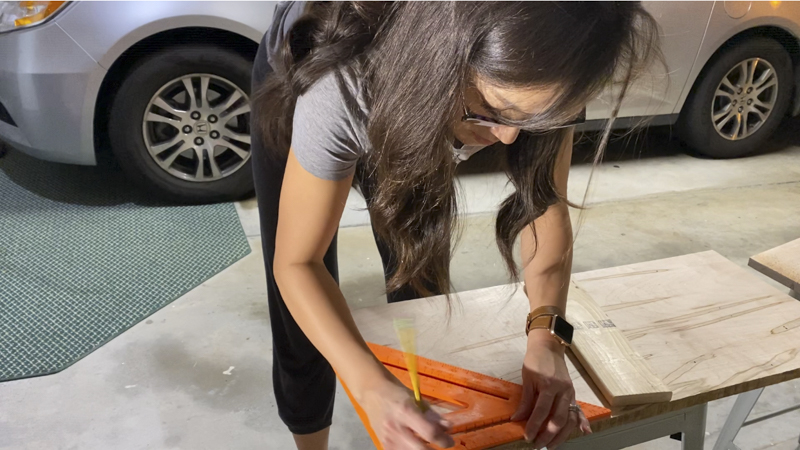
Figure out how large you want your cutting board to be. I wanted mine to be extra wide but not so large that I couldn’t pick it up easily. Wood can get heavy! I also measured where I wanted to cut the angles at the ends to create a more custom look. Using your circular saw or tool of choice, cut your edges.
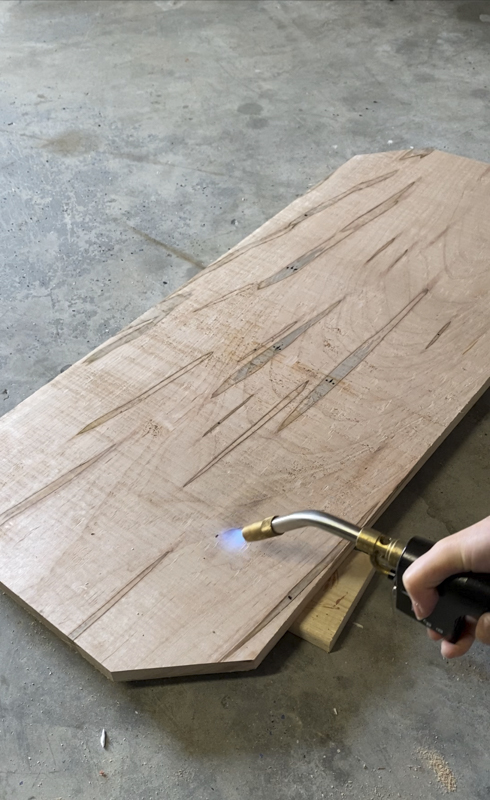
Using the Bernzomatic TS4000, I torched along the visible grains of the maple wood.
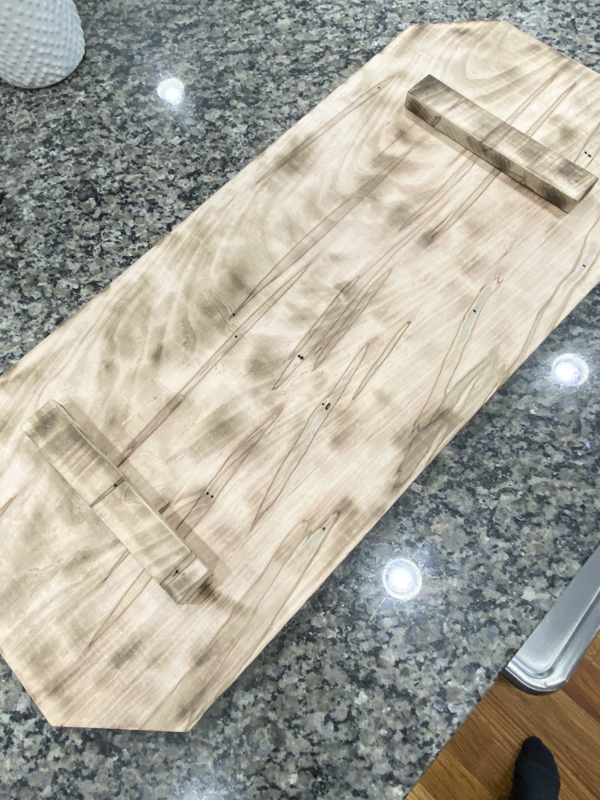
To create a rustic look, torch the wood until you achieve the beautiful variations in color. After torching, put on your mask and use your 80 grit sandpaper to give it a good sanding along the edges, corners and sides. Then, take the other 220 grit sandpaper and repeat. Remove all the wood debris with a tack cloth. You’ll also want to use a rag to wipe it down some more.
Cut down two small rectangular pieces to use as the pedestals for the cutting board. I torched these pieces as well. Attach the two pieces using a brad nailer. Make sure those pieces are sanded down. These act as feet for the cutting board when placed on surfaces and add a little extra height.
Using a damp cloth, wipe down the board on all sides and edges. You can also use a water spray and wipe down with a cloth. Wait 24 hours until the wood is completely dry.
Take your oil of choice that’s food safe and wipe down the board. I used a paintbrush to cover my board with the white worktop oil and then wiped it down with a new clean cloth. Put your cutting board aside for at least 6 or more hours to cure.
Voila! How easy and beautiful is that?
I couldn’t wait to use it to serve spring rolls for my family and friends. It’s the perfect cutting board for all kinds of meals. It would also look beautiful as a decorative accent with candles. Wouldn’t this make the most wonderful gift? The options are endless.
Yum! Who wants to come over for some spring rolls?
I have so many ideas on how I’ll be utilizing my new custom cutting board. Now, who wants to build their own?
Thanks for reading, friends!
xoxo,
Let all that you do be done in love. 1 Corinthians 6:14
This post contains affiliate links for your convenience.


