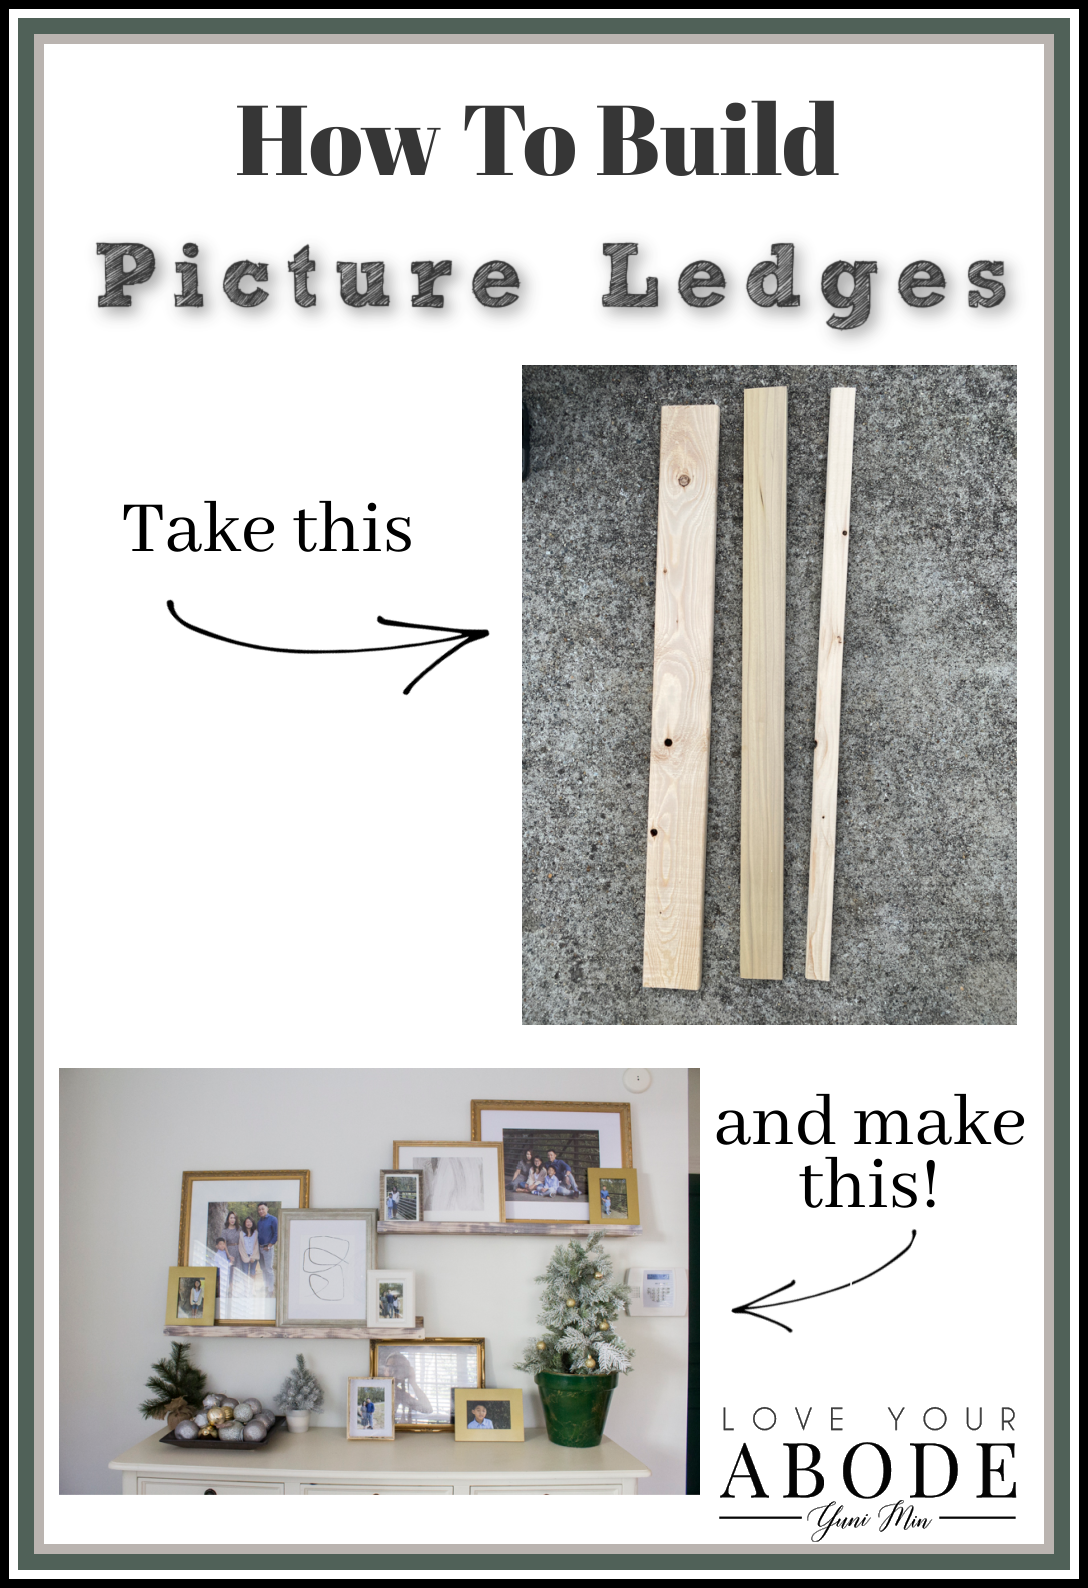
HERE’S HOW TO BUILD PICTURE LEDGES TO SHOWCASE YOUR BEAUTIFUL PHOTOGRAPHS AND ART.
This post is sponsored by Bernzomatic but all thoughts, opinions, and styling are my own.
This is one of the easiest beginner projects you can do if you’re new to woodworking. It’s not only simple to build but you can customize the style and size to fit any space. I decided to create a beautiful gallery wall for my friend, Jennifer and her family as a Christmas gift. Here’s how to build picture ledges so you can do something similar in your own home using the Bernzomatic TS4000.
Since Jennifer’s family hadn’t taken family pictures in years, I asked if I could gift them a photo session. I envisioned a gallery wall in their breakfast area and wanted to gift them a complete makeover. Since March, we created our own quarantine bubble and have spent the most time with their family. I wanted to share my gratitude to them by gifting them this fun transformation.
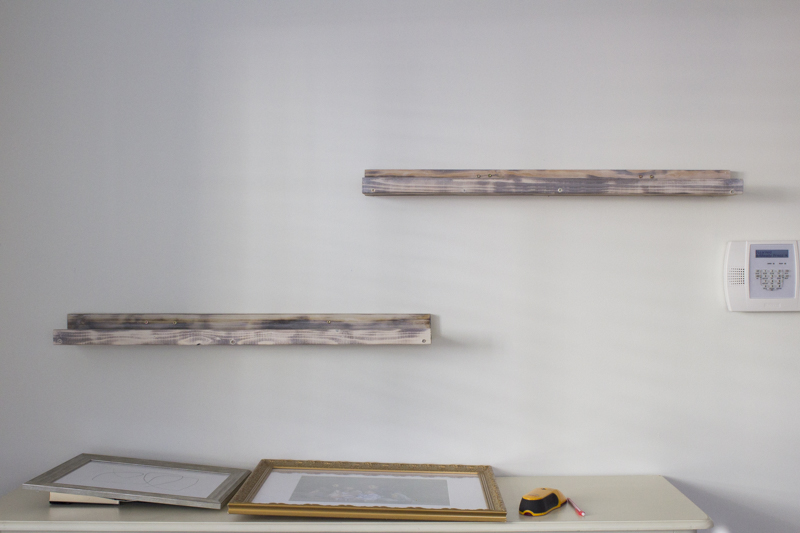
Here’s what her breakfast buffet table area used to look like before I installed the picture ledges.

I just knew that wall was a prime spot for holding some precious family photos. Here’s what you need to build your very own picture ledges.
DIY PICTURE LEDGES
SUPPLIES:
- Bernzomatic TS4000
- Bernzomatic Propane Hand Torch Cylinder
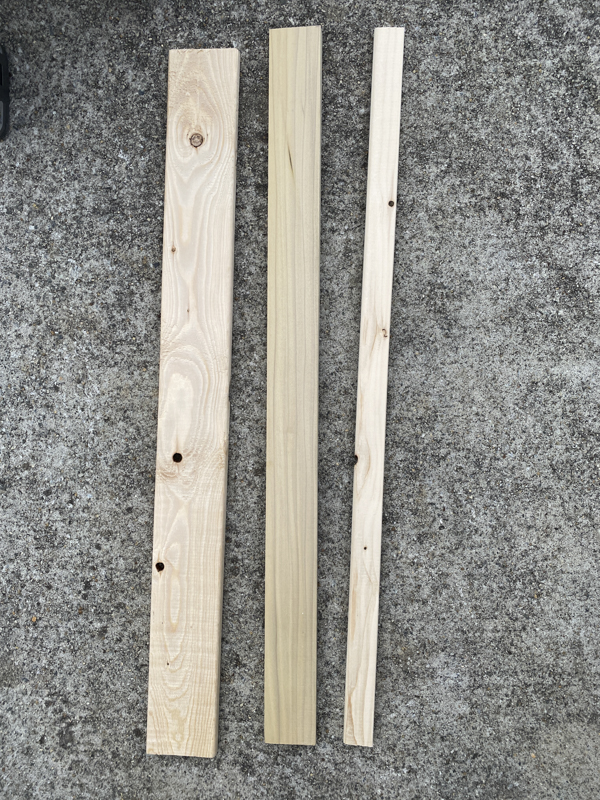
- 1 1×2 pine cut at 35 inches long (you can customize the length)
- 1 1×4 pine cut at 35 inches
- 1 1×3 pine cut at 35 inches
- drill and screws
- level
- studfinder
- white craft paint
- Cerusing wax
- cloth
DIRECTIONS:
Step 1: Measure and cut your wood
I measured the approximate length of the pine boards by measuring the buffet sideboard in the breakfast area. I knew I wanted to install two custom shelves so I cut them down to 35 inches for the length. You want to make sure your shelves are at least 24 inches so that you hit studs. You can also customize the size so that the shelves are deeper or have a higher lip in the front.
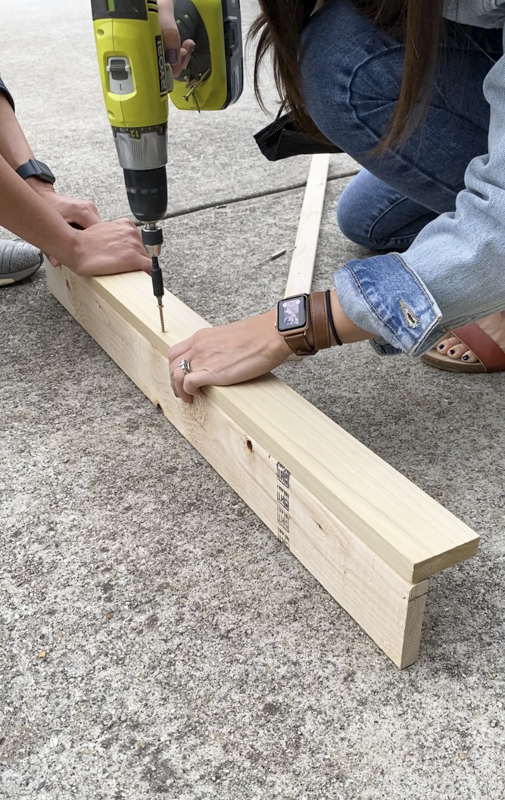
Step 2: Attach the boards using 2-inch screws
You can either use clampers or get another set of hands to hold the wood together while you screw the joints. I used the drill bit for the preliminary hole and then the screws.
They came out so good! Once you’re happy with the shelves, it’s time to torch them!
Step 3: Torch the wood using the TS4000

I went with the TS4000 to torch the wood quickly and evenly. The rustic dark grains were beautiful and exactly what I had in mind.
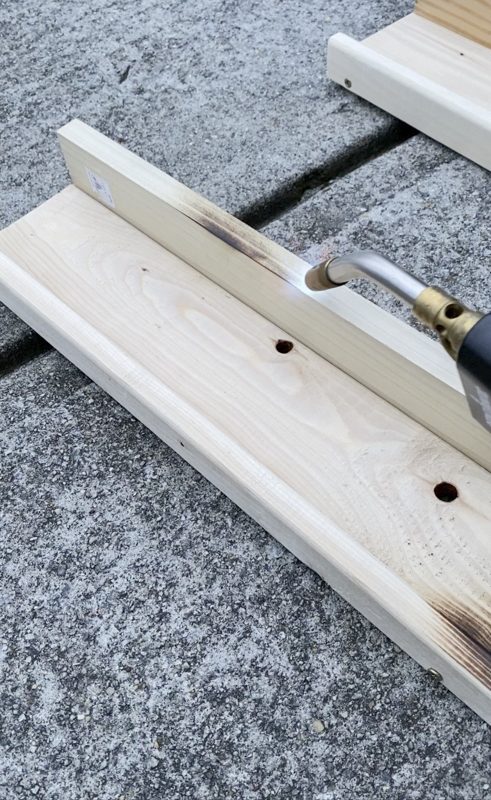
The Bernzomatic torches are easy to use and deliver consistent results each and every time.
Step 4: Stain or wax the wood to achieve the look you’re going for
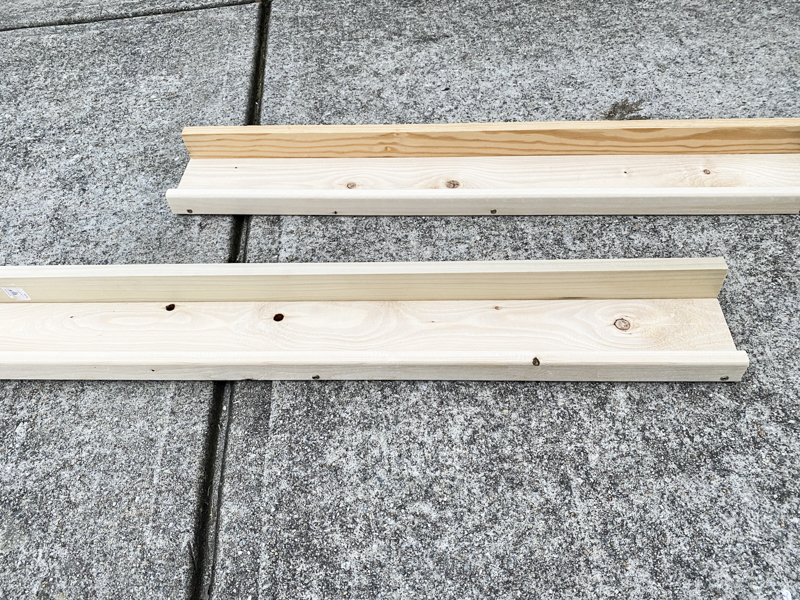
I first used the cerusing wax and worked that into the wood with a dry cloth. After the wax, I diluted some white craft paint with water into a bowl and mixed it. Using the same cloth, I worked the diluted paint throughout the wood and this created a nice white washed effect. I kept going until I was happy with the results. You can create so many different looks this way.
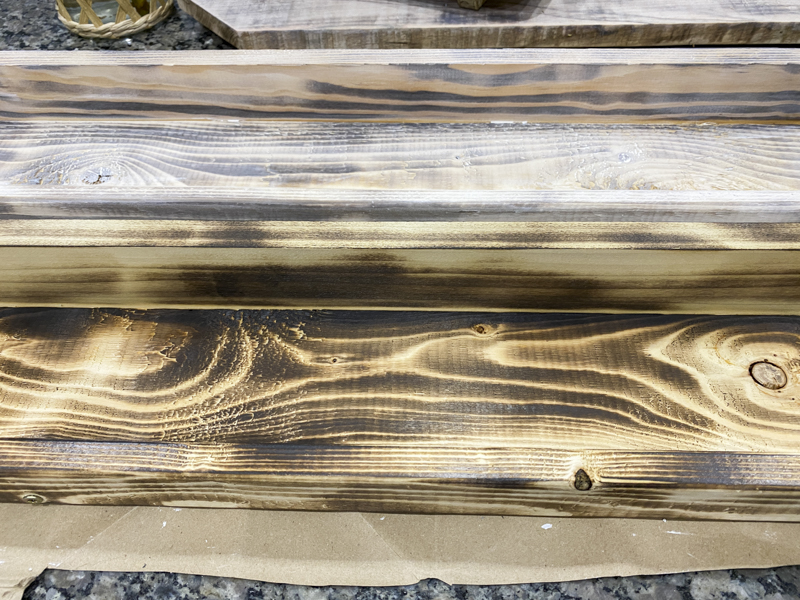
In the photo above, you can see the difference between the whitewashing technique on the top and just the torched look on the bottom.
Step 5: Locate studs on the wall
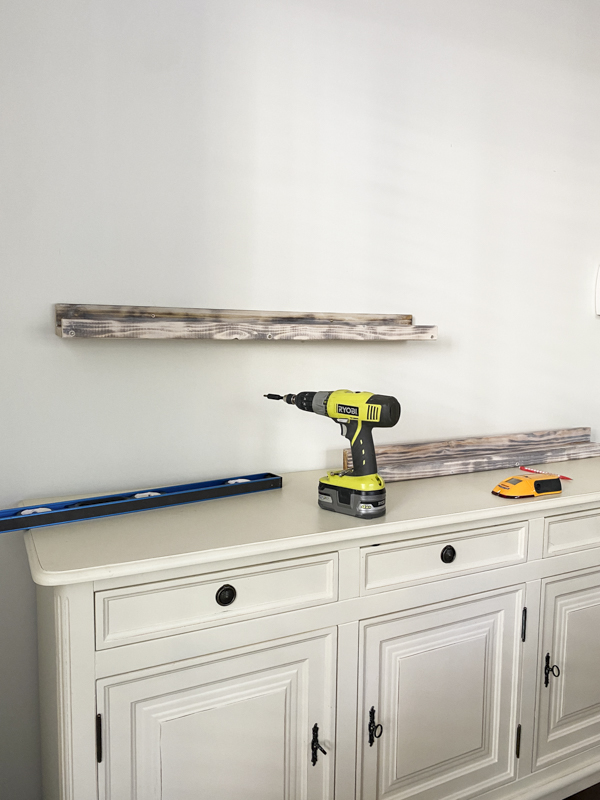
Once you find the studs, make marks so you know where to screw them into the wall. I had my friend hold the shelf so I could make a pilot hole and then screw the nails into the backs of the shelves. You will need a level to make sure the shelves are totally even.
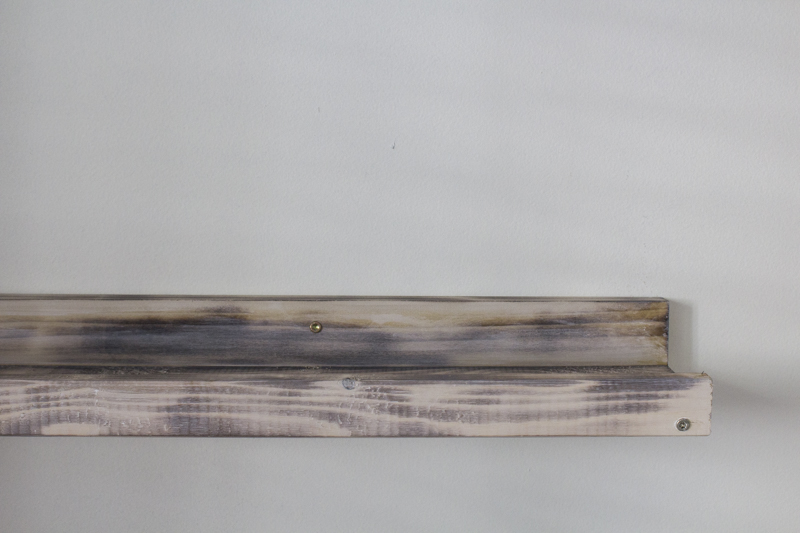
Two nails into the studs should be sufficient but I added 4 for extra security.
You can fill in the screws with wood filler but I just left them alone since they weren’t as noticeable once everything was up.
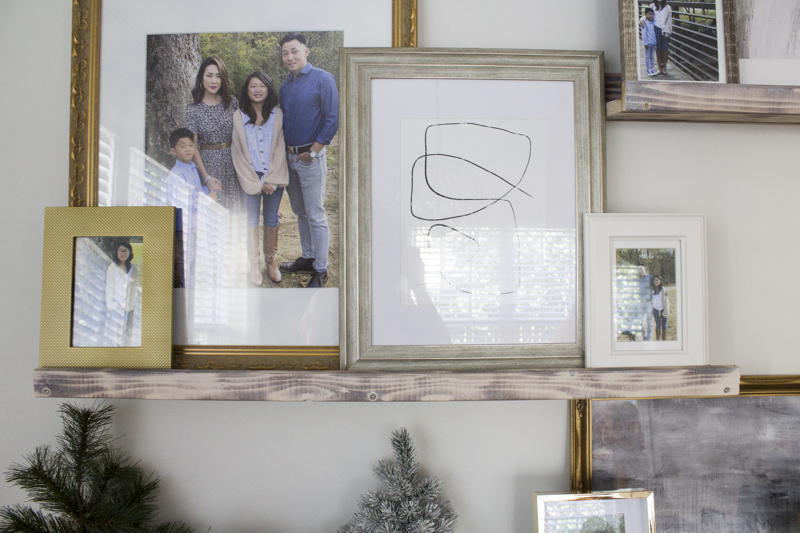
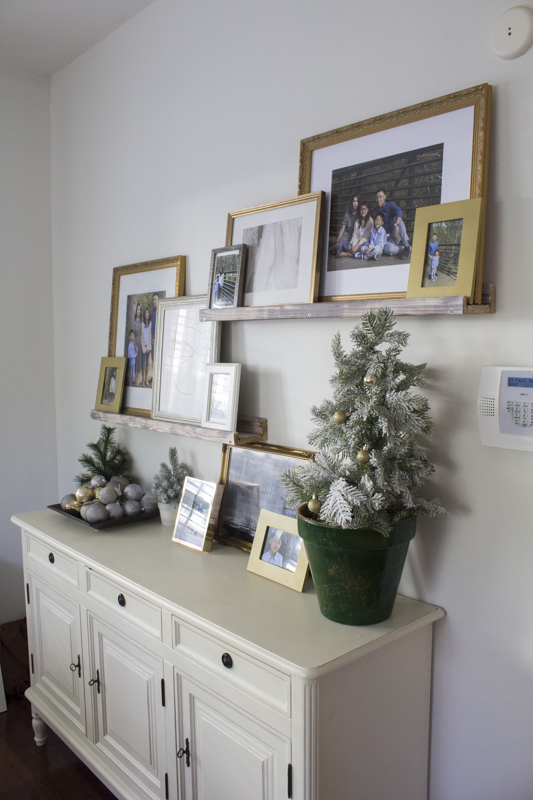
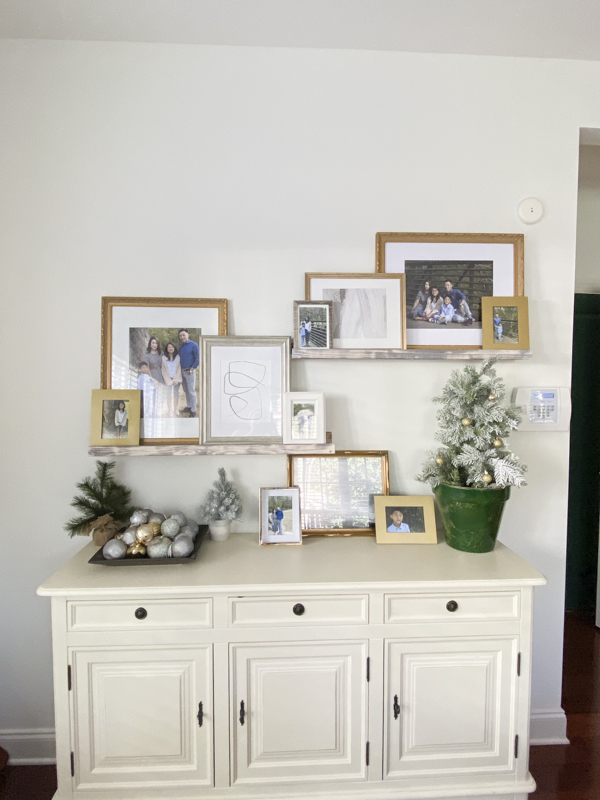
Step 6: Decorate those awesome shelves!
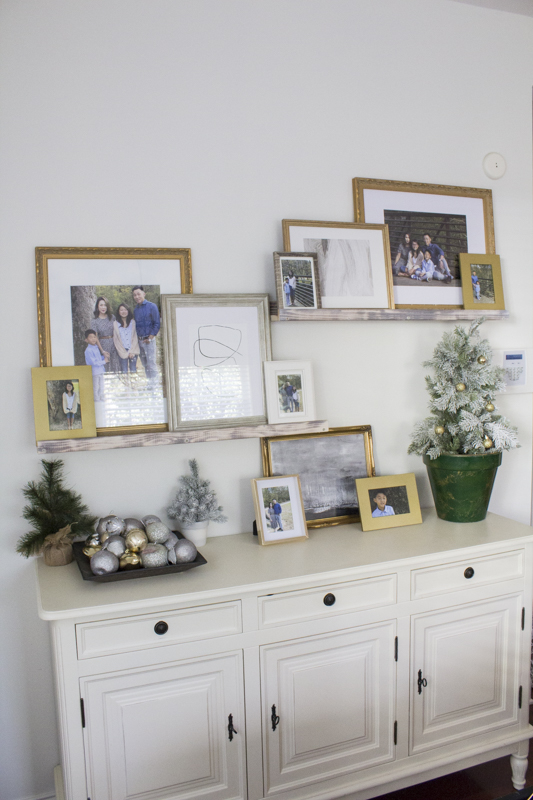
A bunch of their new family photos were added into an assortment of gold and neutral frames. I also mixed them in with some art I found on Etsy. I had to throw in some Christmas trees and ornaments of course!
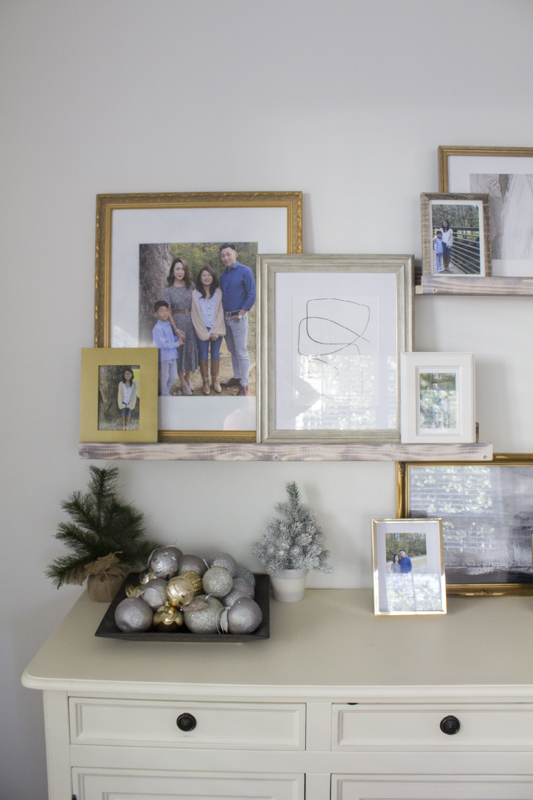
They loved the results which made me so happy. This was such a fun Christmas gift idea and a great way for me to exercise my creativity.
I plan on building a much larger picture ledge for their family room sometime next month!
What do you think? Would you build your own? I’ve wanted to build these for a long time and am so glad I found the perfect spot for them. They are ecstatic with this wall and that makes my heart so full.
As always, thanks for reading, friends!
xoxo,

Let all that you do be done in Love. 1 Corinthians 16:14
This post contains affiliate links for your convenience.
Looks beautiful!!
Thank you, Jill!