Over time with paint and elbow grease, there were many changes that took place in the evolution of a breakfast table.
Today, I’m sharing the evolution of a breakfast table. Before I do, let me just say that I started the week off with a little ankle injury from the weekend while training for the half marathon with my friend, Jennifer. Let’s say just I’m not as young as I used to be and I really should remember this fact. We were running 10 miles that day and I slightly rolled my ankle during mile 2. It hurt for a little bit but then I got back up and ran since I had no pain. Well, the pain was definitely there after we completed the run.
Jennifer and I have been running together consistently for over 9 months straight and you won’t believe all the stuff that has happened to us during our runs together. Last weekend, she had to go in for a tetanus shot because she ran past a rusted pole that tore her pants and scraped her leg. We’ve fallen a few times, gotten yelled at, pulled different muscles and yet we still get back up and run. I’ll save those funny stories for another day because honestly, it deserves an entire post. It’ll be a miracle if we make it to our race in May. #prayforus 😀 We are another brand of crazy for sure.
This post is long overdue but I finally had the time to share it today. When we first moved into our home almost 5 years ago, I purchased this beautiful wooden table set for a great deal. We moved from a much smaller townhome so we didn’t have very much furniture. This was when my passion for DIY and repurposing really started because we didn’t have all the money in the world to furnish our new home.
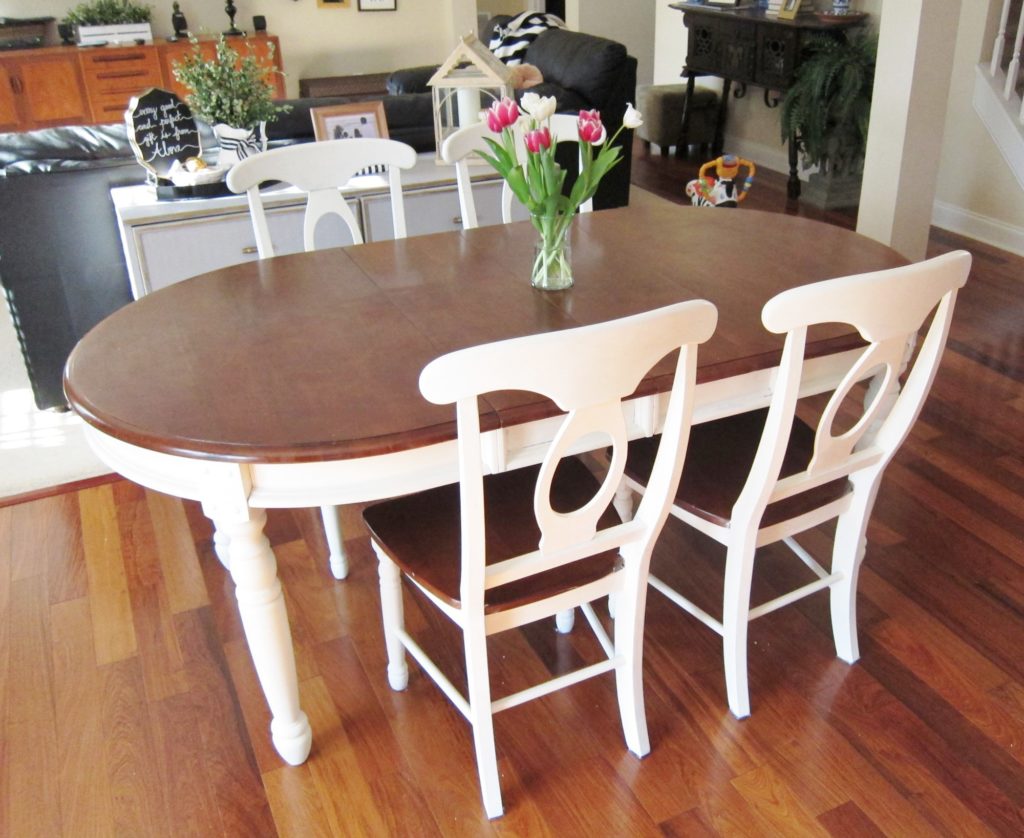
This breakfast table makeover with chalk paint was one of my very first posts on the blog. I still have a ways to go when learning photography but I’m so glad it has improved much since then! See exhibit A below from the Before and After. HA!
The cream color definitely brightened up the space. I loved it but still thought the dark wood on the top clashed too much with the hardwood floors. Plus, since it was a second hand purchase, there were a lot of scratches on the top especially after my kids used it.
Wow, our family room has changed so much since these photos. A home is truly a work in progress and it’s so fun to see all the different changes through the seasons.
I didn’t record or take photos of the process because I documented it on my Instagram stories and those only last for 24 hours. Sometimes, I get too lost in the project and all I want to do is finish.
I was going for a white wash sort of look on the table. However, mine wasn’t going in that direction so I went with a different plan. I wanted it to be painted cream with some of the original dark wood stain peeking out creating a more rustic and aged look.
Since I don’t have the photos during the process, I’ll just share what I did. I started doing one section at a time by painting it with a linen color chalk paint. I believe I used Annie Sloan. While wet, I took an old cut up t-shirt and rubbed the paint vertically back and forth to create streaks. This will naturally take some of the paint off which was done on purpose. After finishing the sections, I got out a large bowl of water and one of those non-scratch Scotch Brite dish sponges. After wetting the sponge, I took the blue rough side and vertically went back and forth forcing some of the paint to come off. This allowed some of the dark stain to show through. I gave the table a good day to dry and then gave it 3 coats of clear polyurethane. This helps to seal and protect the table so that you can easily clean it after each use in the future. This step is crucial for furniture that needs to be constantly wiped down.
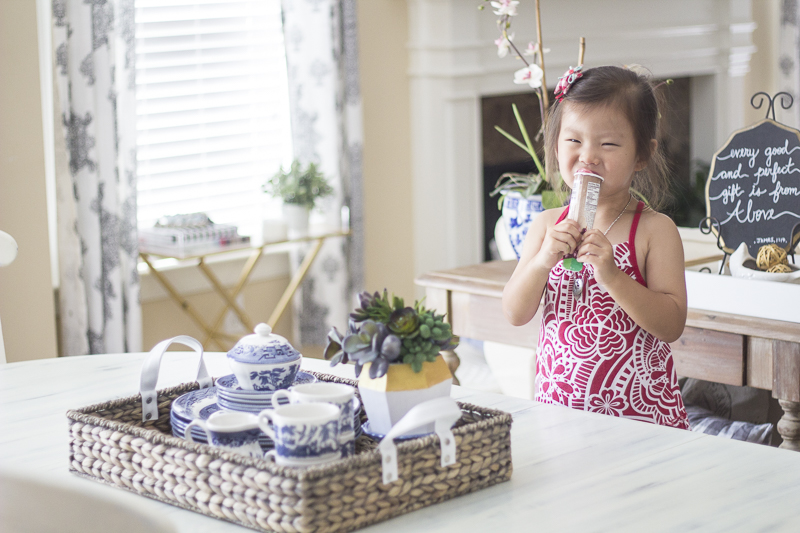
I used the same technique on an old thrifted bench. Aww, here’s Emmy showing off the table last summer when I actually finished it.

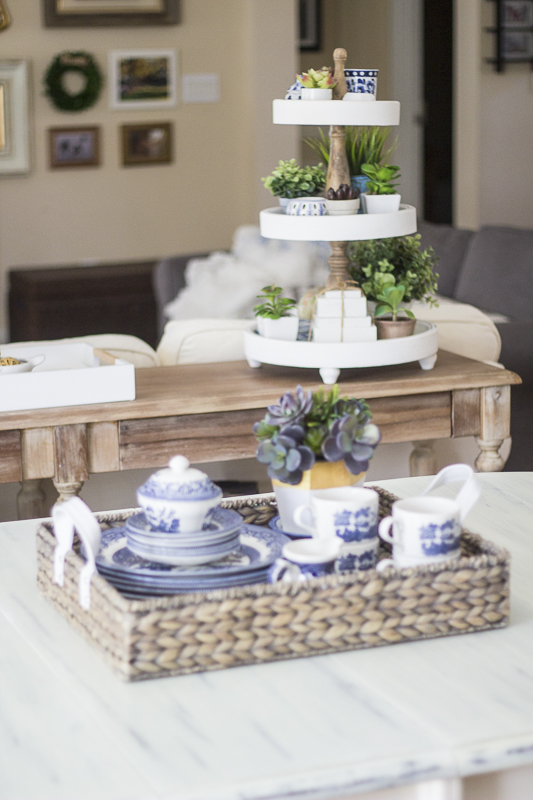
Here’s how it looks today from my Spring Home Tour.
I’ve received messages from people saying they’re scared but really want to makeover their old furniture. If you don’t love it, think about painting it and giving it new life! There are things I would never touch with paint like my mid century console table in our family room seen above. But, there are so many pieces in my home that I love more now because of a simple paint makeover.
If you have an outdated piece of furniture that you just don’t love anymore, I hope this gives you inspiration to give it new life. Try practicing on something small first and go from there. Hope you enjoyed seeing the evolution of our breakfast table.
Have a great week, friends!
Yuni
Let all that you do be done in Love. 1 Corinthians 16:14


Hi Amy, I have the same type of dining table set and also its black oil painted at the base of the table and the chairs. Can I use chalk paint on top of the oil paint? or did u use oil paint for the chairs and the base? It will be really helpful if you can suggest me what paint did you use. I love your blog. You are great in what you do. Keep doing the what you love.
Thank you.
Prathna
Hi there, Prathna! Yes, you can just use chalk paint over the oil based paint. It will probably need 2-3 coats and then you’ll want to seal it with polyurethane. Chalk paint can be used over virtually anything and the poly will seal it nice and give it a satin sheen. Thanks so much for following along and hope this helps! -yuni
Your table looks great, Yuni. We are in the process of building a house and we actually have too much furniture because we are downsizing a little. My goal is to buy as little as possible but I am going to break out the paints!
Now be careful on those runs. Such an awesome goal!!
Thank you, Stacey! Wow, that is so exciting!! I can’t wait to see your new place. I know it will be lovely!
Wow that completely brightens up room. I liked the old version with the dark under but the white very pretty. I have a dark dining table and want to paint it but hubby is resisting 🙂
Thank you so much, Toni! It definitely does brighten up the room. Haha to your hubby!