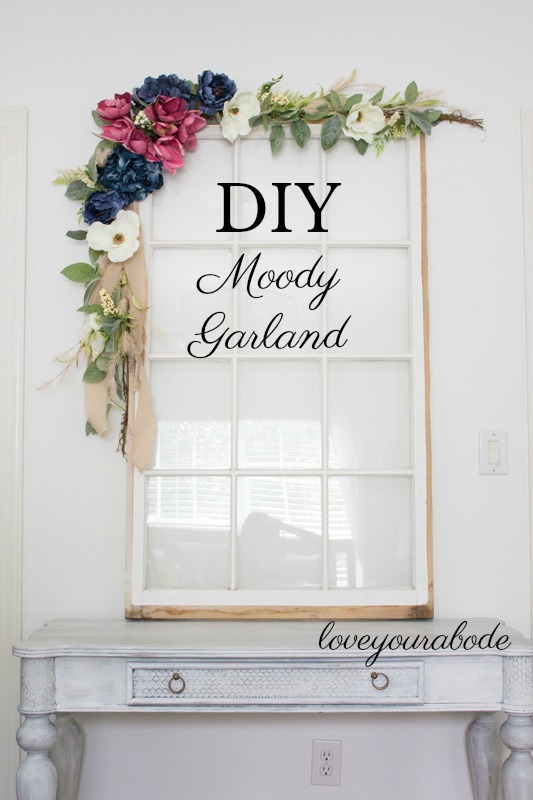
This DIY moody garland is the perfect project to create a bold and dramatic statement to a party or to your home.
Hi friends, how are you all doing? I’m thinking of all my FL friends as I can’t even imagine how bad the storm was down there. I’m a bit behind schedule this week due to crazy Irma coming to Atlanta. The kids didn’t go to school for two days and they are thankfully back to the regularly scheduled program today. So many people lost power and trees around us and many counties are still closed for school due to power outages. Today, I’ll be spending some time moving all of our patio furniture and potted plants back outside. It’s been cold the last week but I saw that we will be back in the mid 80s by Friday. That’s GA for ya!
Do you remember that time I created a silk flower garland for my SIL’s baby shower? Yeah, that was the same shower I got the dates mixed up and realized the night before that I was hosting the party the next day. That’s just how crazy my brain is sometimes. Anyhow, I was supposed to share a tutorial for that a while back but am now just getting to it. #mybad I had some darker tones in mind when I wanted to decorate for Fall this year so I thought a DIY moody garland would be fun to share with you. I can see this being used in a wedding, shower or any special gathering. Here’s a photo of the dessert bar from my SIL’s shower. I’ve added affiliate links for your convenience.

Here’s my take on the same garland with different flowers. I love both versions!
I just love these moody colors and am excited to incorporate them into the Fall decor around the house.
Here’s a little video to show the progress of how I made mine.
Here’s how to create your own.
Supplies:
- faux garland
- floral wire
- scissors
- mix of faux flowers
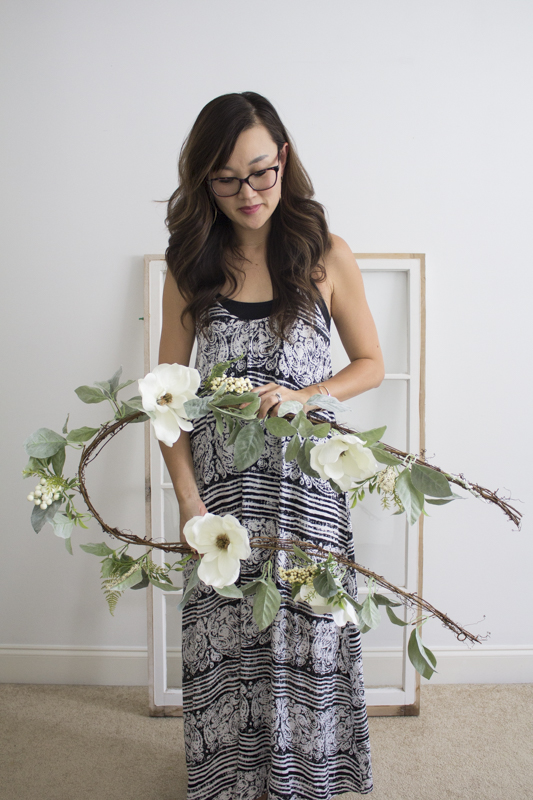
The faux garland I chose has magnolia flowers and I love the neutral tones. I bought mine from Michaels but since they don’t sell it anymore, I linked a different garland above. You can see that it’s fairly long and it already has a good amount of leaves and petals attached to it.
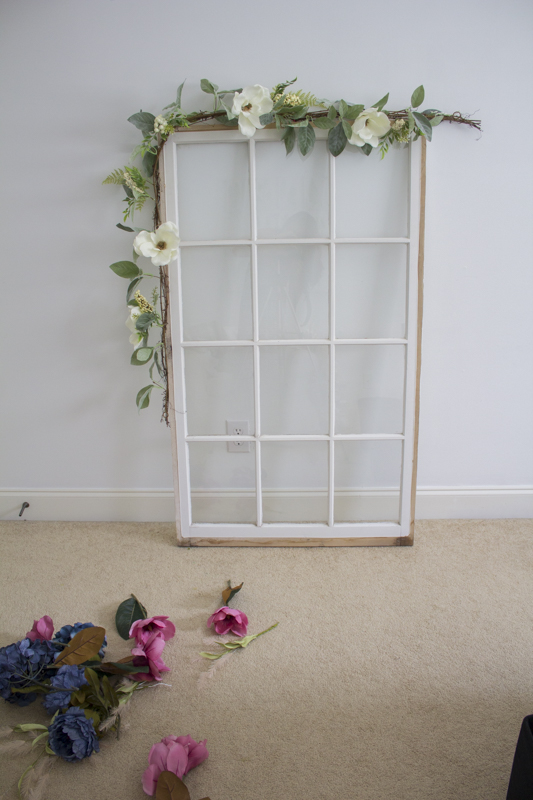
Take your flowers and cut them down so that you can weave the into the garland easily and position them with floral wire. I cut the stems with scissors and them bend them back and forth to break into the wire. I recommend getting a mix of different size buds.
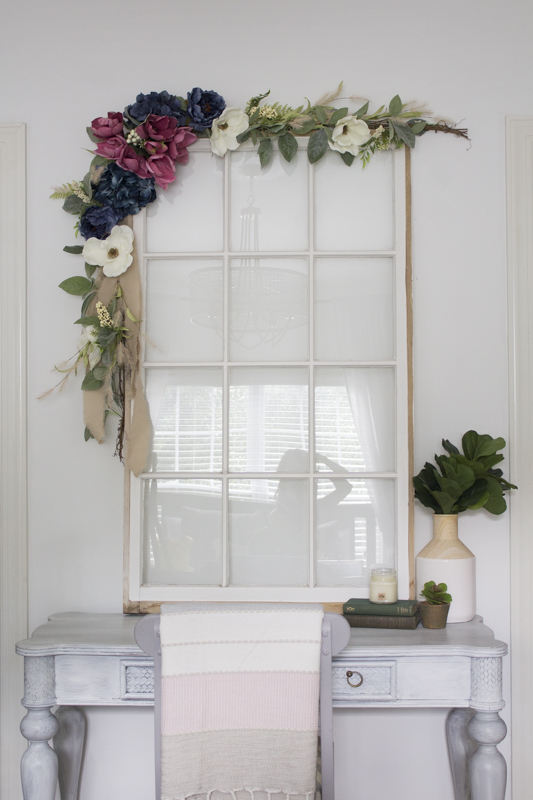
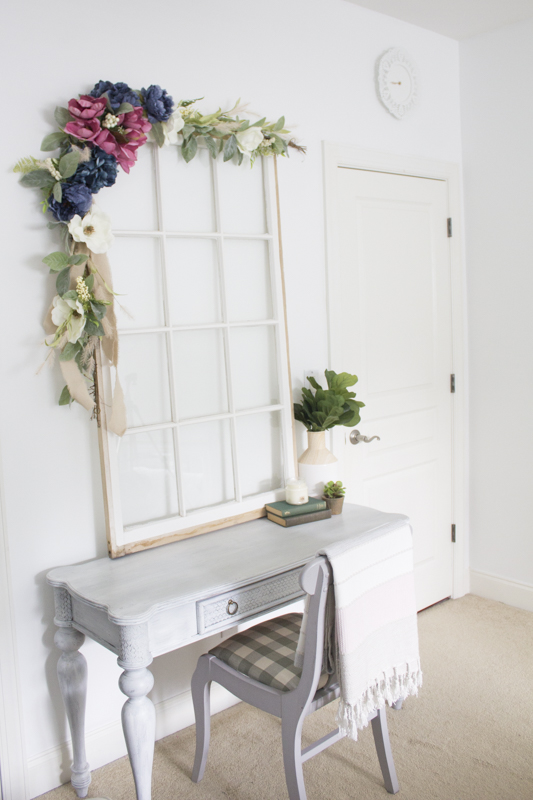
It’s easier if you can go ahead and hang it up where you want it. I used an old vintage window frame that I bought from the antique flea market a while back. You could hang the garland up on a piece of furniture, mirror or wall.
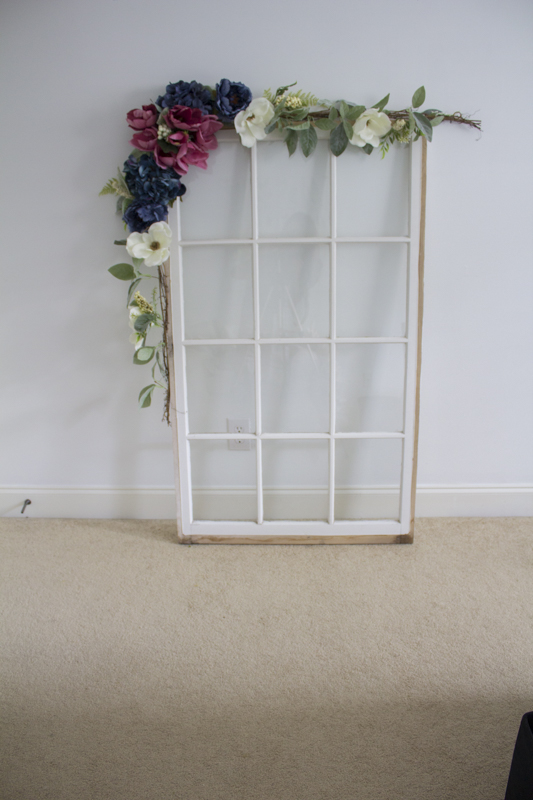
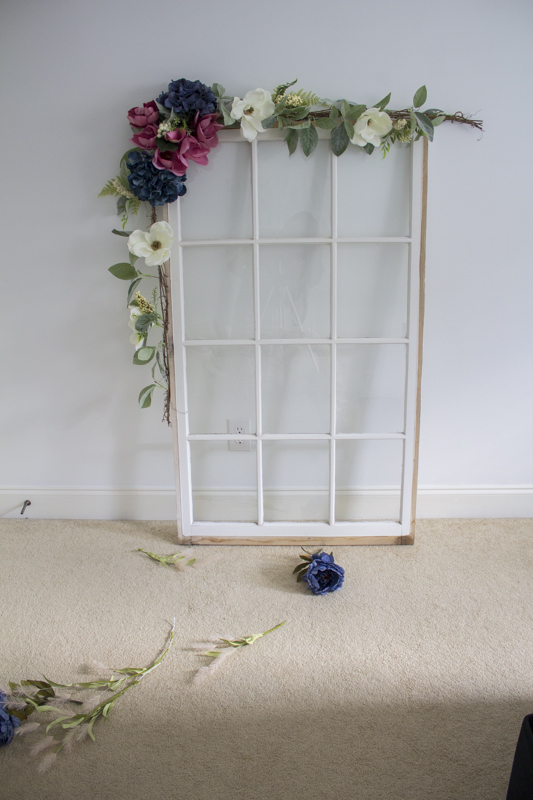
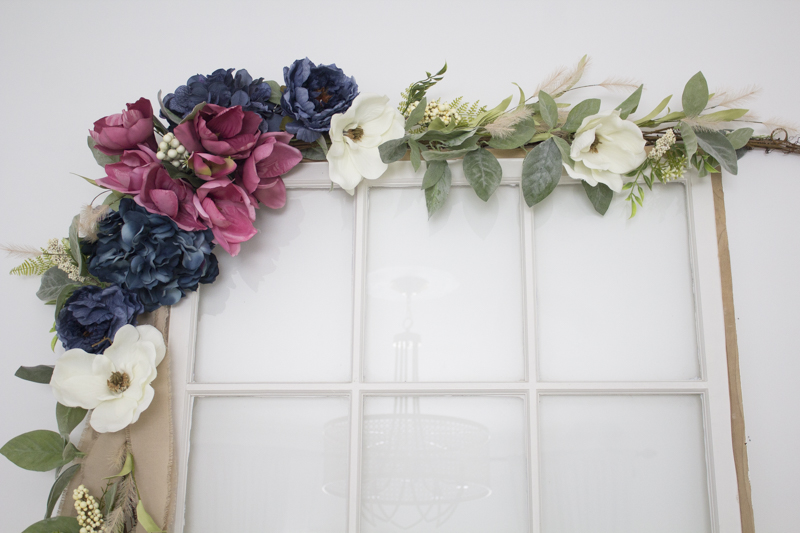
I started in the corner and added the navy blues and dark mauve flowers in. Make it full in the corner with your larger floral buds.
Keep adding the flowers into the corner until it reaches the fullness you desire. Carefully, use the floral wire to attach the stems into the garland branches.
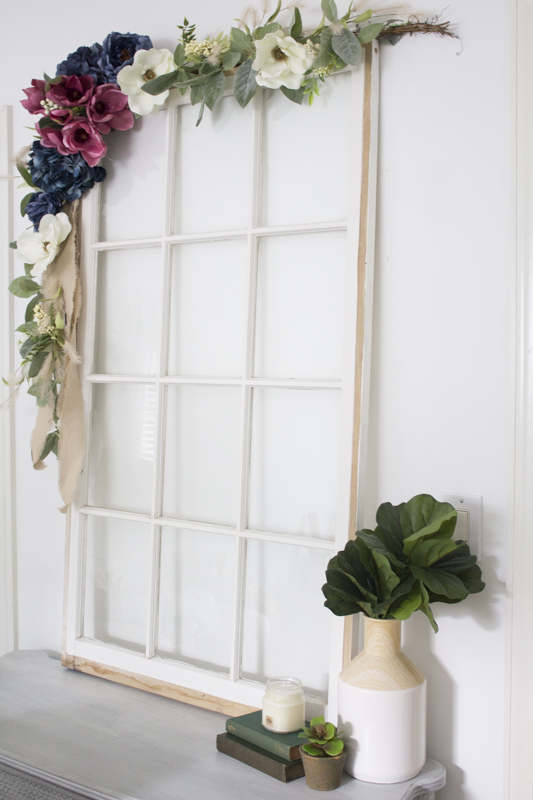
Look how pretty! Add the ribbon by cutting it so 4 ends fall down. Use floral wire to attach the ribbon towards the top corner behind the flowers. Let it hang naturally down the side.
Add smaller stems towards the ends of the garland. I used wispy featherlike stems for this step.
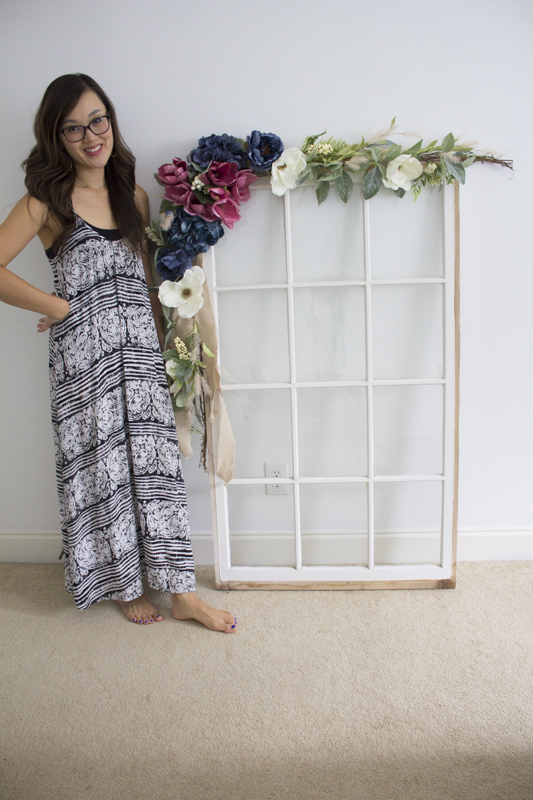
Step back and admire your beautiful creation. I stood next to it to show you a scale of how large it is.
I propped the window above the guest room desk and it’s soooo pretty there!
You could create this for so many different events and display it in so many unique ways.
I’ve already moved it again and decorated an area for Fall so I’ll be sharing that with you guys soon. I hope you found this tutorial helpful. Be sure to pin this image to save for later!
Thanks for reading!
Yuni
Let all that you do be done in Love. 1 Corinthians 16:14


Ooh, that’s so beautiful Yuni! I’ve used faux flowers but never made a garland. Thank’s for the great tutorial, I can’t wait to try one for myself.
That makes me happy. Thank you so much, Toni!
Really pretty Yuni!
Thank you so much, Tara!!
Hey Yuni…hope all is well!
Thanks for the great tutorial. I have an old window that I’ve been trying to figure out what to do with…this is a great solution.
Have a great day my friend!
Hugs, Lynn
Oh that would be perfect. Thank you so much, Lynn!!