A few months ago, I set up this baking center in my kitchen. I cannot tell you how much I love having everything so handy and organized. If you love baking like me, here are 6 tips for an organized baking center.
1. Clear off some counter space, and display your most used essentials.
I know in some kitchens, counter space is valuable real estate. I don’t like having clutter or too many appliances on my counters or island, so I usually keep those hidden away in my lower cabinets. I cleared off a small counter area in my kitchen and decided to keep my most frequently used baking supplies in some glass containers. I purchased these simple glass containers from Walmart. The smaller ones were about $4, and the larger container holding my flour was about $6. You could use any kind of containers and could even thrift some unique ones if that’s more your style. Display your most used baking essentials so that it makes for easy access.
2. Create a measuring chart.
Recently, I made a chalkboard out of a thrifted wooden board. I wrote down a measurement chart, and now I no longer have to google this information while cooking or baking! I keep this on the baking counter, so it’s easily visible. You could also print out a sheet and stick it on the inside of your cabinets.
3. Make space in a cabinet or pantry for all other baking supplies.
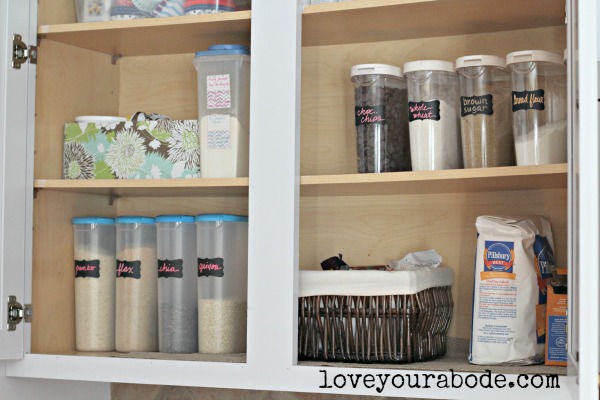
Above my baking counter, I cleared out the cabinets to hold all of my baking supplies. I like keeping everything close together, so I moved all of my dishes to another cabinet in the kitchen. Since I don’t have a pantry, all of our dry food items are located in cabinets.
4. Use containers and baskets to hold and organize all of the baking ingredients and supplies.
I’ve had these IKEA plastic containers for a long time, and they are great in keeping my baking ingredients fresh. They can hold chocolate chips, brown sugar, quinoa, flaxseed and other types of flour, etc.
I also keep my homemade pancake mix with the instructions labeled on the container.
I utilize a small basket to hold extra chocolates and candies used for baking.
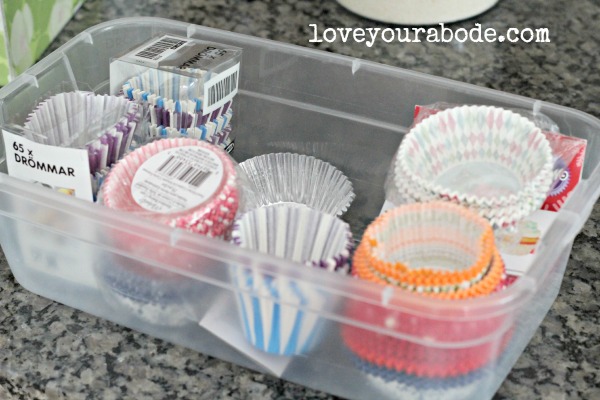
I used an inexpensive plastic container to hold muffin liners and covered a couple of shoe boxes with pretty stock paper to hold other baking supplies. It’s a great way to repurpose shoe boxes. I love when things are functional and pretty.
5. Label Everything
One of the easiest ways to organize is using labels. I use chalkboard sticker labels to organize everything in this area. You can get these at Target, Walmart or any other craft supply store. Use chalkboard markers (instead of chalk) to keep the labels looking neat and clean. I love that I can just wipe off the stickers with a wet papertowel if I need to change the label! Also, this makes it easier for anyone else who’s using my kitchen to find their way around.
6. Keep all measuring cups, spatulas, and other essentials in a drawer.
I use one small drawer on my island across from the baking center to hold all of my measuring spoons, mixer attachments, spatulas, etc. I placed smaller baskets in the drawer to divide contents and keep them organized.
Now that everything is organized in my baking center, baking is so much more enjoyable. I know when I’m running low on certain ingredients, and it’s easy for anyone to locate where these items are. You will find yourself baking more because everything is so easily accessible. This system has been working great for me, and I hope you’ll find these tips helpful too. Now, let’s get to baking!


